
Radiant updates
Meet Radiant Photo 2.5 and Radiant Raw
A dedicated Raw developer, new tools for detail and color, and a Look library you can search, favorite and preview with a hover. Here is what's new, and why we think you'll love working this way.
Every photographer knows the moment: you open a file and you can already see the picture it could become. Our goal with this release is to shorten the distance between that moment and the finished image. Radiant Photo 2.5 and the new Radiant Raw work together, so the path from your camera's Raw file to a finished photo stays in one place.
A real Raw developer
Radiant Photo 2 opened Raw files through your computer's built-in decoder. Now a dedicated Raw engine develops them. Open a Raw file in Radiant Photo and it's ready to edit. In Settings > Raw, choose Automatic (no Develop) to open it as shot, Apply recipe to develop it with one of twelve built-in recipes, Develop in Radiant Raw, or Ask each time. Eight of them wear the Lab Tools label: they're still being refined.
When you want full control, there's Radiant Raw. It's a dedicated Raw developer with White Balance presets and an eyedropper, Tone, Levels, Curves, Selective Color, Color Wheels, sharpening and noise reduction. A filmstrip with Selects, sorting and sync lets you develop a whole shoot, not just one frame. Your own recipes live here too.
 Radiant Flow→
 Radiant Raw→
 Radiant Photo
The two apps are built for a round trip. Send a Raw photo from Radiant Photo to Radiant Raw, then bring it back with your Radiant Photo adjustments kept. If you reframe it in Radiant Raw, Radiant Photo's own crop steps aside so it isn't applied twice, and Undo brings it back. Radiant Flow can open Raw files in Radiant Raw too.
Radiant Raw also brings the corrections a Raw developer should have:
- Lens profiles. Once you allow the free download, lens profiles are matched from your photo's data to fix distortion, color fringing and vignetting, wherever the lens's profile covers them.
- Five Perspective modes. Auto, Level, Vertical, Full and Guided straighten buildings and horizons, and you can compare Auto, Level, Vertical and Full side by side.
- HDR. On an HDR display, edit the light above white and see where it is. Export HDR JPEGs that show full HDR where the screen supports it.
Editing that goes deeper
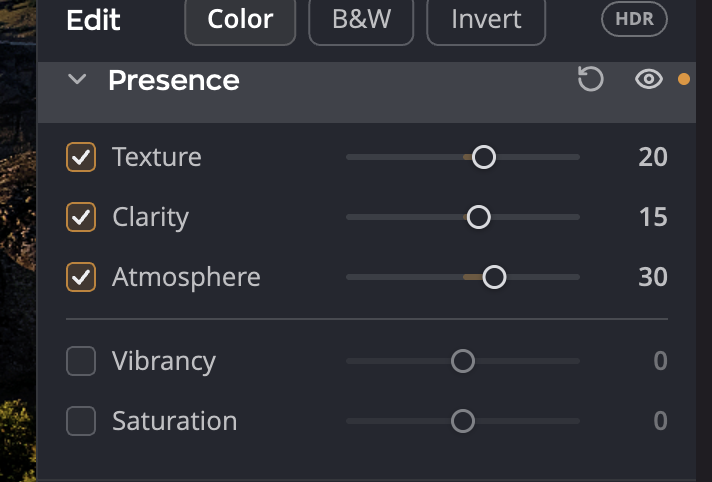
Three new sliders shape the feel of a photo. Texture brings out fine detail, Clarity adds midtone punch, and Atmosphere cuts through haze or adds a little for mood. Levels and Curves arrive too, with per-channel control, built-in presets and adjustments you drag right on the photo.
Framing gets smarter. Auto Crop suggests framings, each with a reason, and lets you compare them side by side. Auto Level straightens to the strongest line in one click. For portraits, Headshot and Head and shoulders presets frame faces consistently across a shoot. They use the faces Radiant Flow finds, so Radiant Flow needs to be on the same computer, with PRISM Photo Score turned on.
The finishing tools fill out the set:
- Spot Removal with a Heal or Clone brush.
- Film grain chosen by film stock.
- A magnifier that snaps to the eyes your camera's autofocus found, a focus mask and a sharpness score, so you can pick the sharpest frame before you start.
Color, graded by hand
Radiant Photo 2 gave you Looks, Selective Color and Black and White. Radiant Photo 2.5 adds the hands-on tools colorists reach for first.
- Color Wheels. Shadows, Midtones and Highlights wheels set cool shadows against warm highlights in seconds.
- The Graduated Filter. It gives each of its two sides its own wheels, so a sky can go cool while the land stays warm.
- Selective Color. It now has eight hue bands. Click the photo to pick one, drag to change its saturation, and turn on Isolate to see exactly where it acts.
- Wide-gamut editing. If your photos hold color beyond sRGB, choose a working space such as Display P3 or ProPhoto RGB, and that color stays through your edit.
Looks you can actually find
Looks now live in a Look Browser and a Looks Showcase.
- Hover to preview. Hover over a Look to see it on your whole photo.
- Find it fast. Search by name, keep favorites that now stay from one session to the next, and find your recent Looks at the top.
- Suggested by PRISM. It picks up to nine Looks for the photo in front of you. It needs Radiant Flow on the same computer, with PRISM Photo Score turned on.
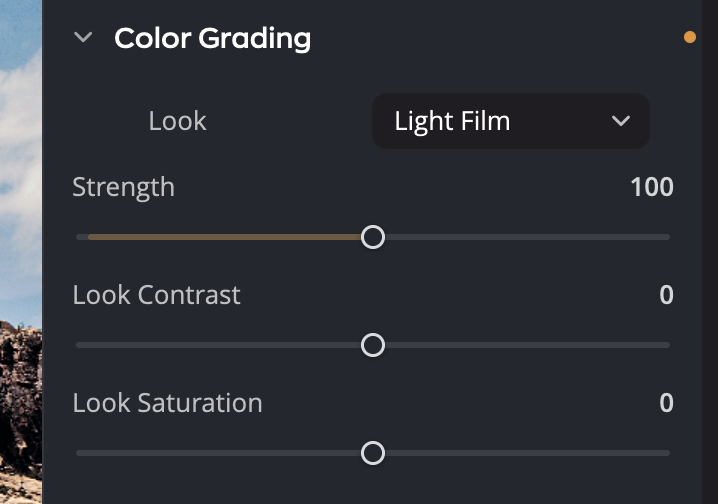
Strength now goes all the way to 200%. The first Look you apply starts at 75%, or 100% for a black-and-white Look, and switching Looks keeps your Strength. You can still load your own LUTs in eight formats, and now you can drag a .cube straight onto the window while the Look Browser is open.
Coming from Radiant Photo 2?
Bring your work with you. Radiant Photo 2.5 imports your develop collections, presets, loaded LUTs and settings. You see everything before anything is copied, and Radiant Photo 2 stays installed. In Photoshop, the new plug-in takes over, and the old one is set aside, not deleted. Photos you edited with your own LUTs stay linked to them.
What you'll need
Radiant Flow, Radiant Raw and Radiant Photo 2.5 run on Macs with Apple silicon or an Intel processor (macOS 14 Sonoma or later) and on Intel or AMD PCs with 64-bit Windows 10 (version 22H2) or Windows 11. Radiant Raw is a separate app with its own license, so activating one app doesn't activate the other.
See everything that's new
New features and improvements across Raw handling, editing, color and Looks.
More from the blog
Press release · Radiant updates
The next evolution in photo editing: Radiant Photo 2 is on its way!
INDIALANTIC, FL – November 25, 2024 — Radiant Imaging Labs is pleased to announce the release of Radiant Photo 2, the latest evolution in photo editing software.
Photo tips · Radiant updates
Elevate Your Photography with Radiant Photo 2 and Assistive AI
In the ever-evolving world of photography, technology, and artistry are converging like never before.
Radiant updates
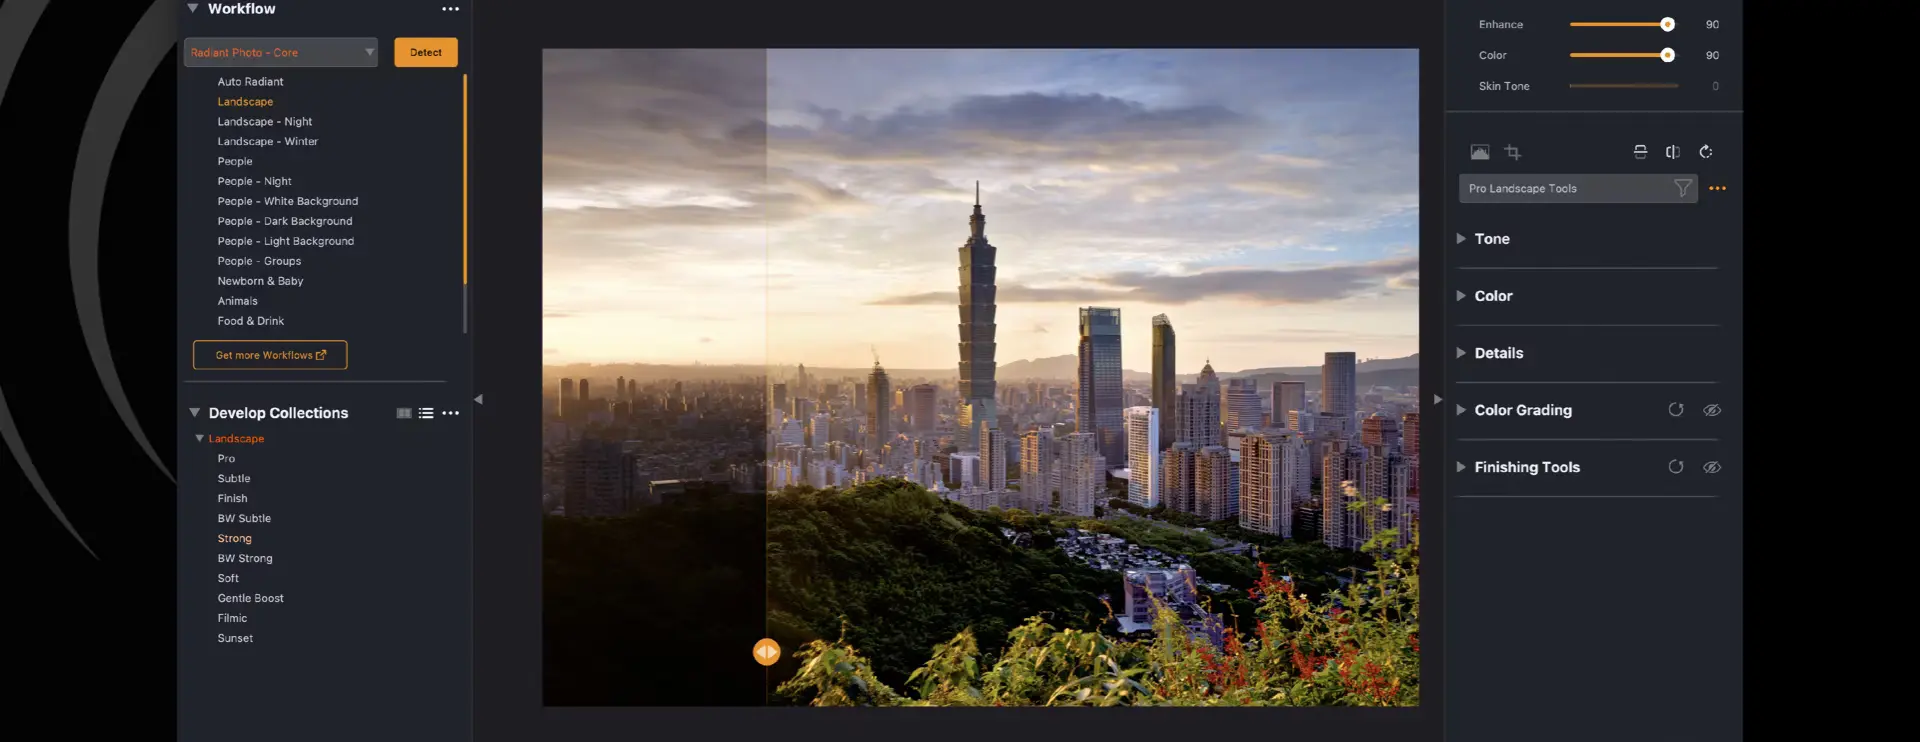
Understanding Workflows in Radiant Photo 2
Workflows in Radiant Photo 2 are a cornerstone feature, designed to simplify and elevate the editing process for photographers by aligning tools and settings to specific genres of photography.
The Radiant newsletter
A weekly email from Radiant Imaging Labs: new articles, photo tips and release news.