Raw shooters
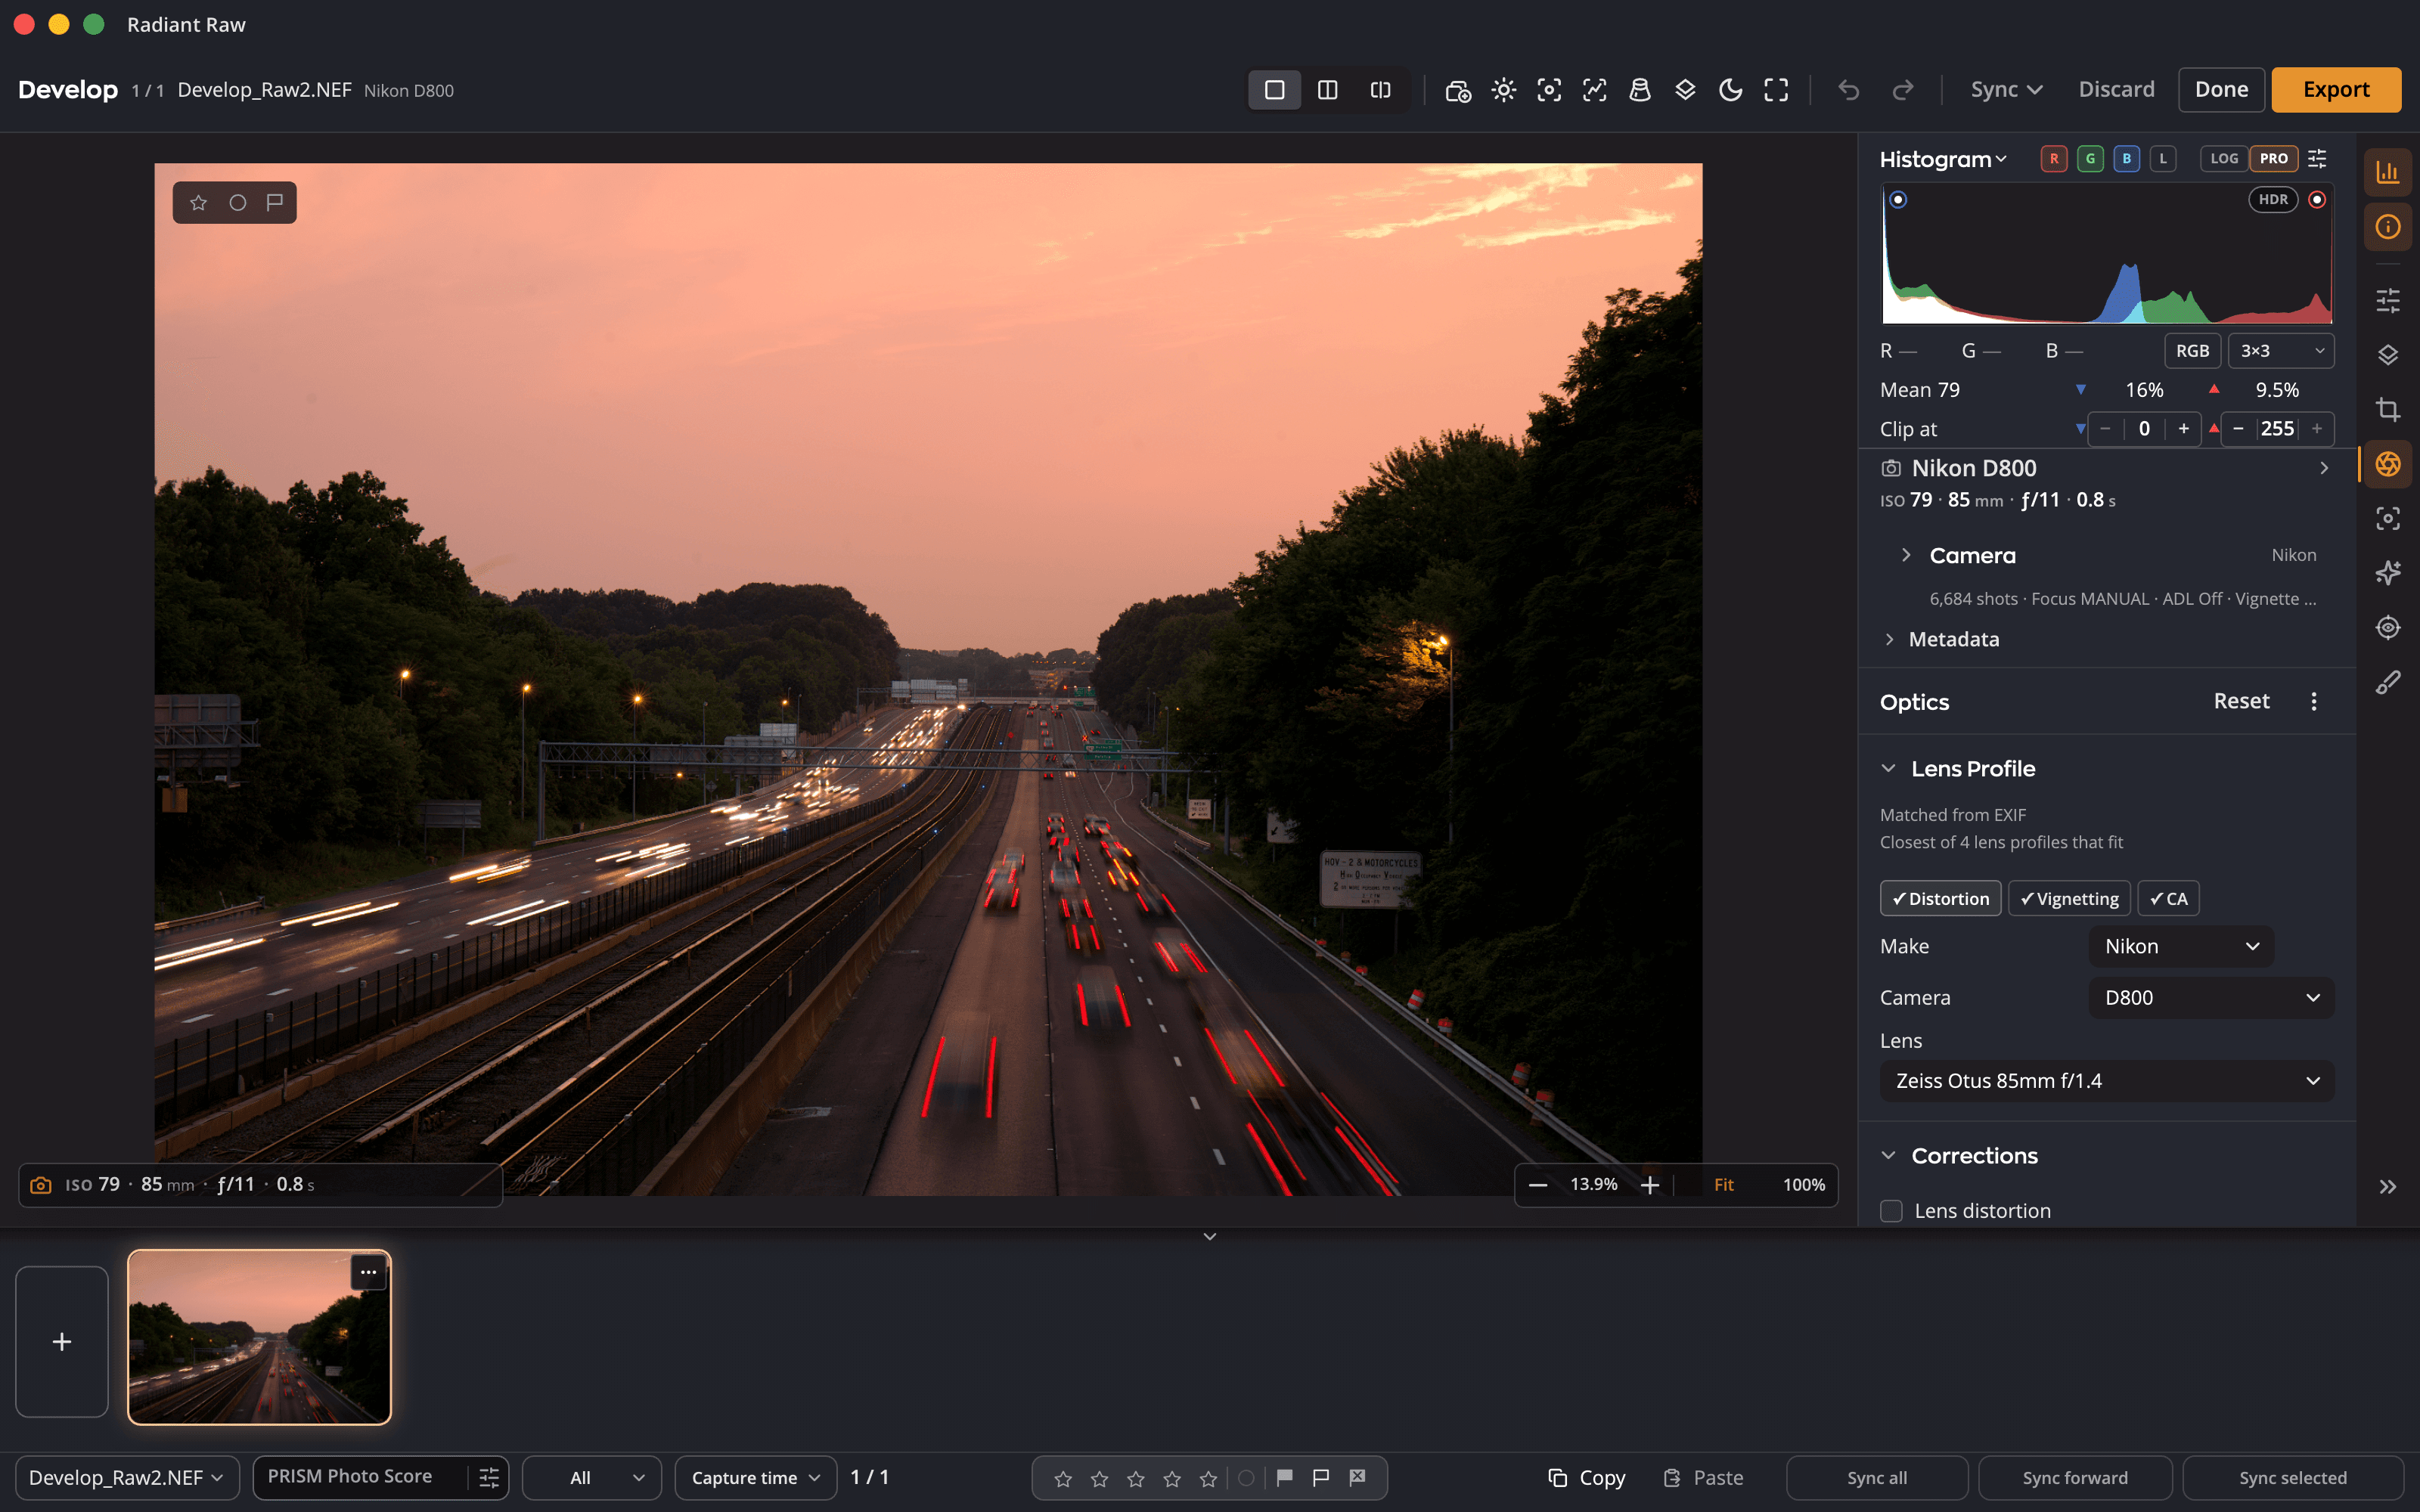
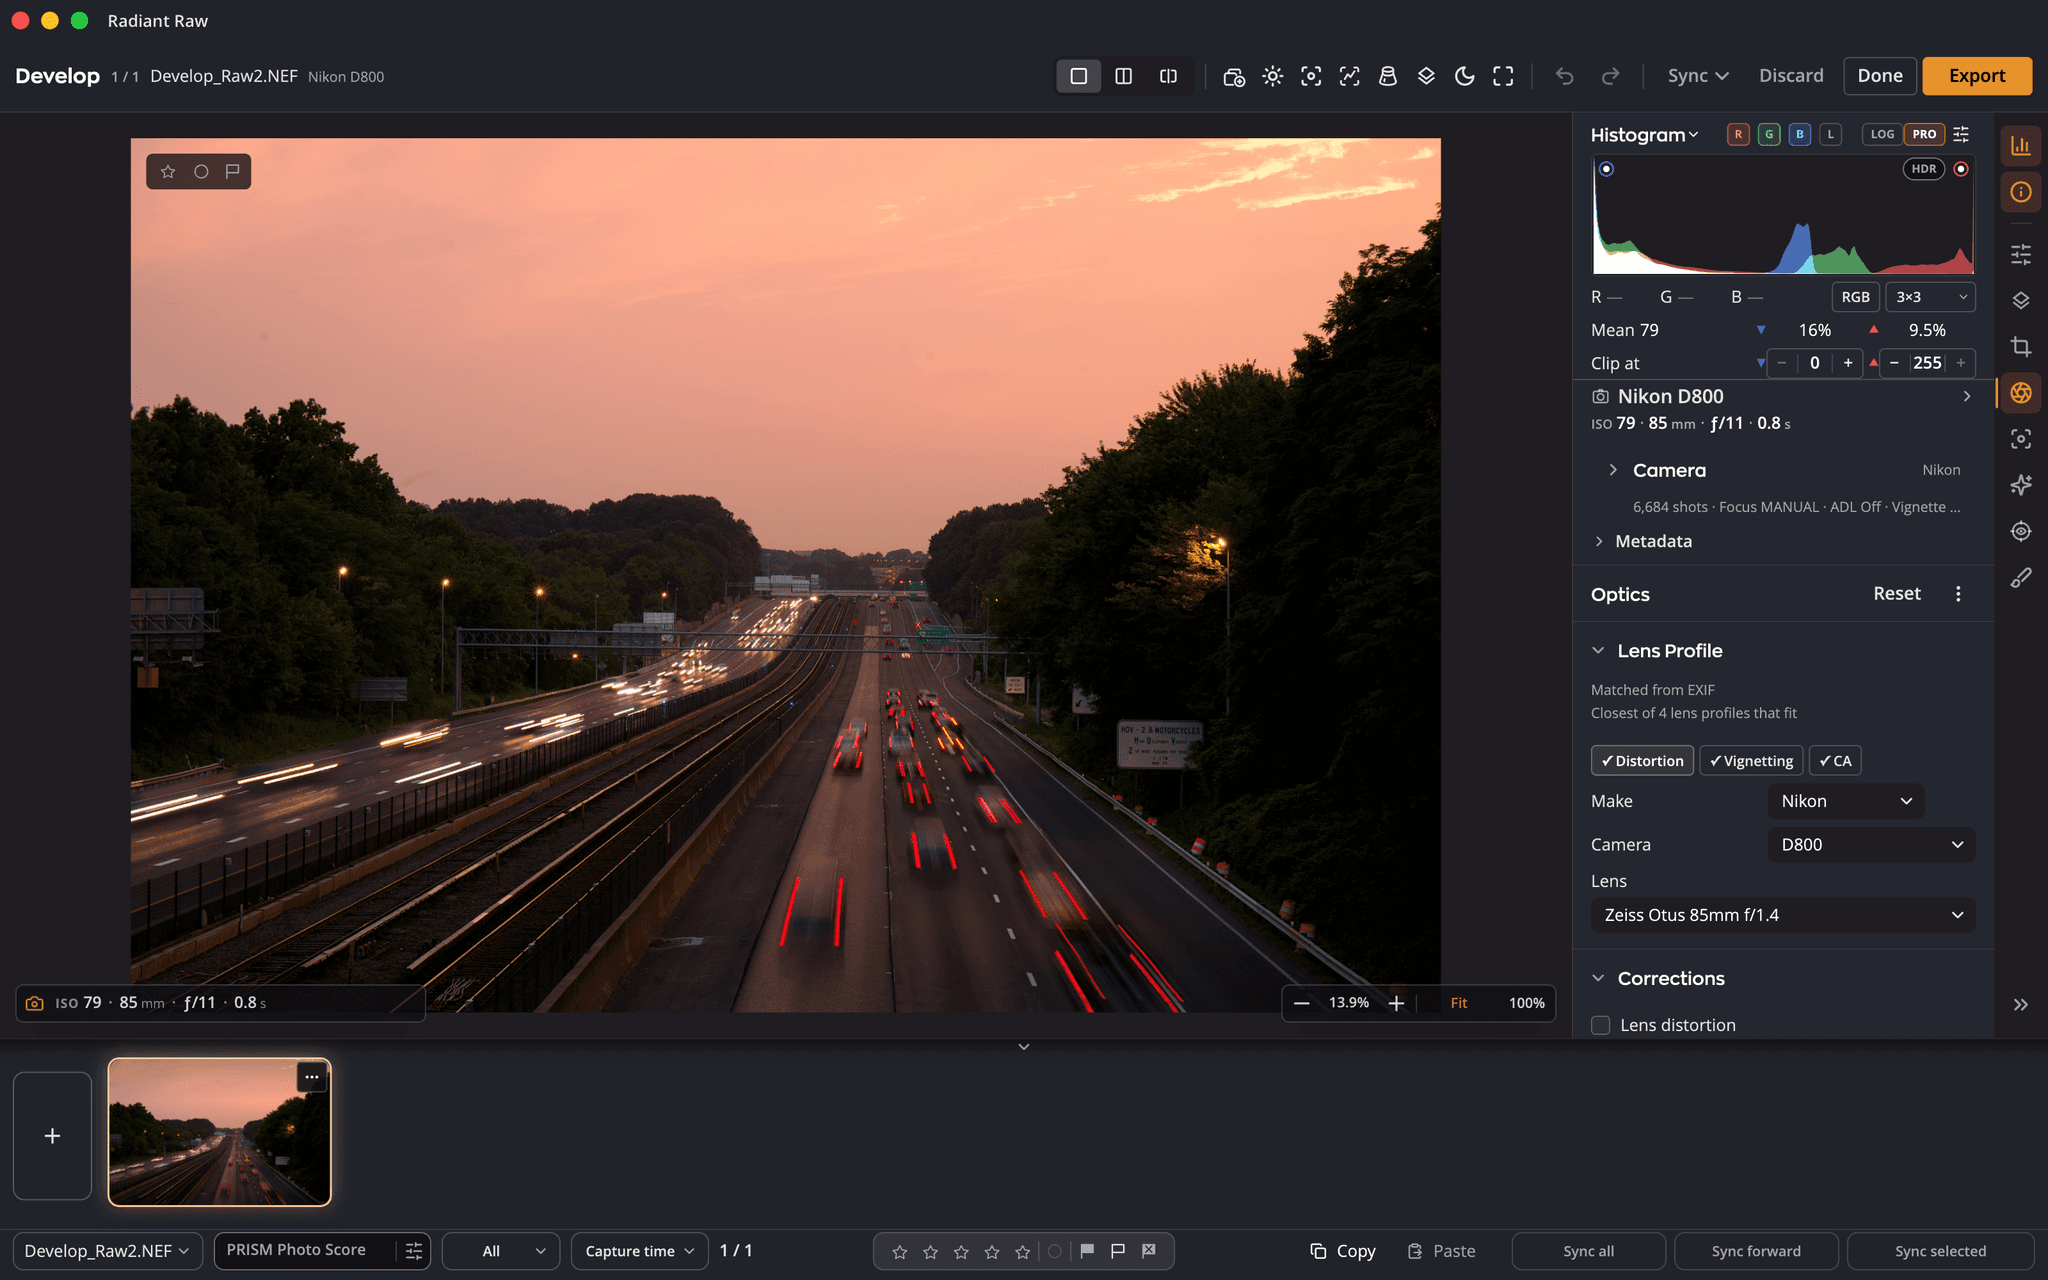
Grade exposure, white balance, tone and color on the camera’s raw data, with a live preview and Histogram, Waveform, Parade and Vectorscope beside the photo.

Radiant Raw 1.0 · Raw developer for Mac and Windows
Radiant Raw grades your camera’s own raw data, then takes each photo the rest of the way: lens corrections, crop with Perspective, focus checks, ratings and labels, watermarks and finished files. Your edits never go into the original.
$99.00 one time
Try it free for 30 days in the app.
Works with
Who it is for
Open your photos and the develop window fills the app. Radiant Raw is made for people who want to shape the raw data first and want every photo of a shoot to come out right.
Grade exposure, white balance, tone and color on the camera’s raw data, with a live preview and Histogram, Waveform, Parade and Vectorscope beside the photo.
Open a whole folder as one batch, rate and flag from the keyboard, sync settings across the set, then export all of them with one button.
A white-balance eyedropper that lands a gray point neutral in one click, color samplers, soft proofing, 16-bit files and Adobe RGB (1998) by default, sRGB for a JPEG.
The raw workflow, end to end
Drop a folder on Radiant Raw and every raw in it opens as one batch with a filmstrip. Everything below happens in the same window.
Drag files or a folder onto the window, use File › Open…, Open Recent, or Open With in Finder or File Explorer.
Star ratings, Pick and Reject flags and color labels from the keyboard, saved to an XMP sidecar beside each raw.
Thirteen edit sections, from Auto Lift and Tone to Color Grading and Detail, with autos you can press again without stacking.
Crop and straighten, Auto Crop, lens corrections and Perspective, including guided lines.
Magnifier up to 800%, the camera’s focus points, focus peaking, Before / After and clipping warnings.
Export JPEG, PNG, TIFF or DNG, add your watermark, deliver HDR photos as HDR JPEGs, or send to Radiant Photo.
In depth
Thirteen sections: Auto Lift, Tone, HDR, Levels, Curves, White Balance, Color, Selective Color, Color Wheels, Color Grading, Effects, Vignette and Detail. Solo Mode opens one at a time; reorder or hide the rest.
Temp from 2,000 to 50,000 K and Tint from −150 to +150, from the camera’s As Shot values. Arm the eyedropper, click something that should be gray, and Radiant Raw fine-tunes until that point reads neutral.
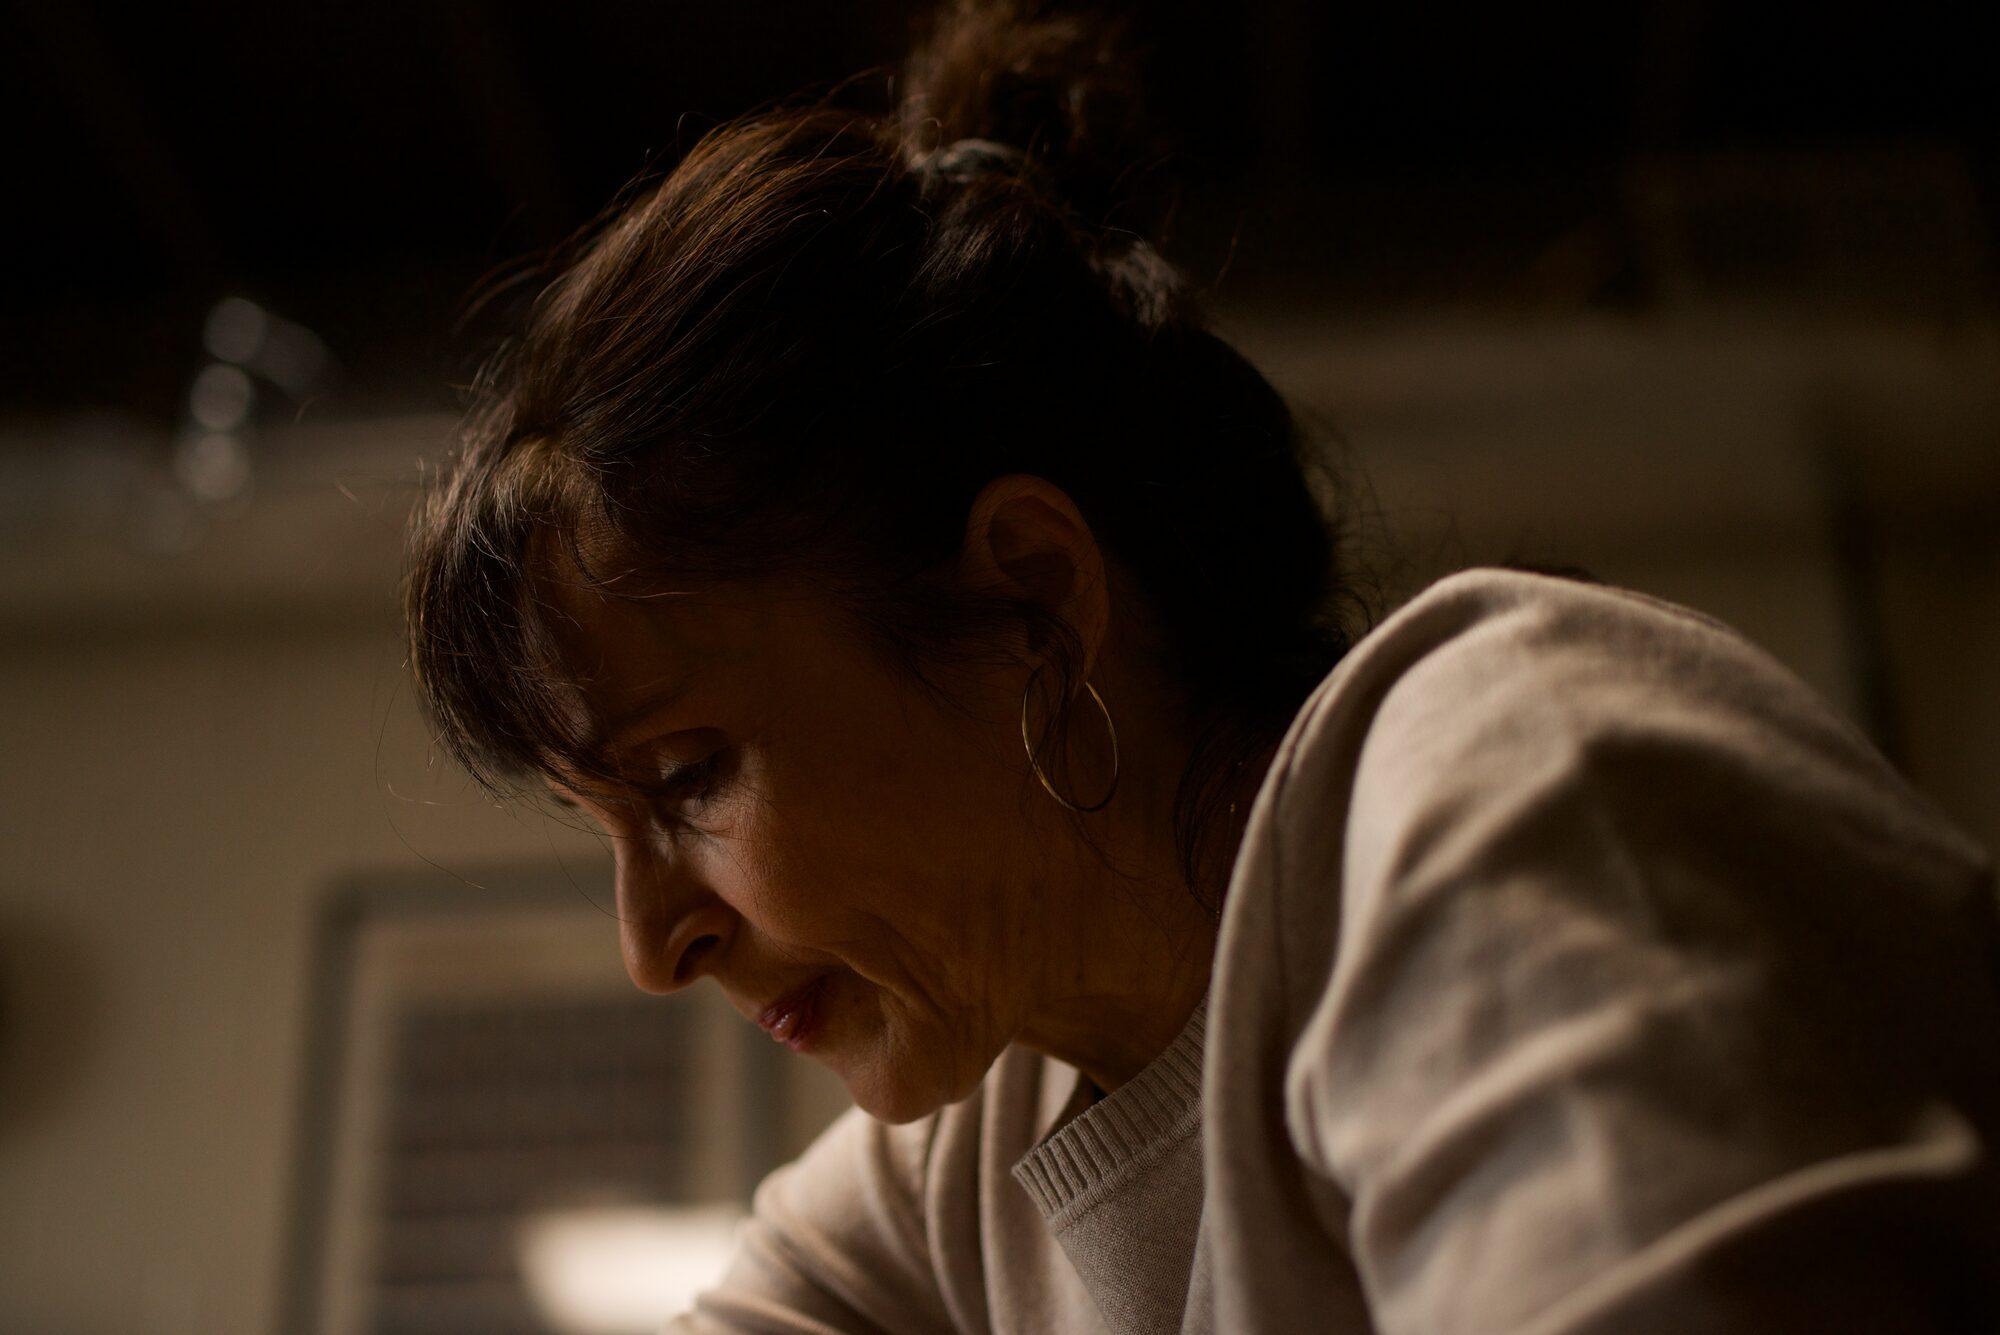
Try it: a drawing of the idea on this page, made by your browser on a finished photo. Radiant Raw does this on your camera’s raw data.
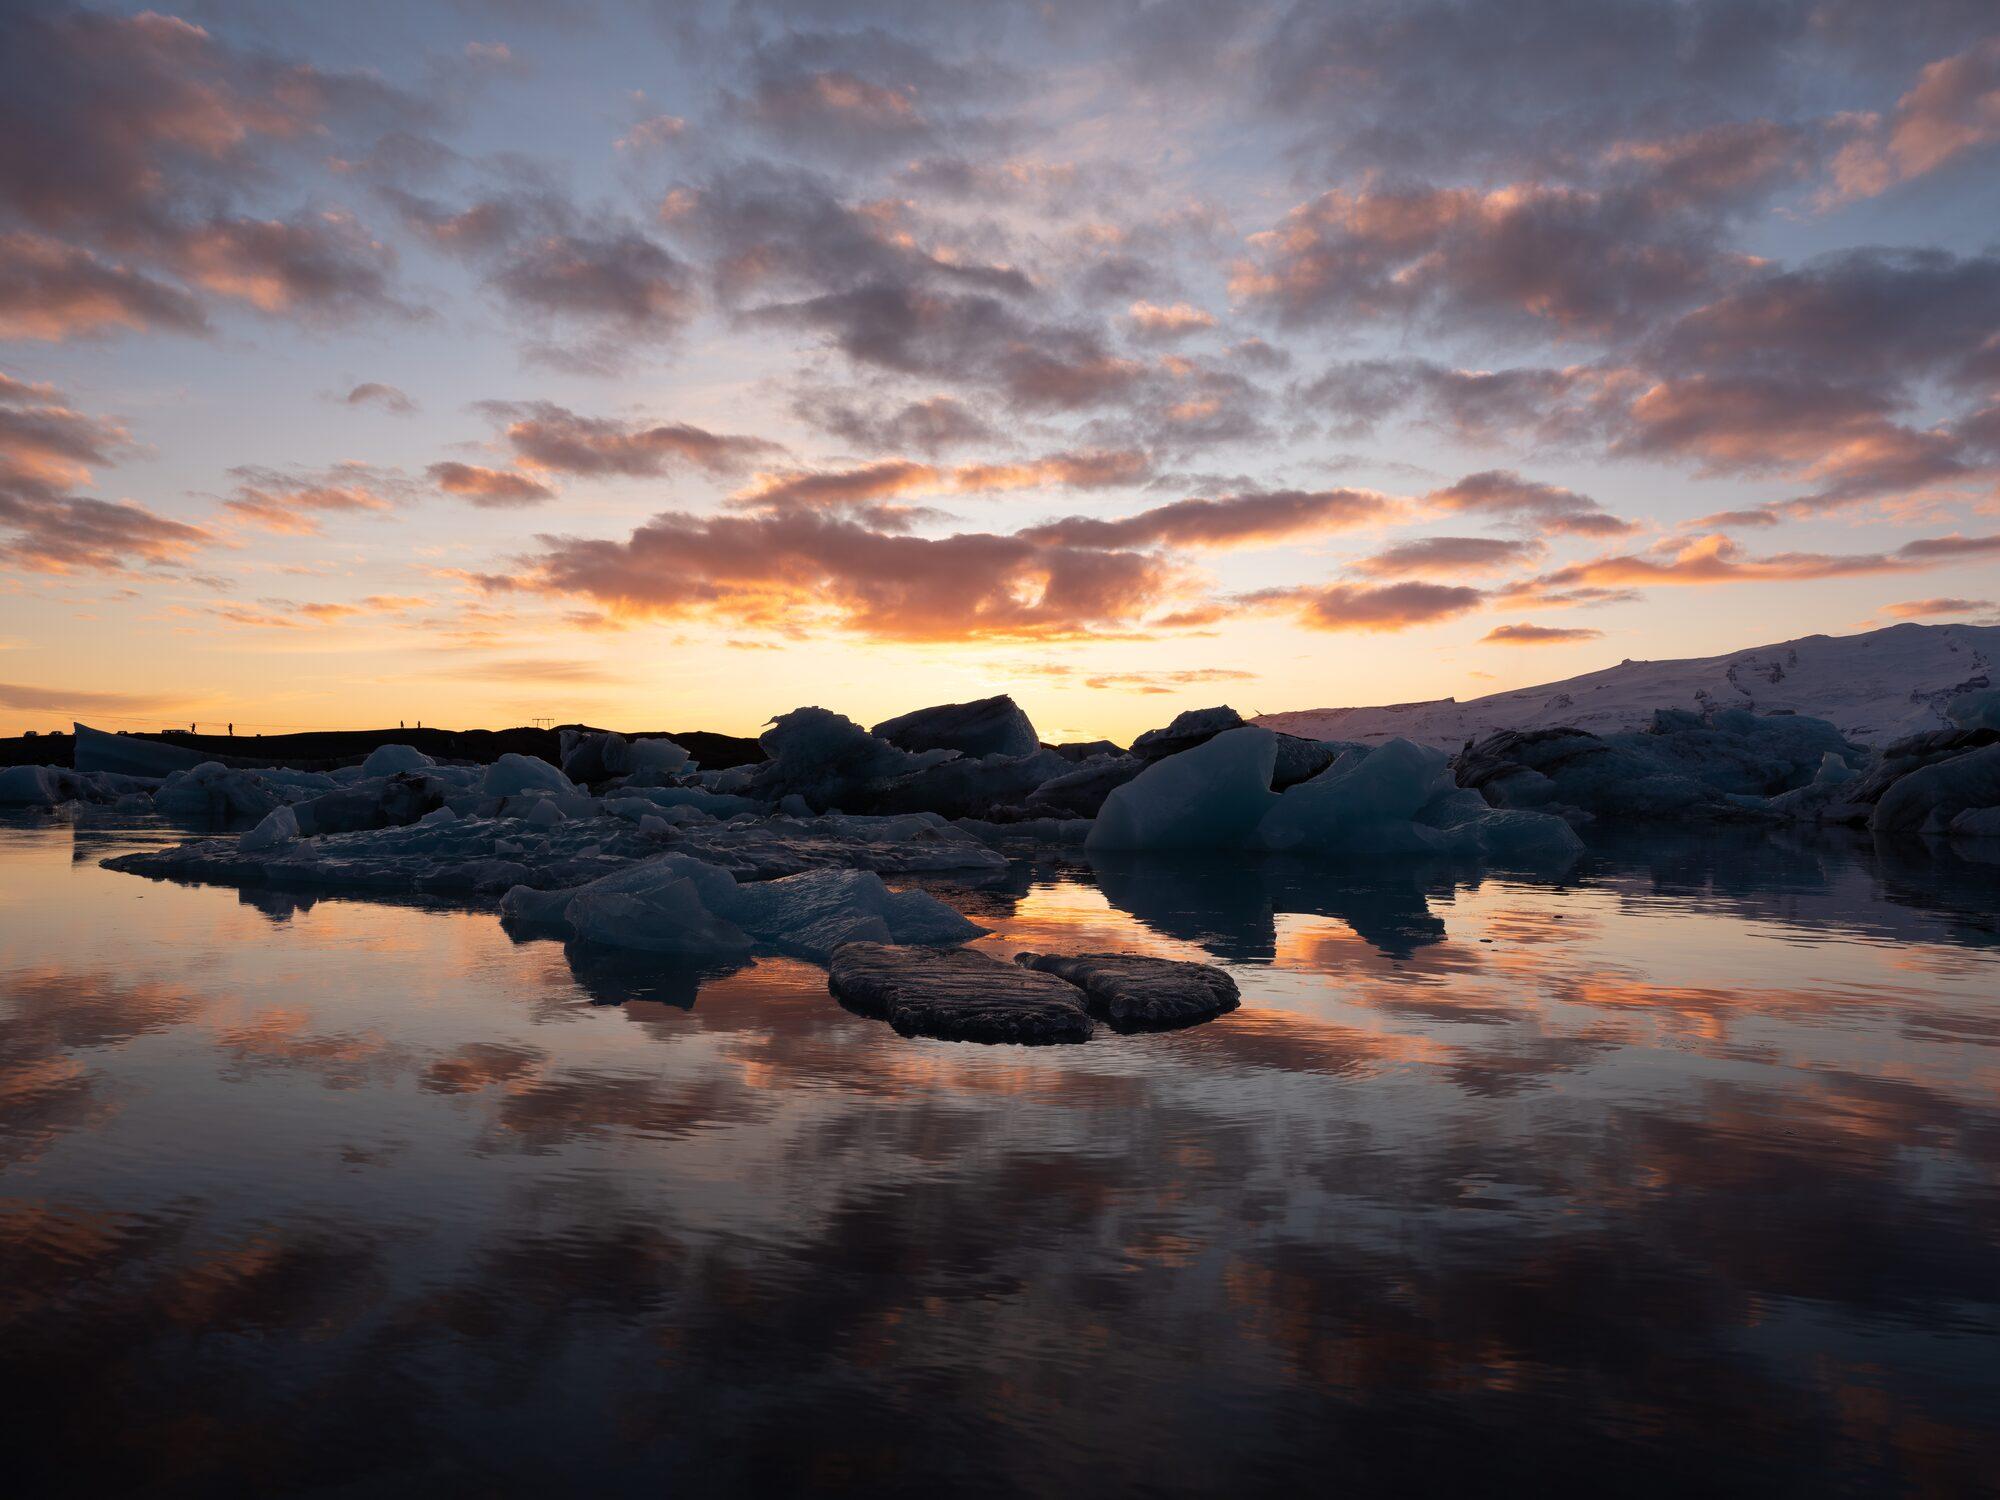
Try it: a drawing of the idea on this page, made by your browser on a finished photo. Radiant Raw does this on your camera’s raw data.
Pick a Look and set its Strength, Contrast and Saturation. Radiant Raw includes 24 Looks in four collections, a Look Browser with Favorites shared with Radiant Photo, and Load Lookup Table for .cube and other LUT files.
Turn on HDR mode to see and edit the highlight range above SDR white on an HDR display. HDR Limit runs from +1 to +8 stops; Visualize HDR paints the stop bands over the photo. On export, photos with HDR can be delivered as HDR gain-map JPEGs.
Print and screen ratios, straighten from −45° to +45° or draw a line to level to, six guides, Auto Crop with its reasons listed, Compare Crops, portrait framing, and Perspective in Auto, Level, Vertical, Full and Guided modes.
The Optics page matches a profile from the photo’s EXIF and corrects distortion, chromatic aberration and vignetting. Defringe removes purple and green fringes with a sampling eyedropper. Profiles download once, with your permission; nothing about you or your photos is sent.
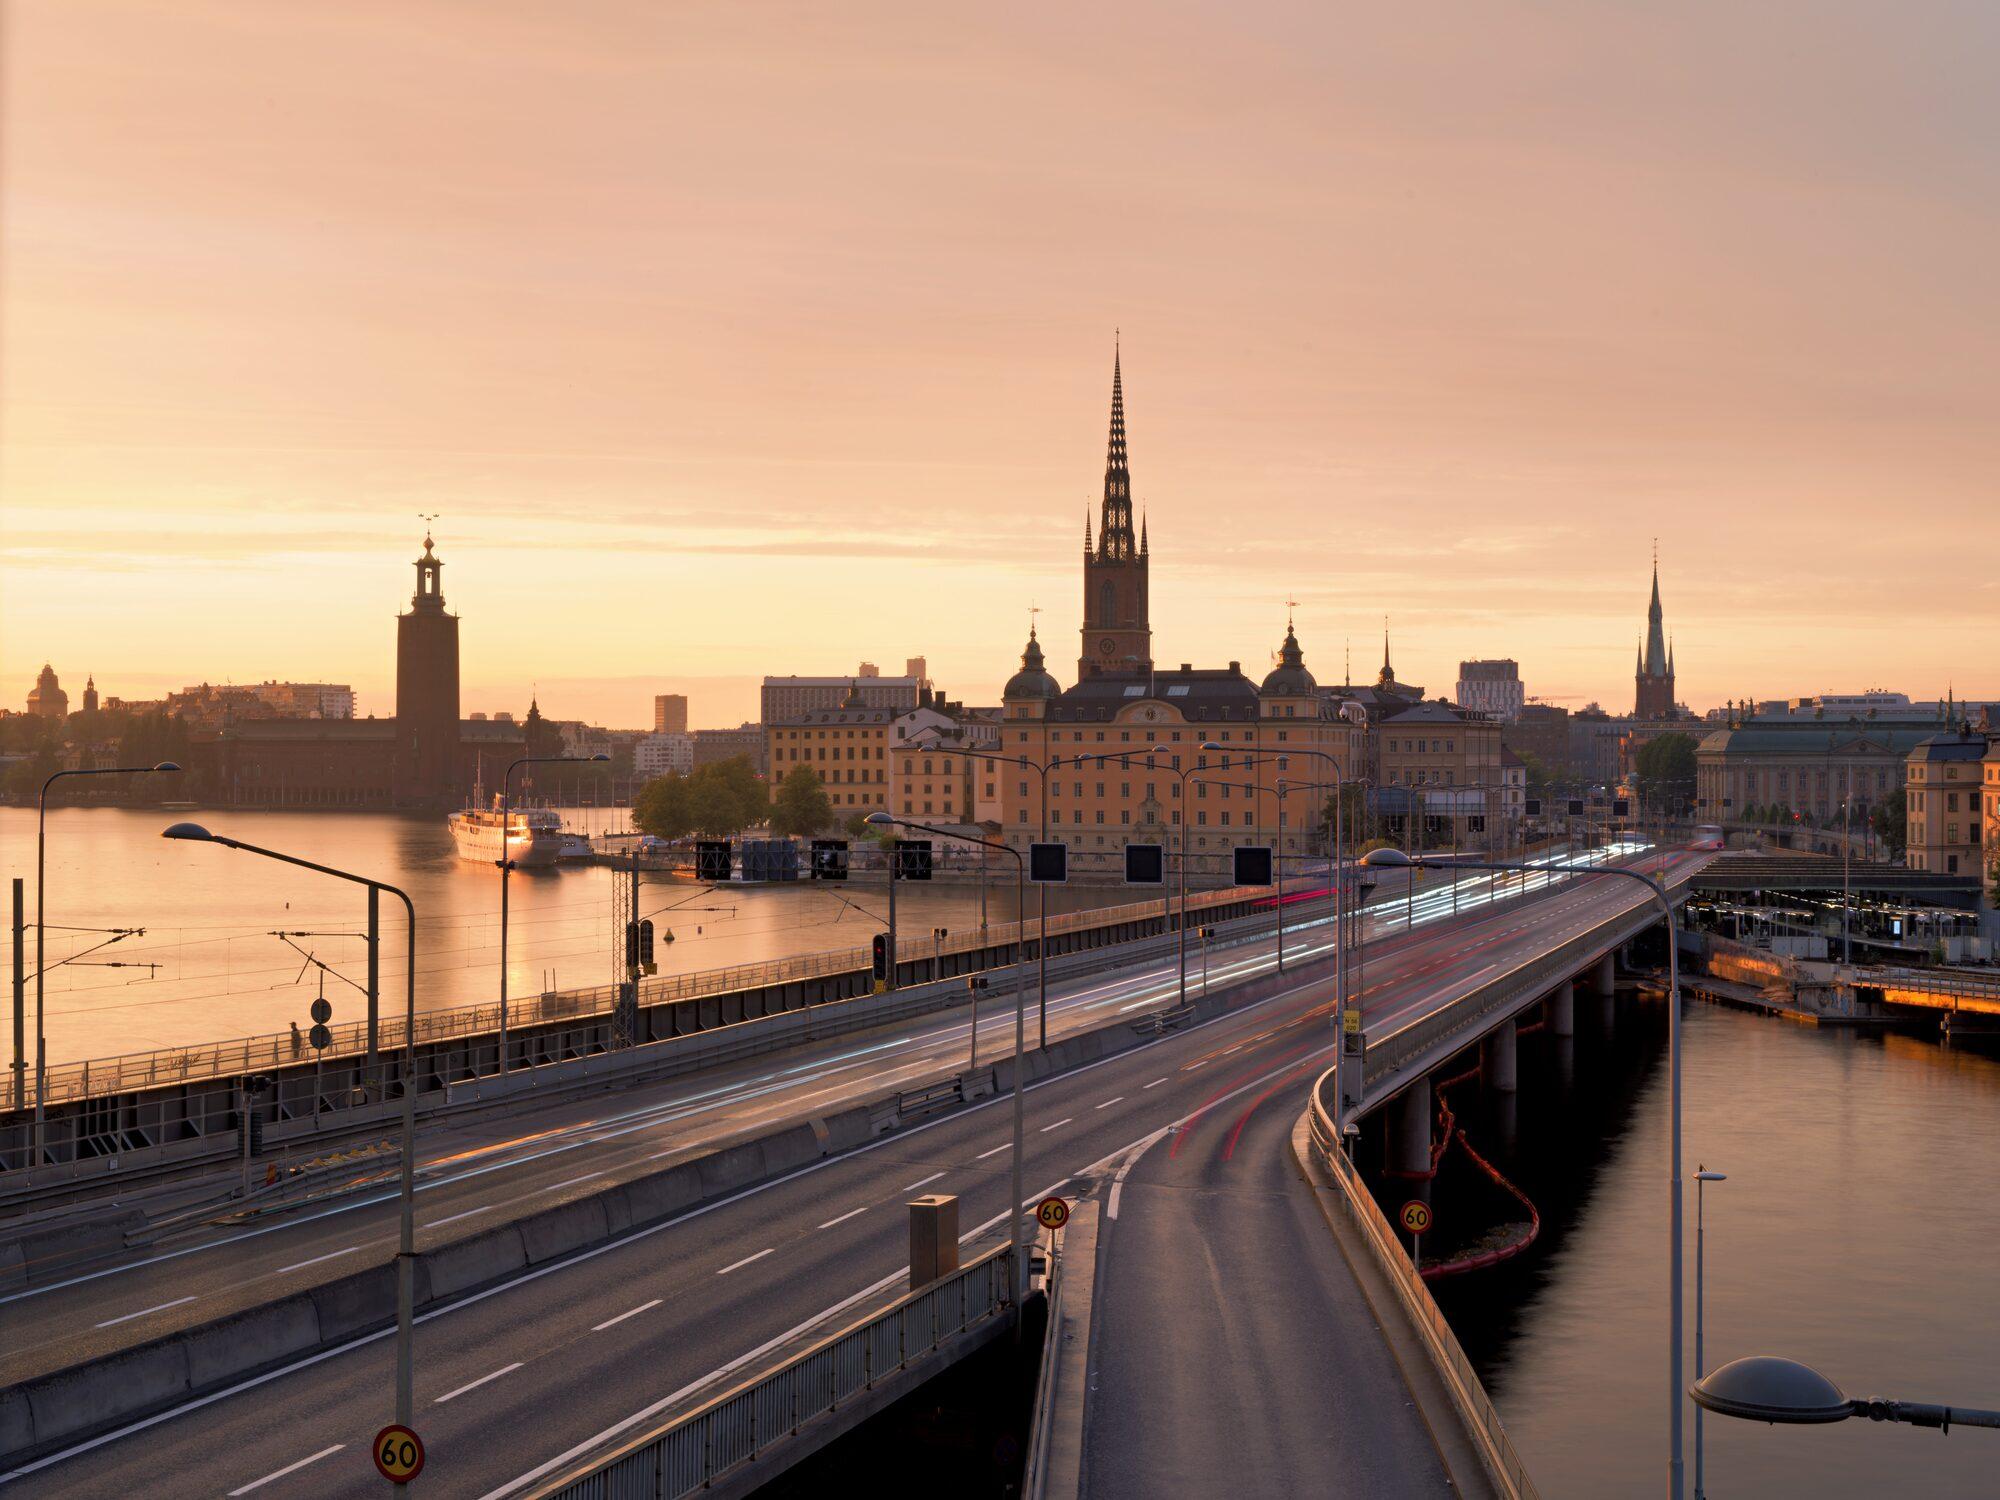
Try it: a drawing of the idea on this page, made by your browser on a finished photo. Radiant Raw does this on your camera’s raw data.
Sharpen with Amount, Radius, Detail and Masking; hold Option on Masking to see the mask. Noise Reduction with Off, Light and Strong, then six sliders to fine-tune luminance and color noise. Clarity, a vignette with an on-photo center, and red-eye by clicking each eye.
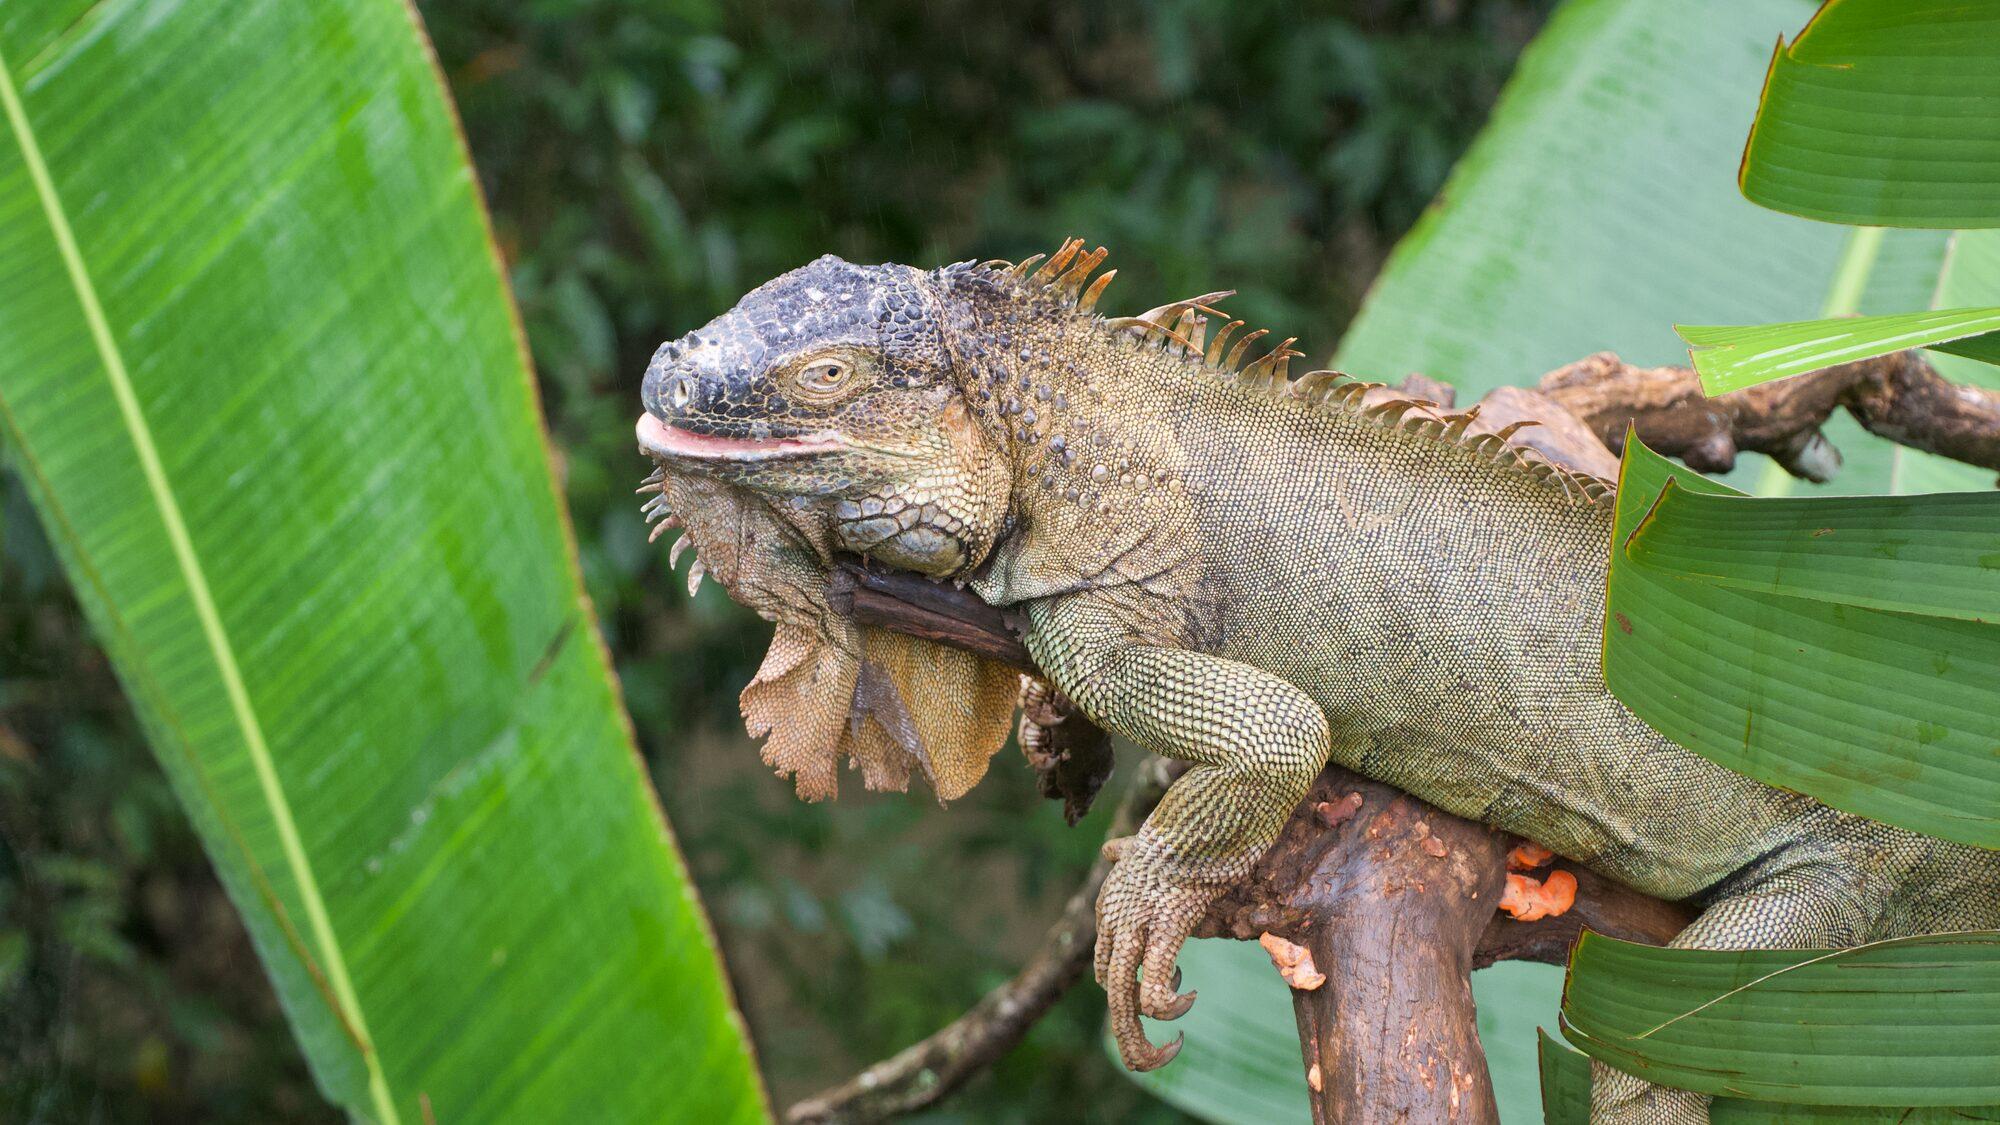
Try it: a drawing of the idea on this page, made by your browser on a finished photo. Radiant Raw does this on your camera’s raw data.
Press Q, then click a sensor spot or drag along a wire, and Radiant Raw picks a clean source from your own photo. Heal or Clone, a pin for every fix, and Auto Source for a fresh pick.
Rate 1 to 5 stars, flag Pick or Reject, label in five colors, straight from the keyboard. Marks go to an .xmp sidecar beside a camera raw file, never into it, and inside a DNG too unless you turn off Inside the photo. Filter the batch to Picked, Rated 1★ or more, No flag or stars, or Rejected and export only the photos in view.
Copy, Paste, Sync all, Sync forward and Sync selected on the bottom bar. Recipes save the groups you choose and apply them in one click, and import and export as files. 12 are built in: Neutral, Automatic, Auto Color and Auto Tone, and eight marked Lab Tools while they are still being refined.
Press Export and every photo in the batch is saved: JPEG, PNG, TIFF or DNG, 8 or 16 bits, in Display P3, sRGB, Adobe RGB, ProPhoto or any ICC profile, with your watermark on it. One Watermarks window serves Radiant Flow, Radiant Raw and Radiant Photo.
Scopes
Radiant Raw and Radiant Photo share the same four scopes: Histogram, Waveform, Parade and Vectorscope. Keep one docked at the top of the panel, lay one on the photo itself, or open the Scopes window to see up to four at once, larger. They follow every slider as you drag it.
Try it here
Golden light over Stockholm’s old town, traffic streaking past below. Photo: Elia Locardi
Drawn on this page, in your browser, from the photo beside it. Point at the photo and that pixel is marked in the scope.
Auto Crop
Press Auto Crop and Radiant applies the best framing it finds, as one undo step. Every other framing stays in a list under the button, each with a plain label that says what it did. Point at one to preview it on your photo, compare them all side by side, or frame a whole shoot at once.
Try it here
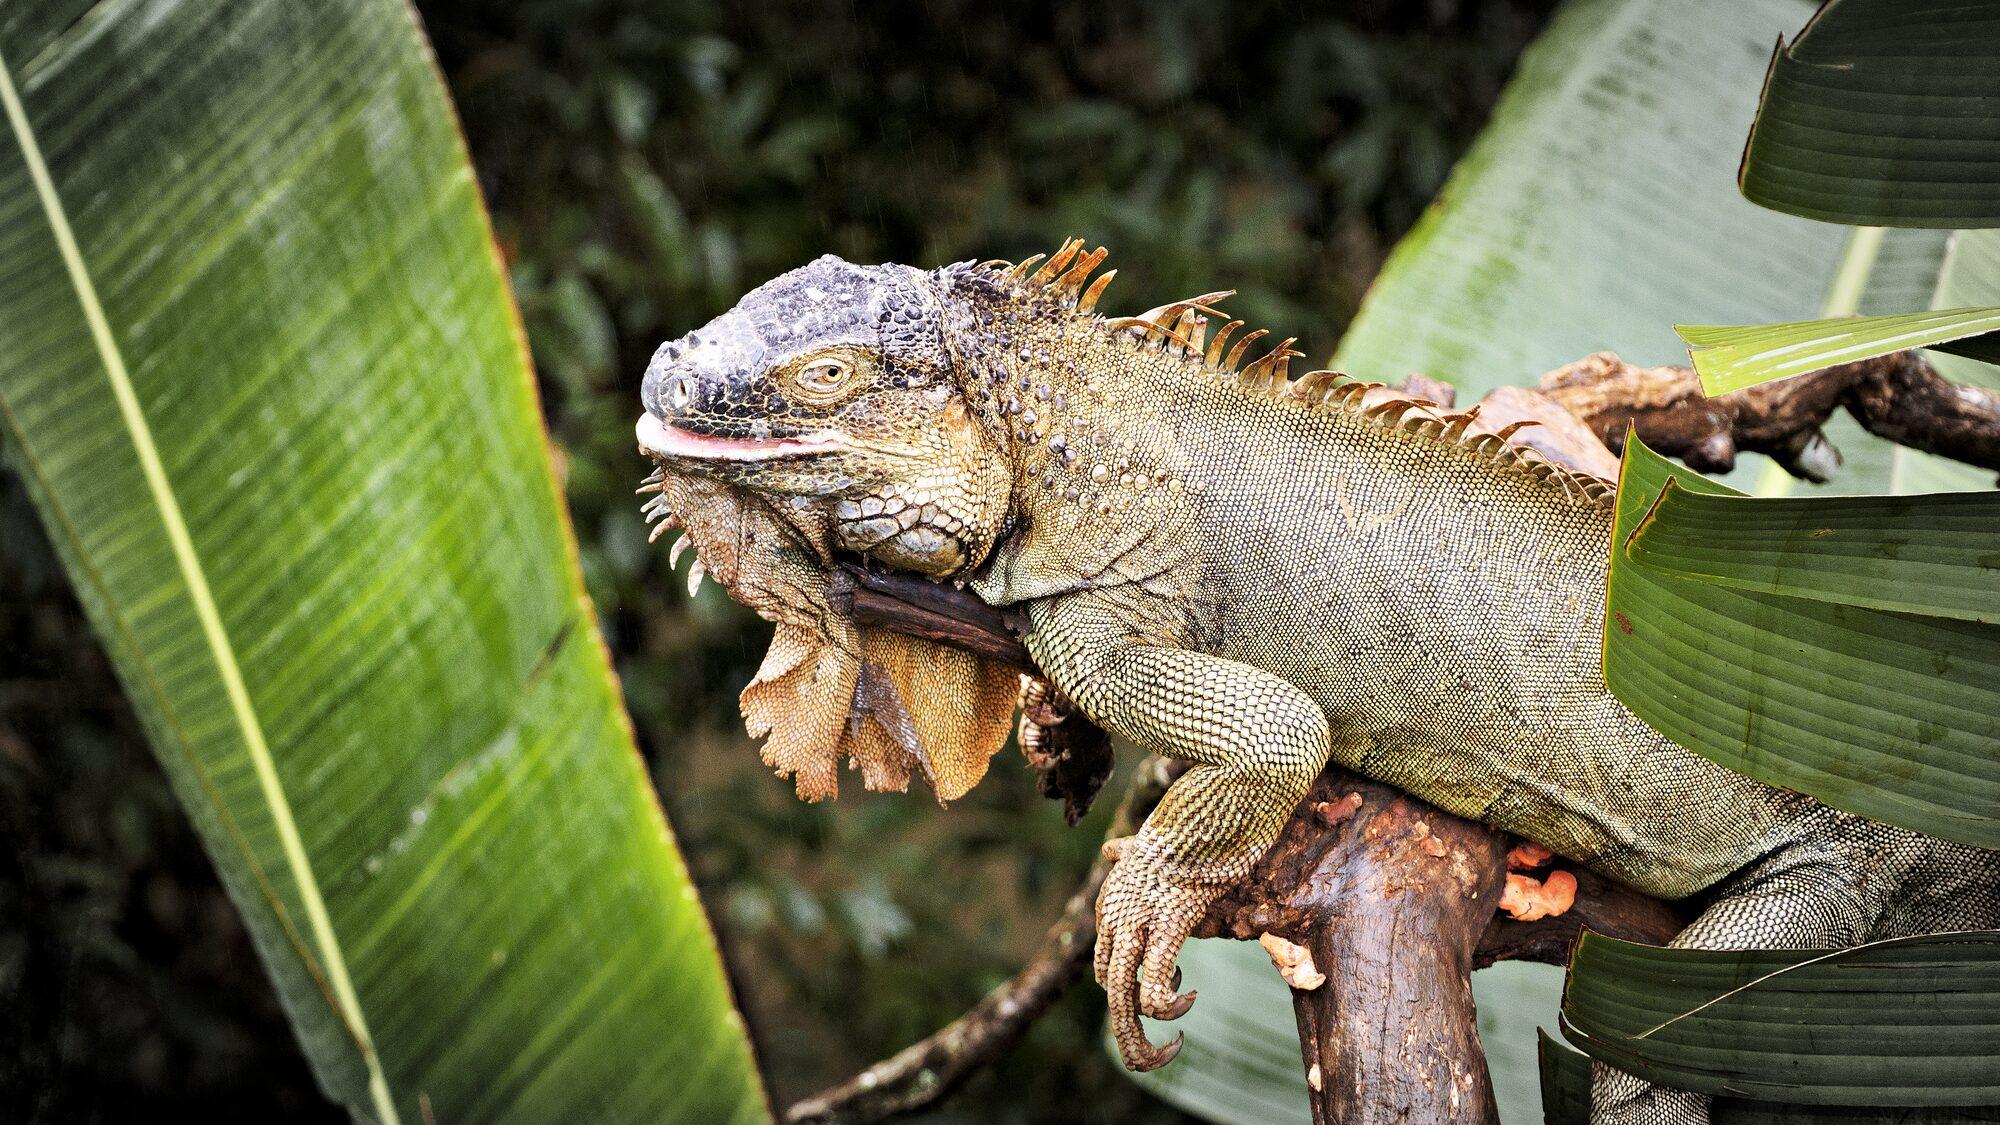
A demo on this page. These five framings were placed by hand to show how the list works. Auto Crop finds its own on your photo.
Noise Reduction
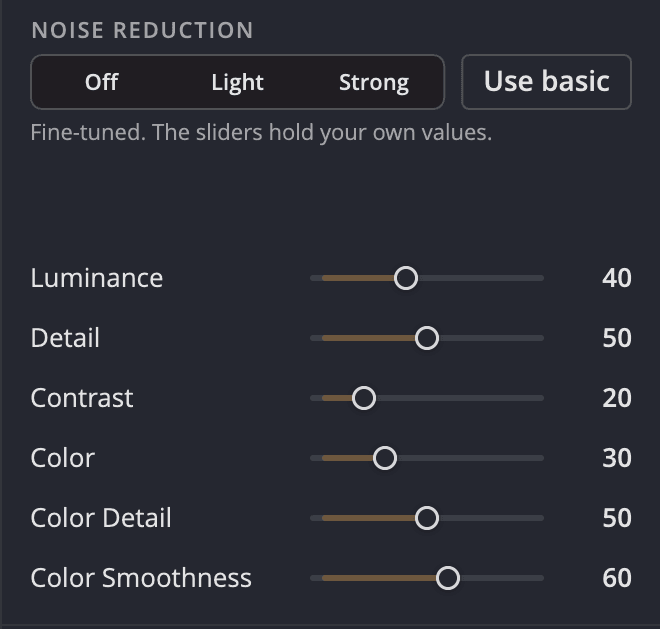
Shot at a high ISO? Pick Off, Light or Strong. Move any slider to fine-tune luminance and color noise separately; Use basic takes you back. An edge-preserving filter on your GPU does the work.
Smooth the grain and decide how much fine detail and local contrast to keep.
Remove the color speckles without bleeding the colors that belong there.
Radiant Photo 2.5 has its own Noise Reduction on its new Focus page, next to Sharpening and the Magnifier.
Grain and color, handled apart
Luminance, Detail and Contrast work on the brightness grain. Color, Color Detail and Color Smoothness work on the color speckles. Raise Detail to keep fine texture, and Color Detail to keep color edges crisp. Try them: the swatches are a drawing of the idea.
Works with your workflow
Your files, your rules
Everything the three apps know about a photo lives beside the photo, in files you can see, back up and move. Your raw file itself is never rewritten.


At a glance
Pricing and downloads live in Support and Pricing. System requirements · Support · Pricing
Questions
No. Develop settings go to sidecar files beside each photo (.radiant, .xmp, or both), and ratings, flags and labels go to the .xmp sidecar. A camera raw file is never opened for writing; a DNG also takes its marks inside, unless you turn off Inside the photo under Settings › Sidecars.
No. Radiant Raw works on its own: open, develop and export. When Radiant Photo is installed, Edit in Radiant Photo sends your finished photos on.
Yes. Radiant Raw reads ratings and labels from .xmp sidecars and writes its marks to the .xmp sidecar that other photo apps read.
Yes. HDR mode needs an EDR display on Mac or an HDR display with Use HDR turned on in Windows. Exports can deliver photos with HDR as HDR gain-map JPEGs.
Only to download the lens profiles and to check for new ones about once a month. Radiant Raw asks before downloading, and nothing about you or your photos is sent. Without profiles, your camera’s own corrections still apply.
One workflow
Radiant Raw never changes your raw. It writes a small recipe beside it, so the develop can be reopened, refined or re-exported at any time.