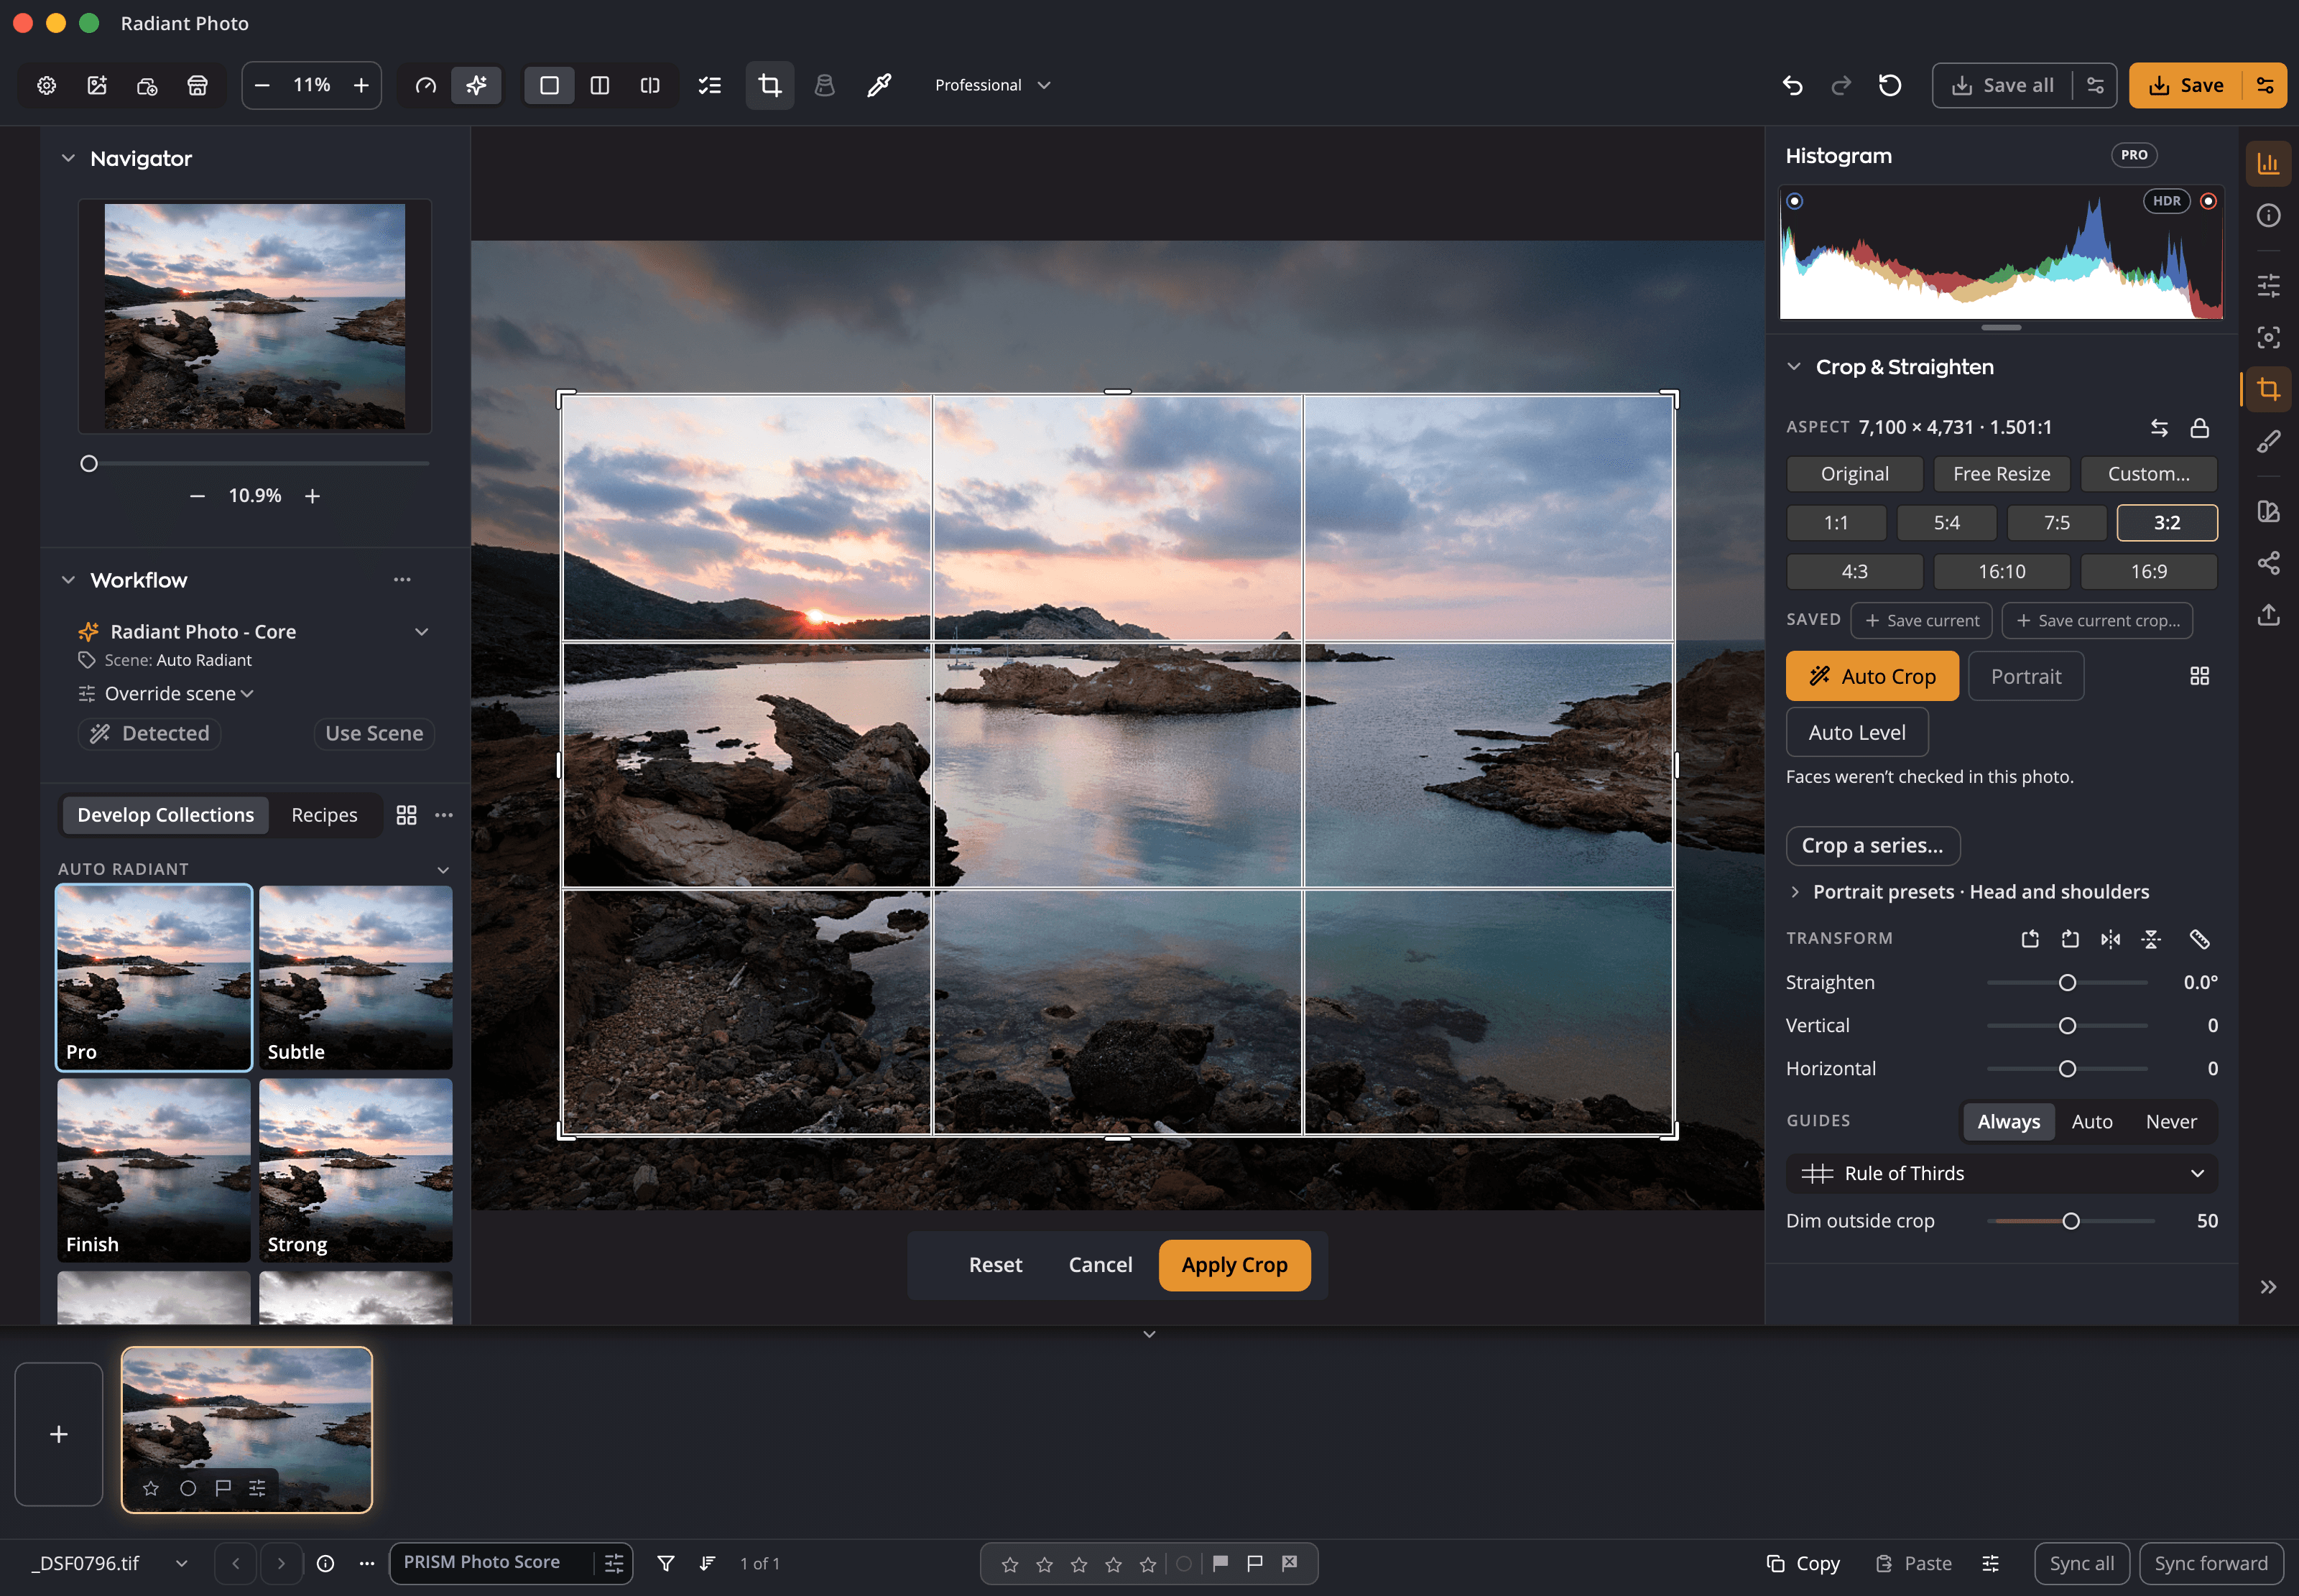
The scene, recognized
A Workflow matched to the scene corrects the photo before you touch a slider. Smart Editing keeps every correction adjustable.

Radiant Photo 2.5 · Photo editor for Mac and Windows
Radiant Photo recognizes faces, skin, skies and subjects and corrects what needs it, then hands every slider back to you. You start from a finished-looking photo instead of a blank one.
$159.00 one time
Try it free for 30 days in the app.
A starting point for every photo
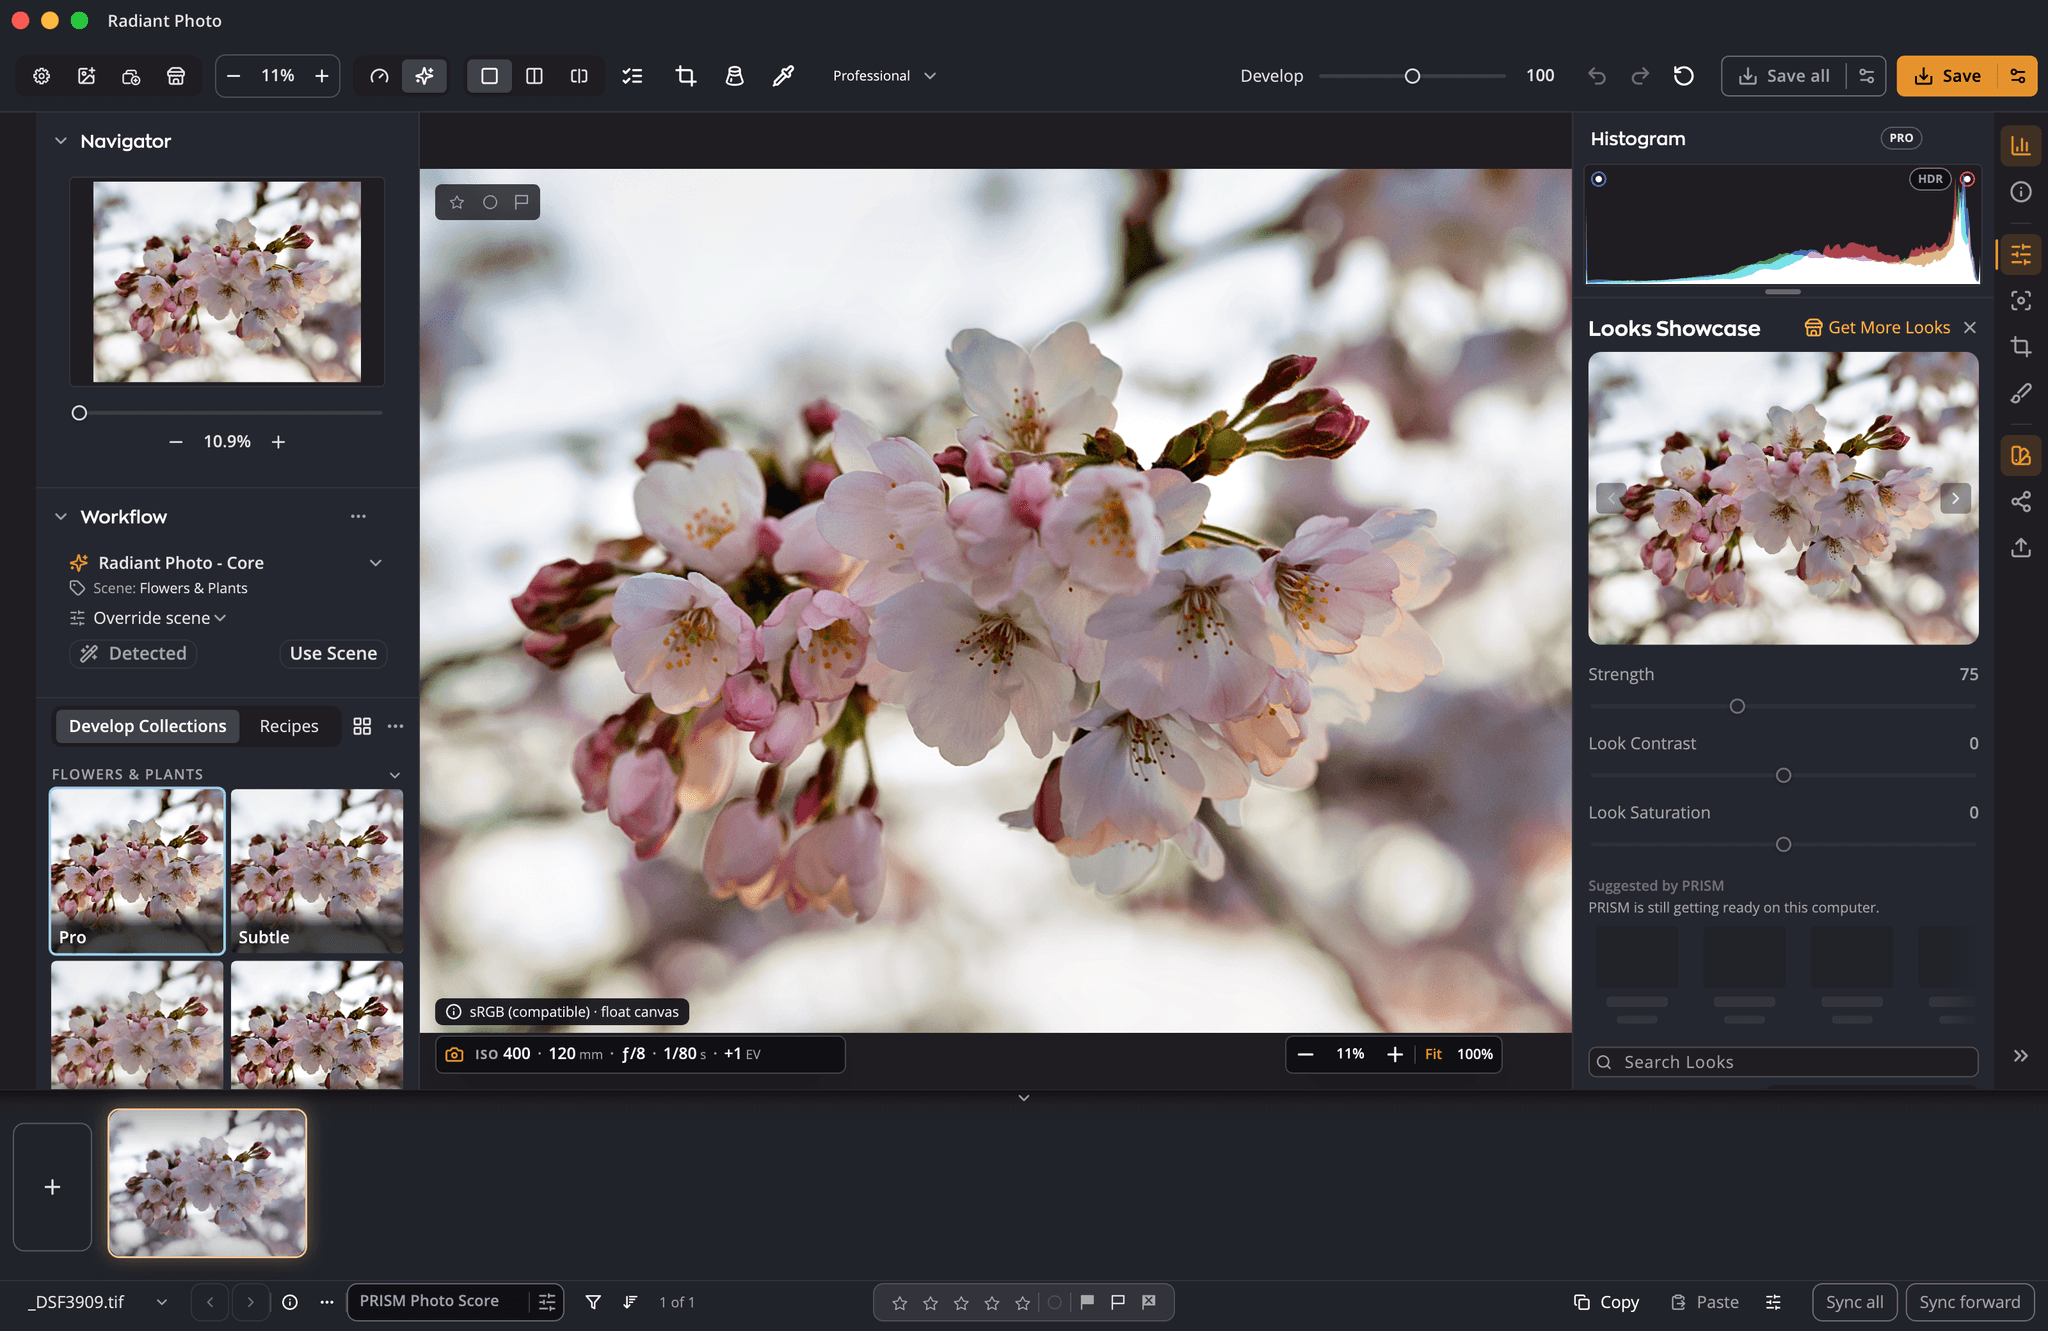
When you open a photo, Radiant Photo looks at it, recognizes the kind of scene, and applies a recipe made for that scene. A portrait gets different care from a sunset or a plate of food. The Develop slider makes the whole correction stronger or gentler, and every tool underneath stays open.
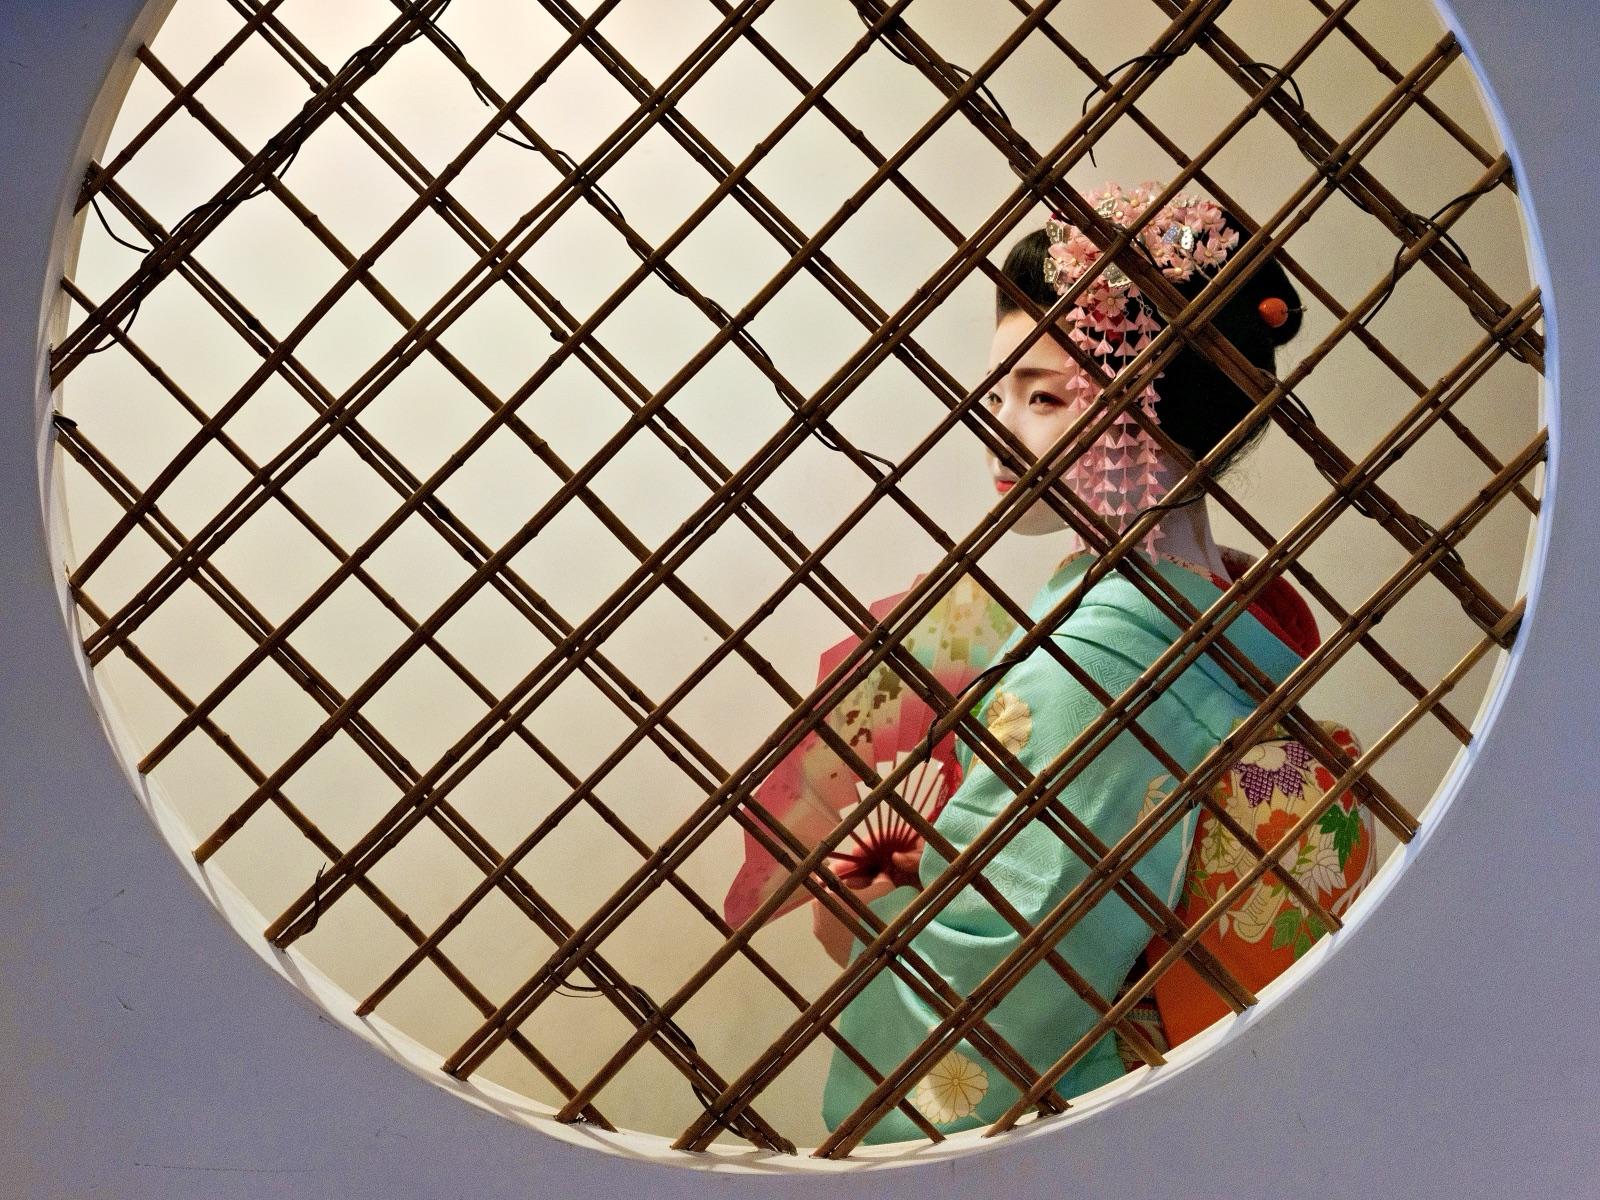
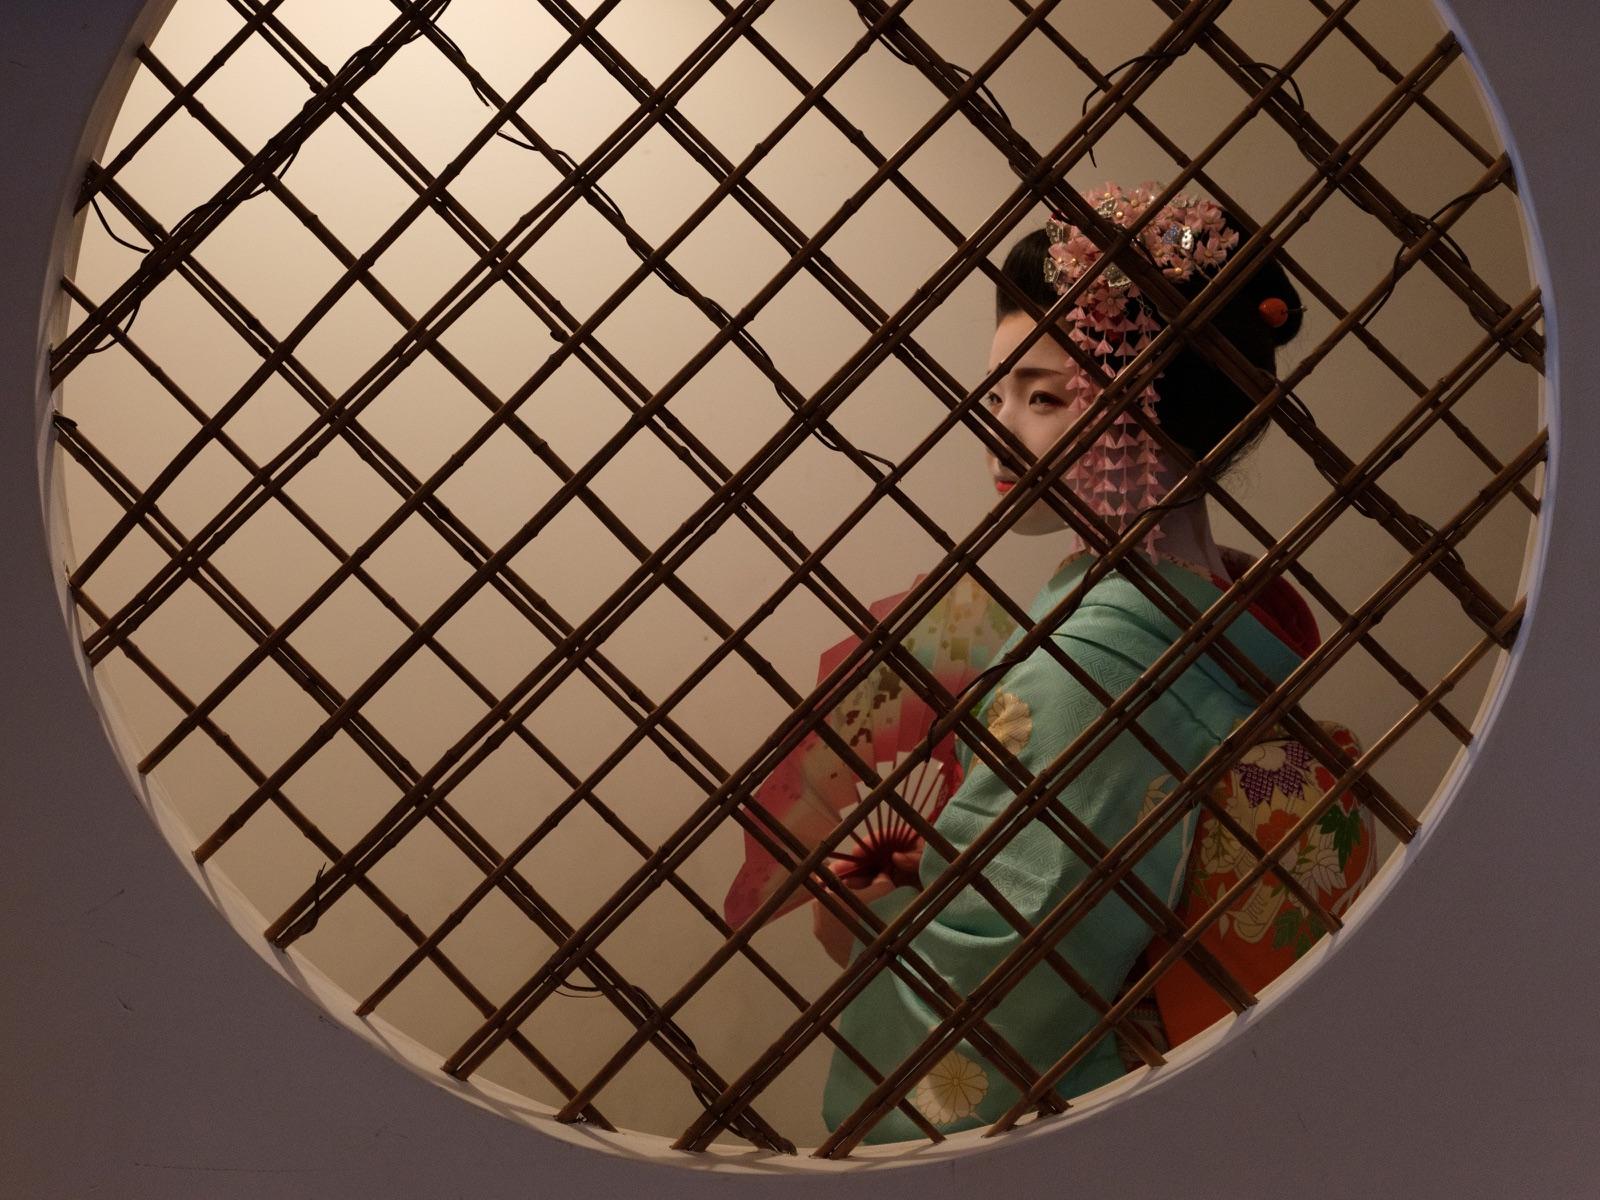
As shot, and after the automatic correction alone. Photo: Elia Locardi.
In the press
I liked the head-start Radiant Photo gave me.
… turning regular photos with all their flaws into bright, vibrant, crisp images …
… it was astonishing in our test what the software can extract …
How it edits
A Workflow matched to the scene corrects the photo before you touch a slider. Smart Editing keeps every correction adjustable.
Brighten shadows or recover highlights without shifting colors, and correct a color cast without changing contrast. Levels, Curves, Presence and Color Wheels for when you want them.
Portrait tools that find each face: skin smoothing that keeps texture, blemish and shine removal, eyes, Face Light and makeup, each one adjustable.
A Look sets the mood across a set. Every Look is a starting point you can push further with the sliders you already know.
Spot Removal paints out dust, spots and wires. Auto Crop frames the photo and keeps its other framings in a list. Auto Level straightens to the strongest line.
Radiant Photo never puts your edits into your original file. They are saved beside your photos, so you can come back and change them at any time.
Key benefits
New in 2.5
Radiant Photo 2 had no manual healing, no Auto Crop and no Perspective. 2.5 brings them in, and works hand in hand with Radiant Flow and Radiant Raw.
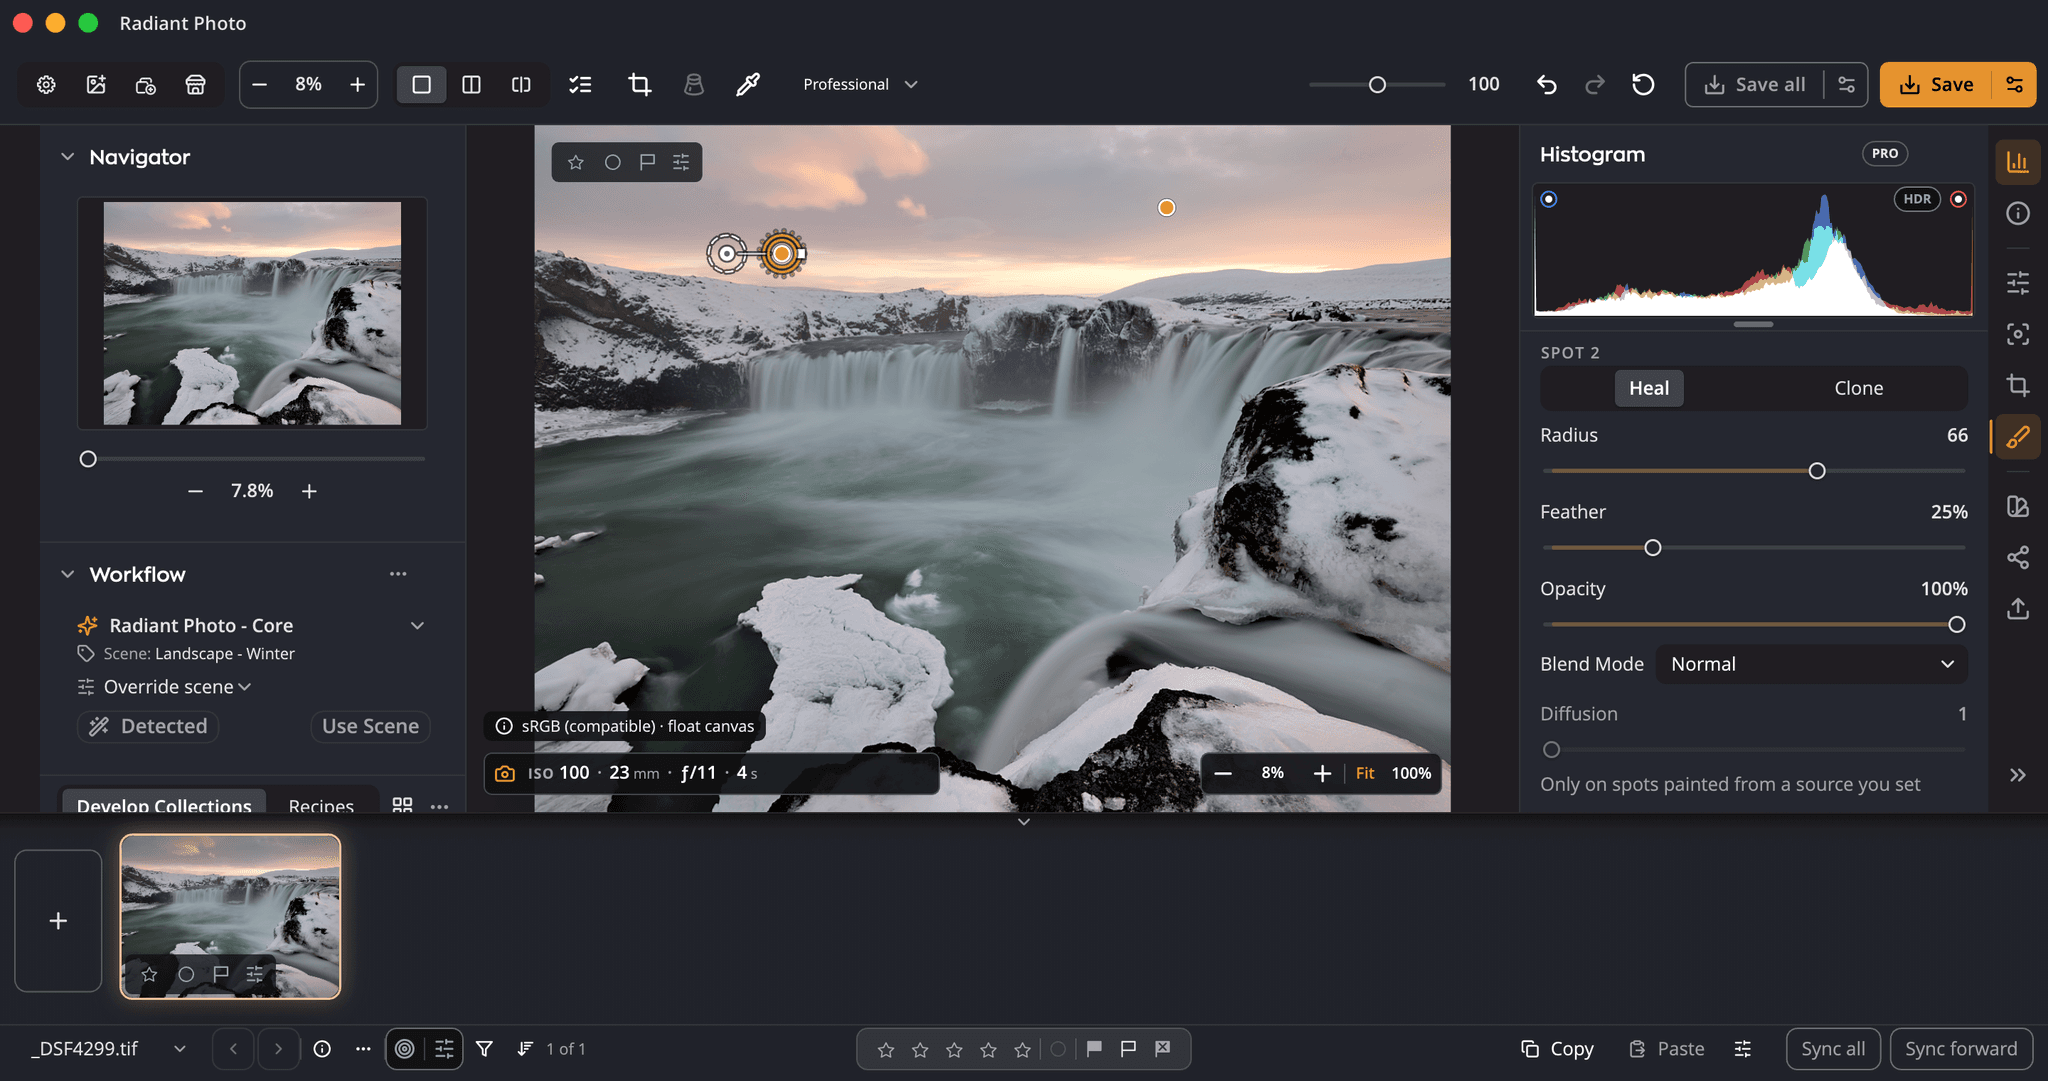
Click once for a speck, drag for a line, and a clean source is picked for you. Heal or Clone, fixes you can move and edit, keyboard use throughout.
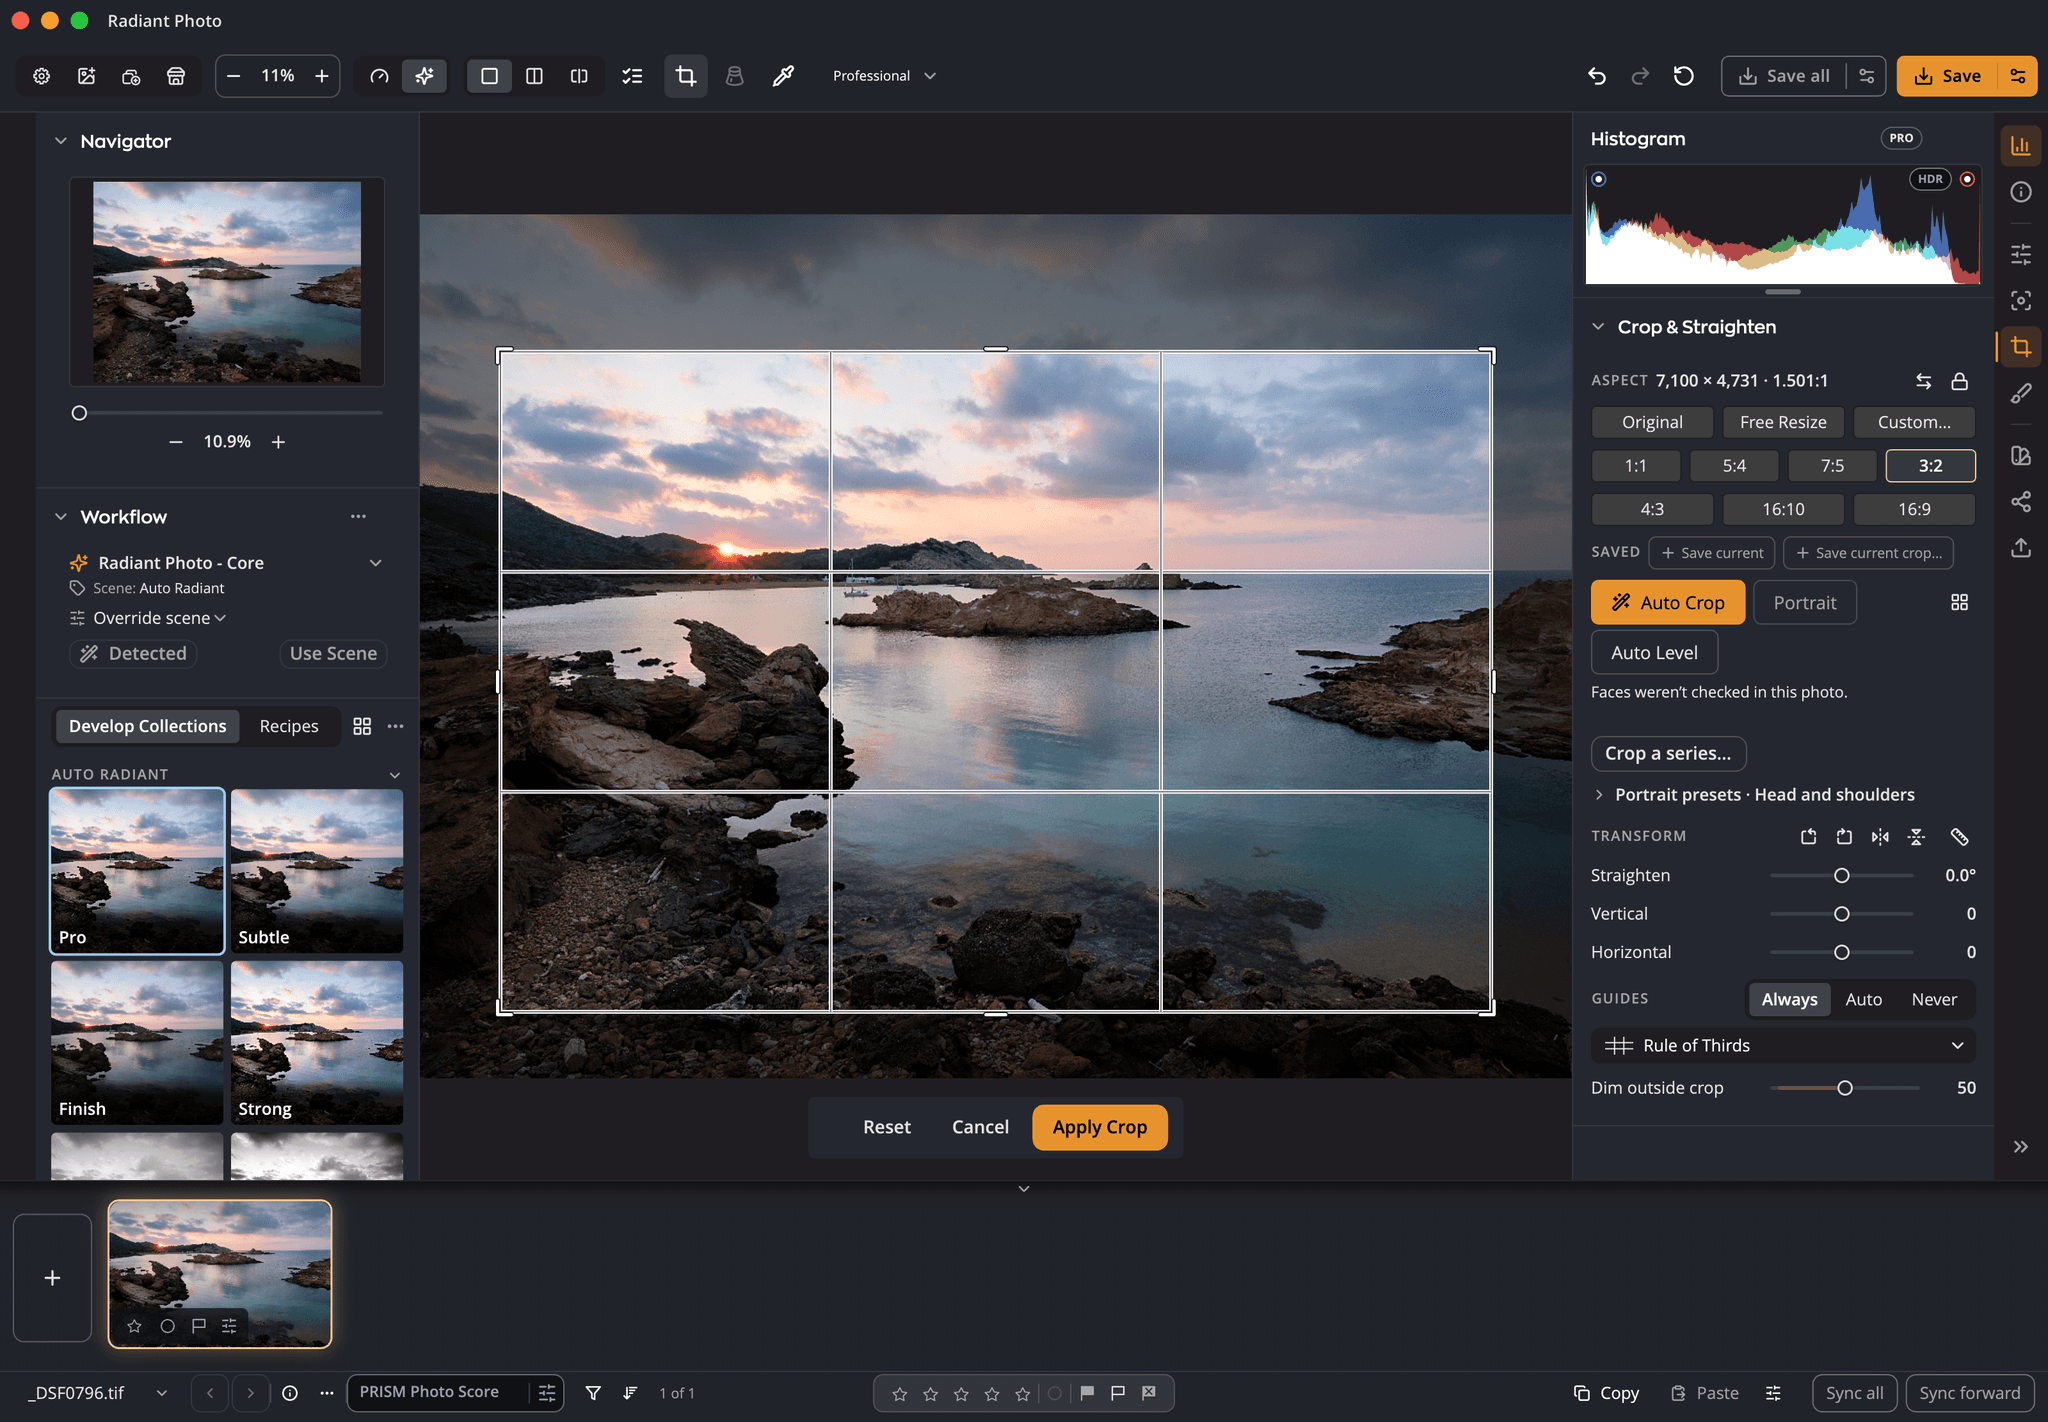
Auto Crop with its reasons listed, Compare Crops, Perspective sliders, portrait framing, and an output-size readout of the pixels you get.
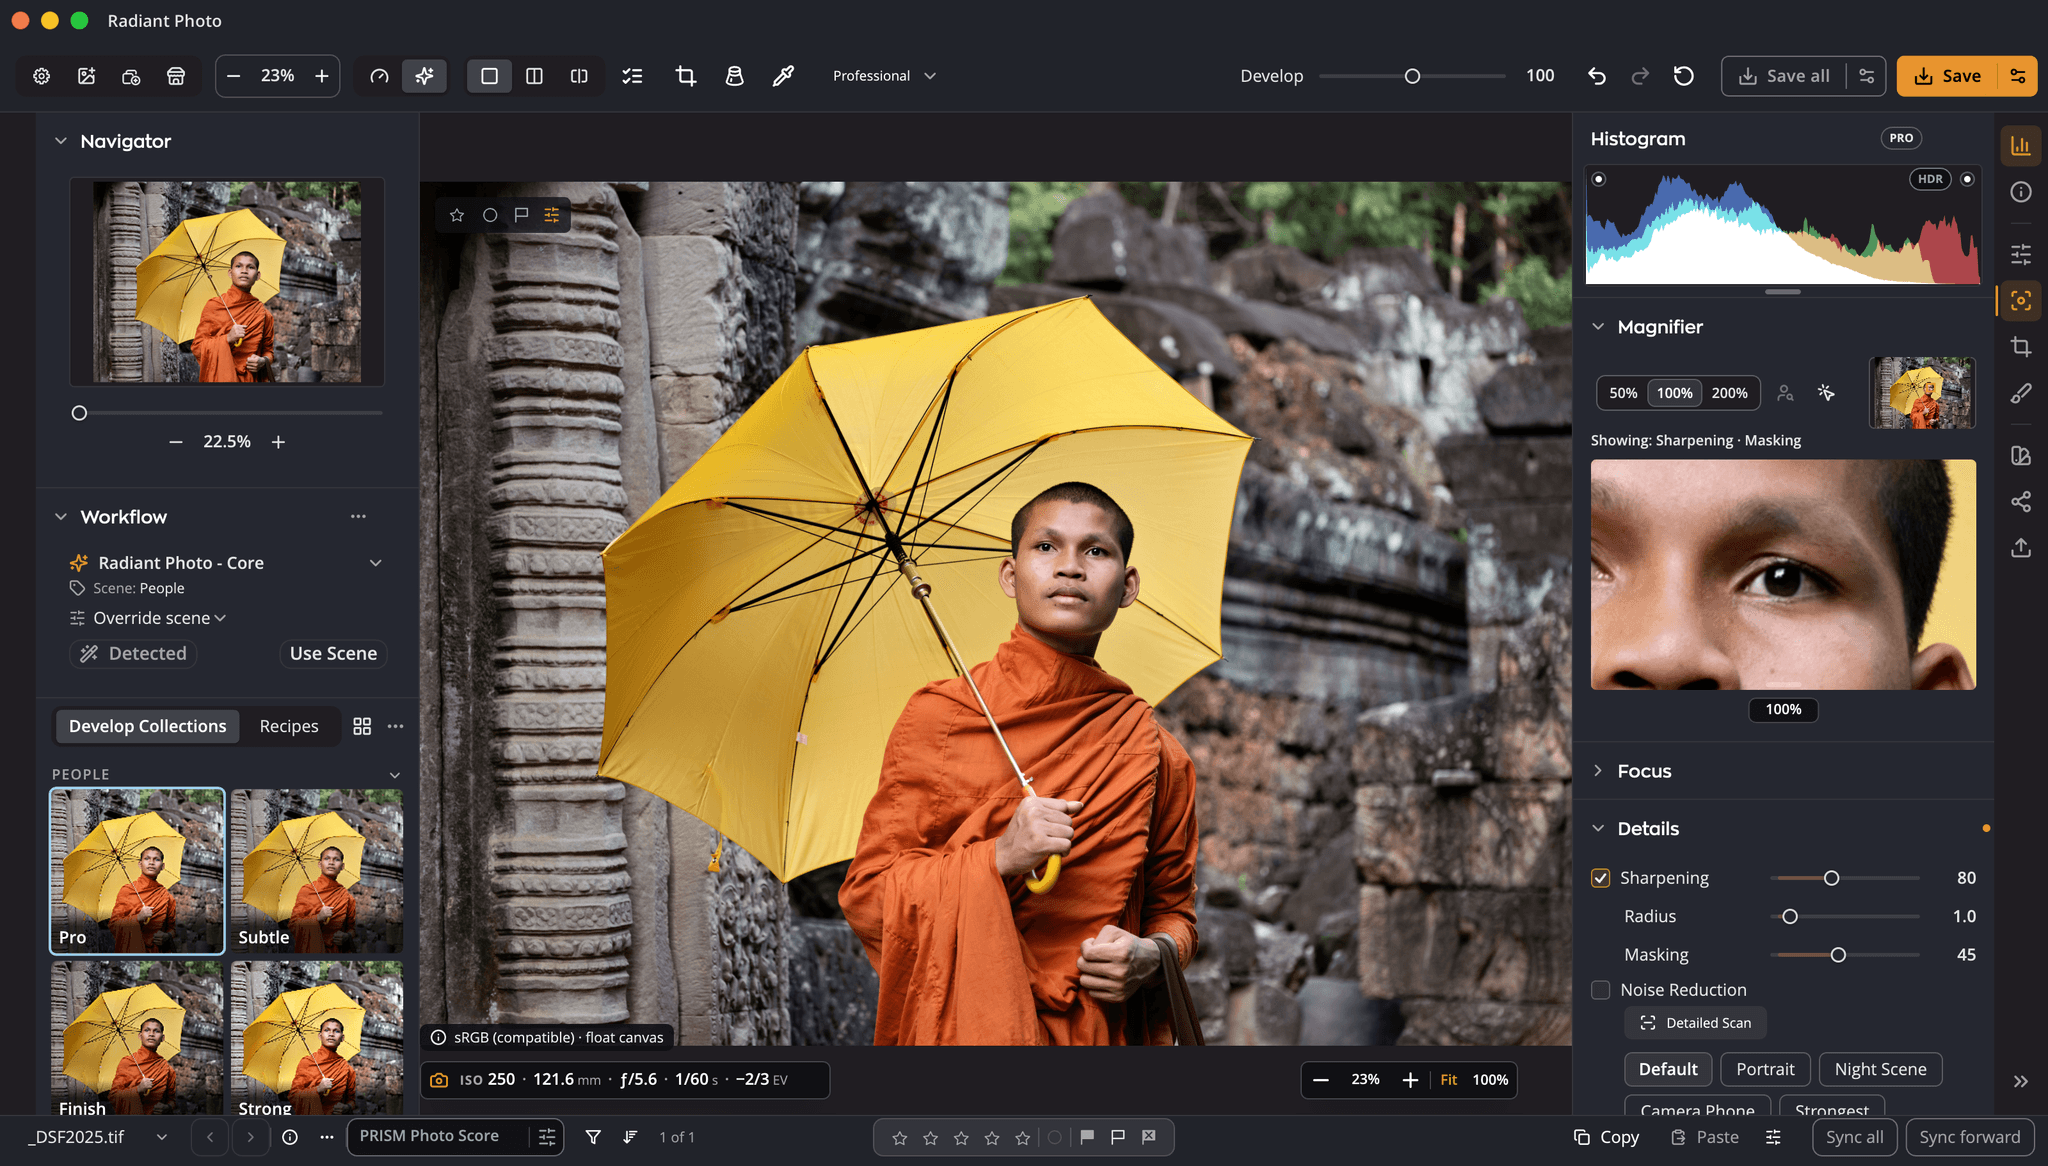
Masking eases sharpening in and out instead of cutting off at one level. Hold Option as you drag to see the mask.
The Magnifier snaps to the eye your camera focused on. A focus mask lights up what is sharp, your camera’s focus points show where it focused, on cameras that record them, and a sharpness score rates the frame. Sharpening and Noise Reduction are on the same page.
Per-channel Levels and Curves with presets, and Texture, Clarity and Atmosphere.
Grade shadows, midtones and highlights separately, and give each side of the Graduated Filter a grade of its own: a cooler sky over warm land.
Choose one of 11 film stocks or a plain subtle, medium or heavy grain, then set its amount, size and roughness. You can also move the vignette’s center.
16 skin shades and 36 blush colors, where Radiant Photo 2 had 5 and 12, or mix your own.
Set two photos as A and B and compare them, alongside Before/After and Split.
Rate, pick and reject at full screen, then show only your picks.
With Radiant Flow installed, PRISM scores your photos and suggests a develop collection for the scene, applied only when you press Apply.
Scopes
Radiant Raw and Radiant Photo share the same four scopes: Histogram, Waveform, Parade and Vectorscope. Keep one docked at the top of the panel, lay one on the photo itself, or open the Scopes window to see up to four at once, larger. They follow every slider as you drag it.
Try it here
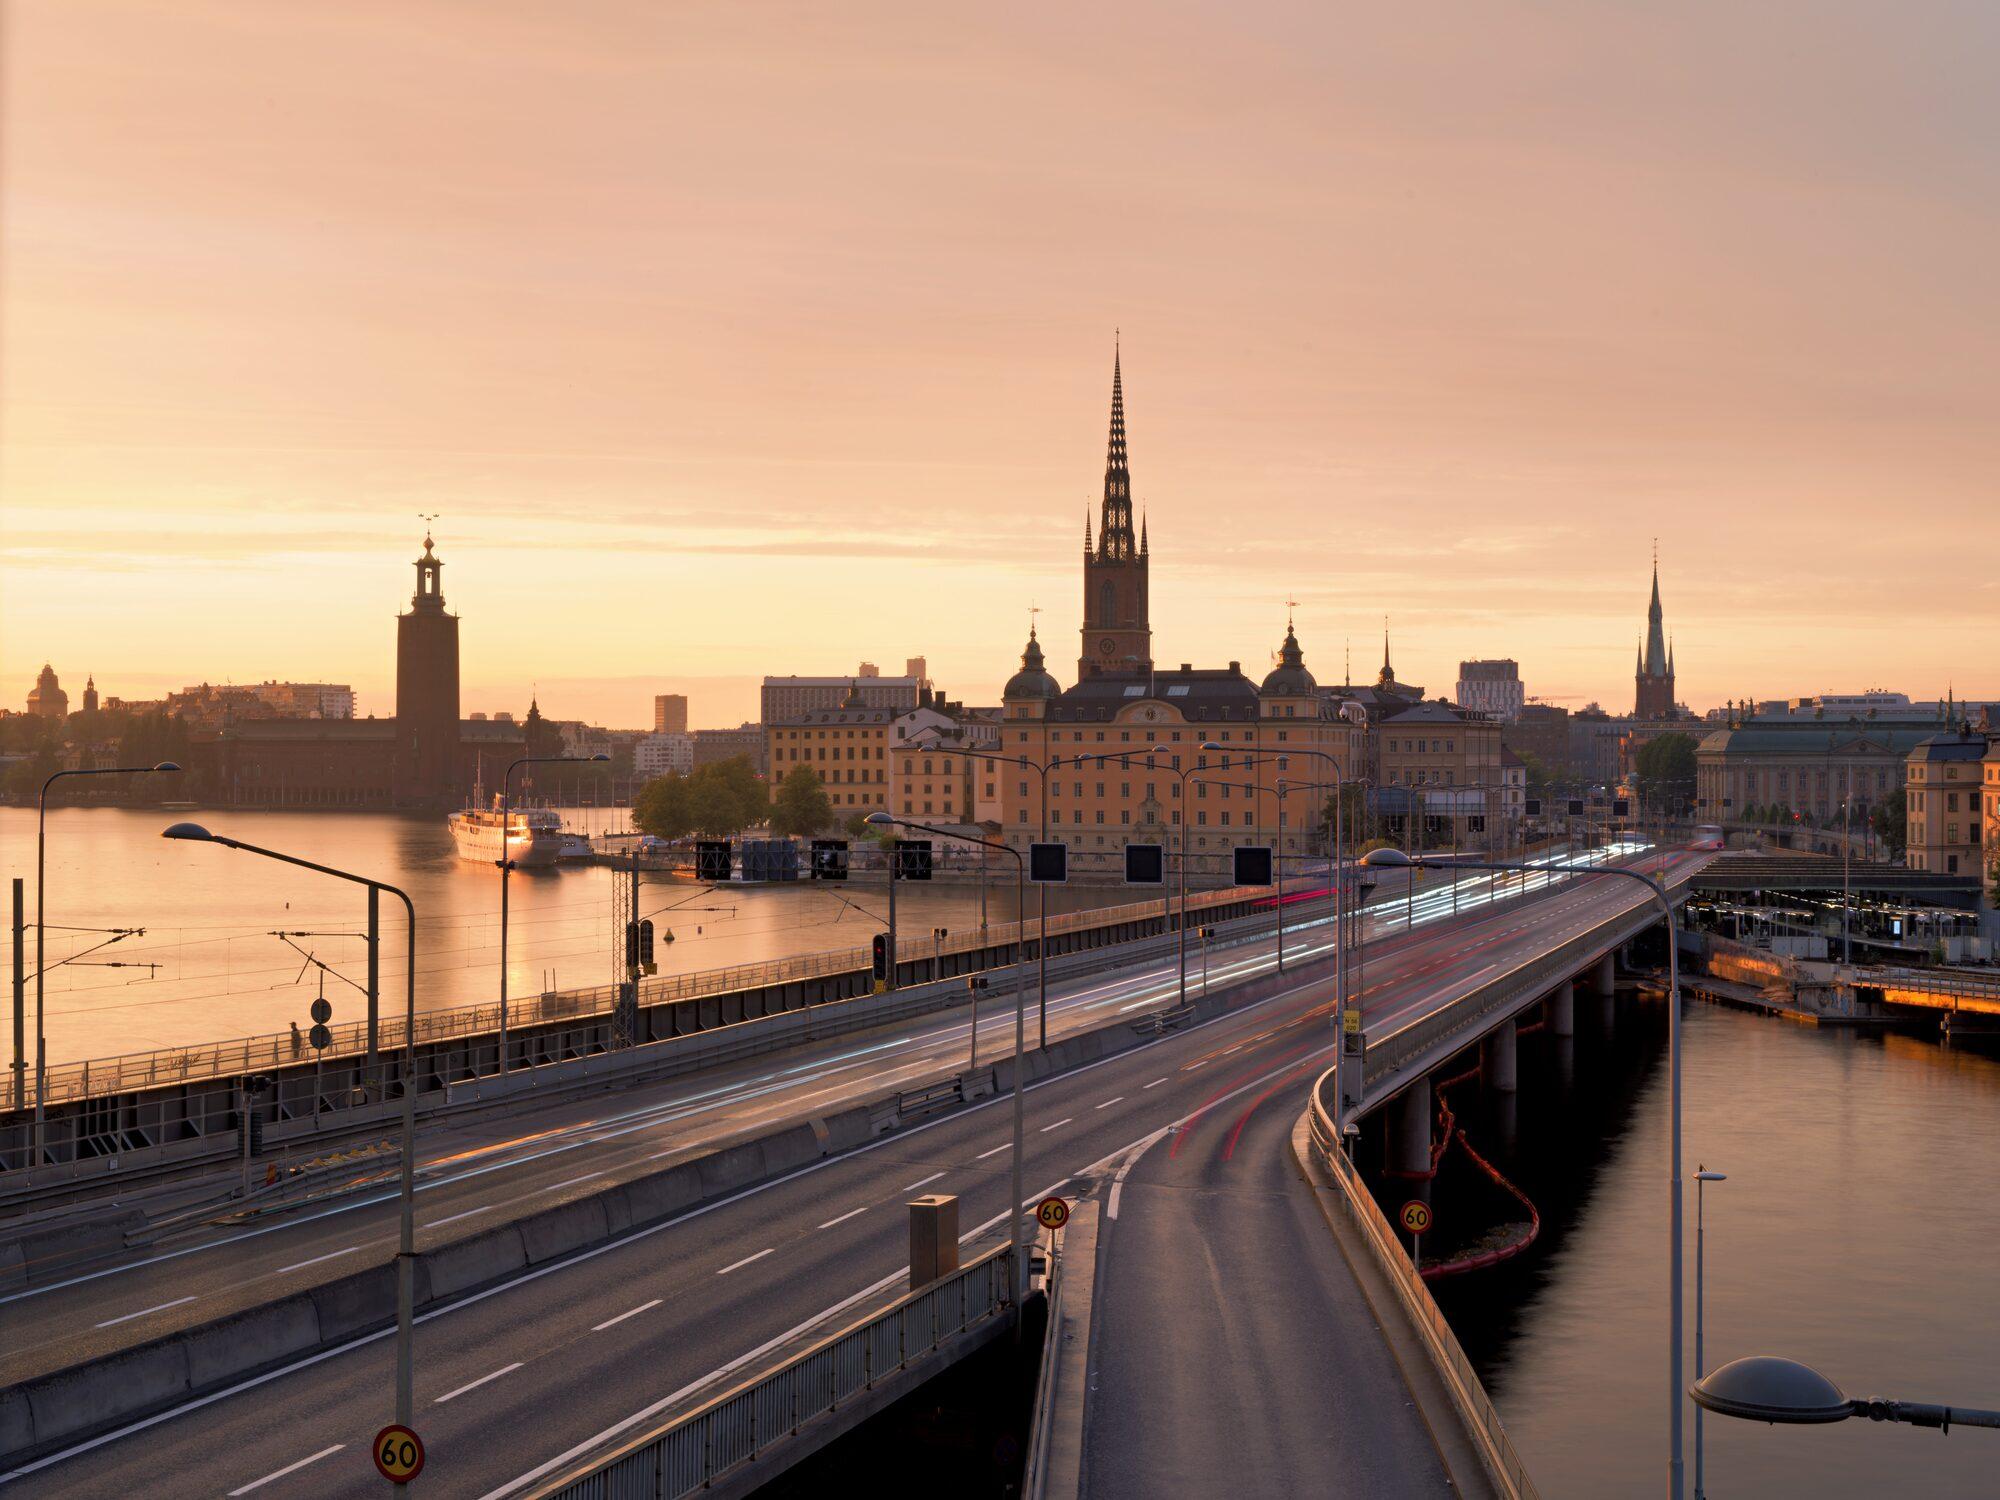
Golden light over Stockholm’s old town, traffic streaking past below. Photo: Elia Locardi
Drawn on this page, in your browser, from the photo beside it. Point at the photo and that pixel is marked in the scope.
Auto Crop
Press Auto Crop and Radiant applies the best framing it finds, as one undo step. Every other framing stays in a list under the button, each with a plain label that says what it did. Point at one to preview it on your photo, compare them all side by side, or frame a whole shoot at once.
Try it here
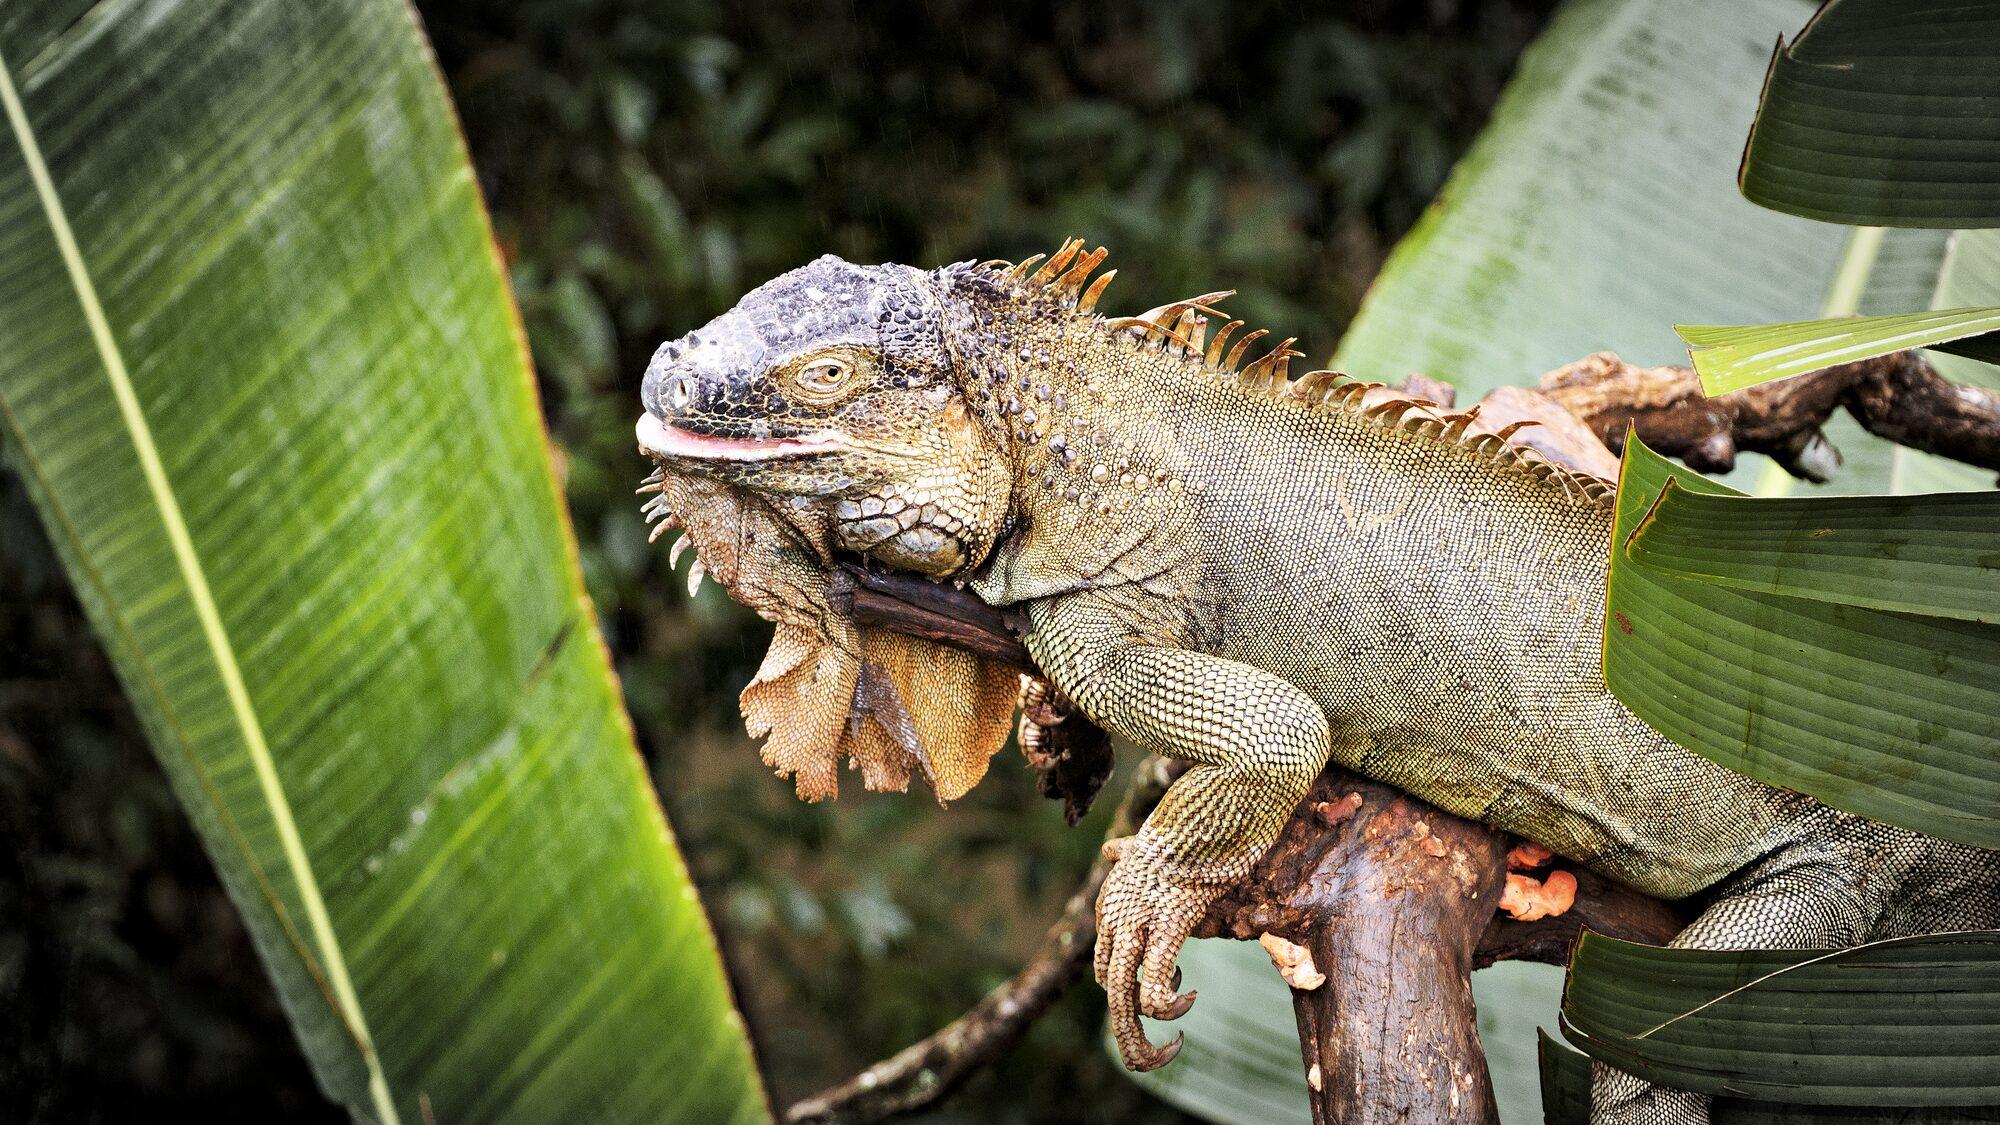
A demo on this page. These five framings were placed by hand to show how the list works. Auto Crop finds its own on your photo.
Color, in depth
The automatic correction is a starting point. Underneath it, the tools a colorist expects.
More color tools
Switch between Color, B&W and Invert, then drag up or down on the photo to lighten or darken a color in the black-and-white mix.
Edit in Display P3, Adobe RGB (1998) or ProPhoto RGB instead of sRGB, so wide-gamut photos keep their color while you work. Choose it in Settings › Color.
Pin up to ten points on the photo and read each one live in RGB, percent, HSV or Lab.
See the photo as it will look in sRGB, Adobe RGB, Display P3 or ProPhoto RGB, with a gamut warning. On a Mac, proof to your printer’s ICC profile too.
Spot Removal
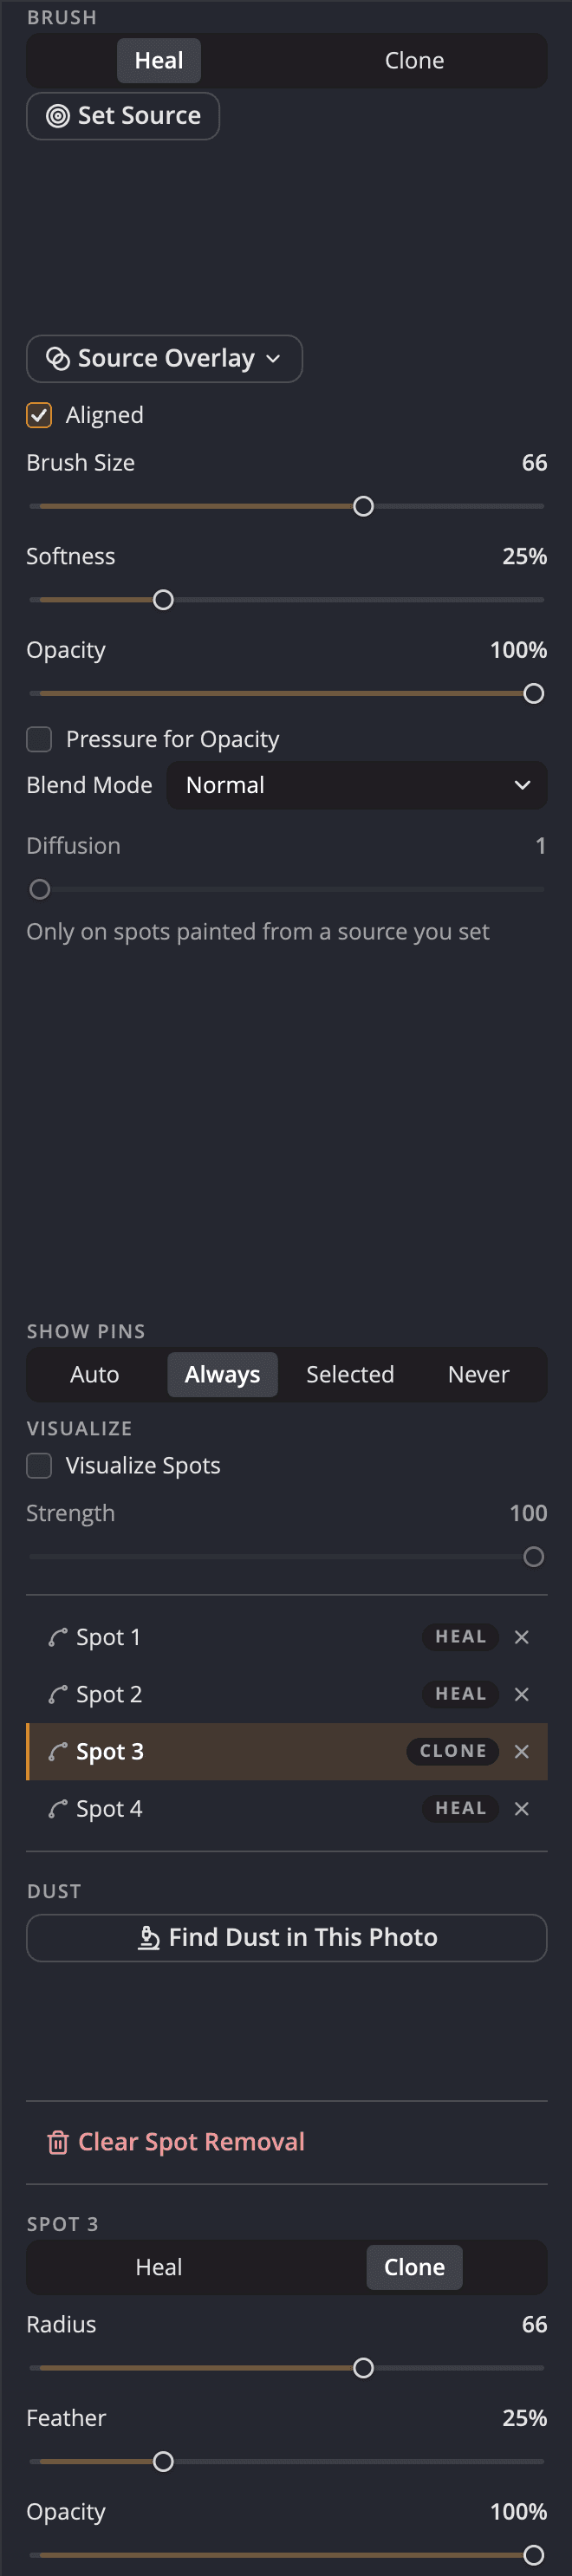
Click once for a speck, drag for a line, and a clean source is picked for you. Each fix stays on the canvas as a pin you can move, resize or delete.
For the brush, and for each fix after the fact.
Size from the bracket keys, or Shift and the scroll wheel, softness with Option (Alt on Windows) and a bracket, with a readout on the canvas.
Heal or Clone, each with its own pin on the photo. Drag a fix to move it, or its source to move the source.
For each fix, after the fact. A whole long stroke comes off in one undo, and Copy Settings can carry fixes to other photos.
Marketplace · Landscape Bold Colors A
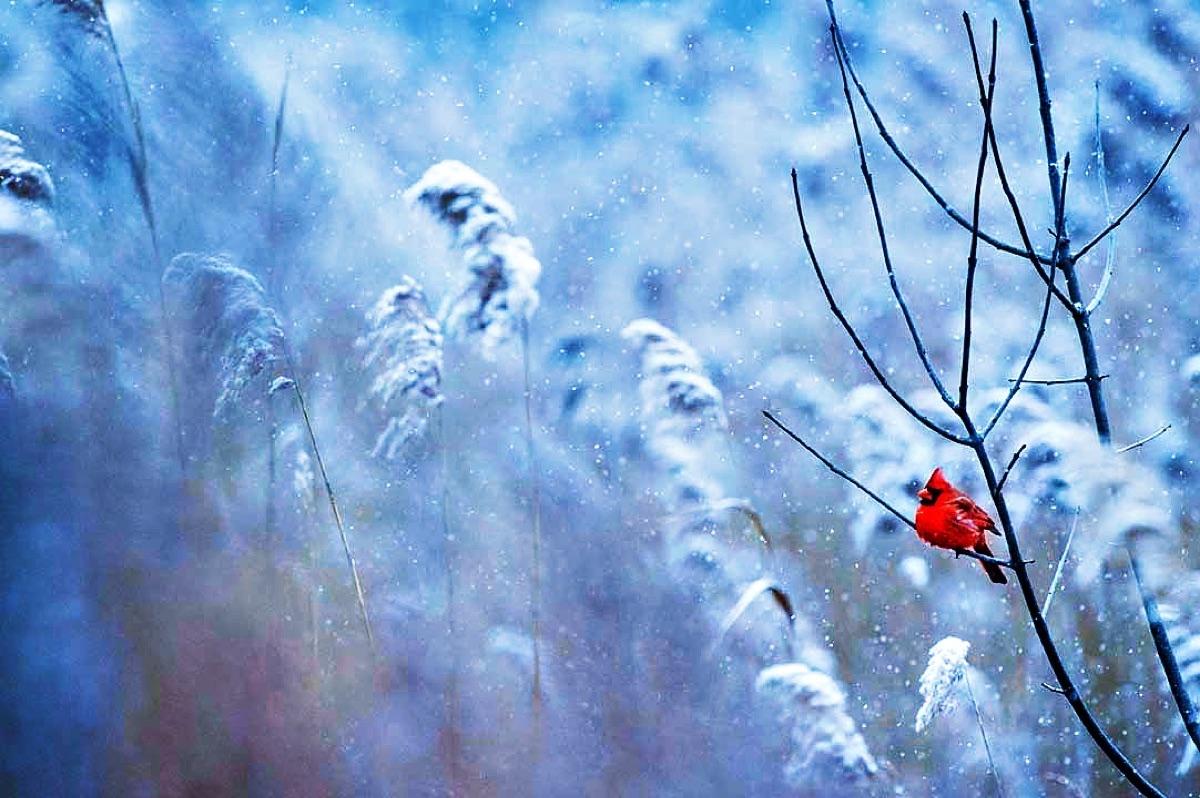
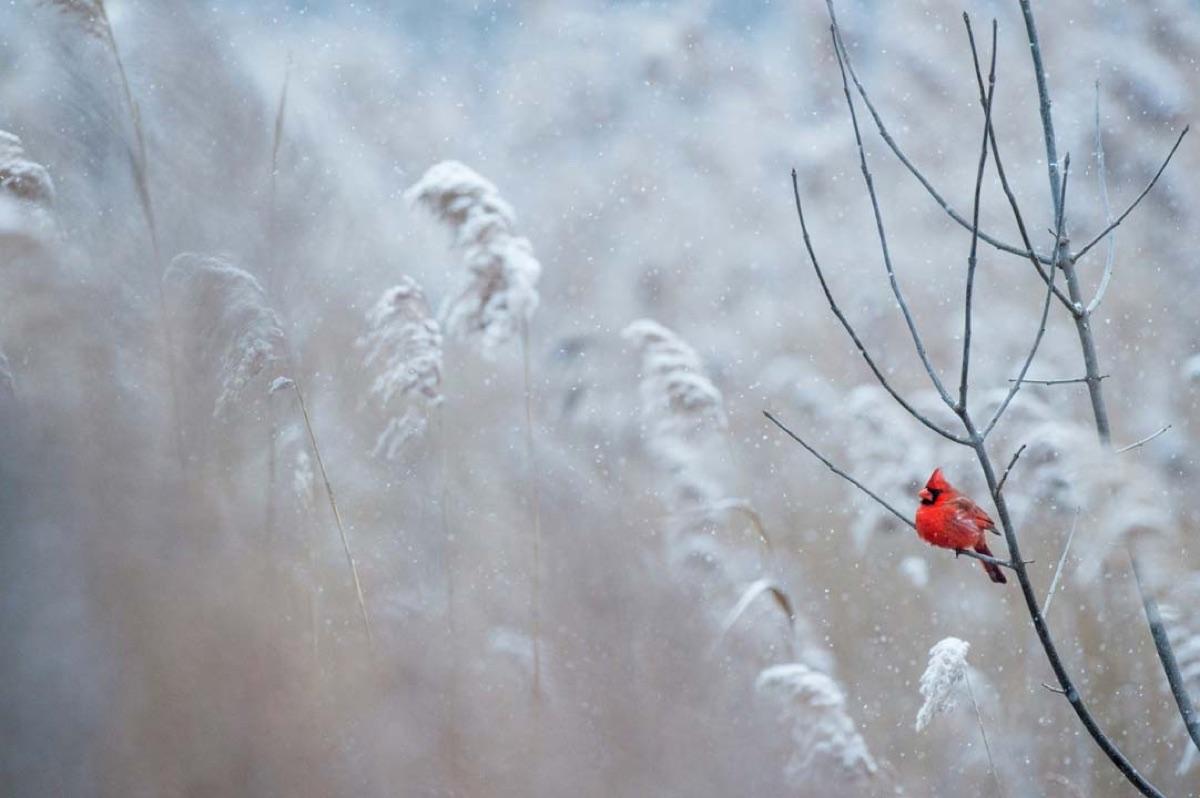
Looks, Recipes, Develop Collections and Workflows from the Marketplace, the same store as in the app: buy on the website and it is in Radiant Photo. Every Look is a starting point you can push further.
Three apps, one shoot
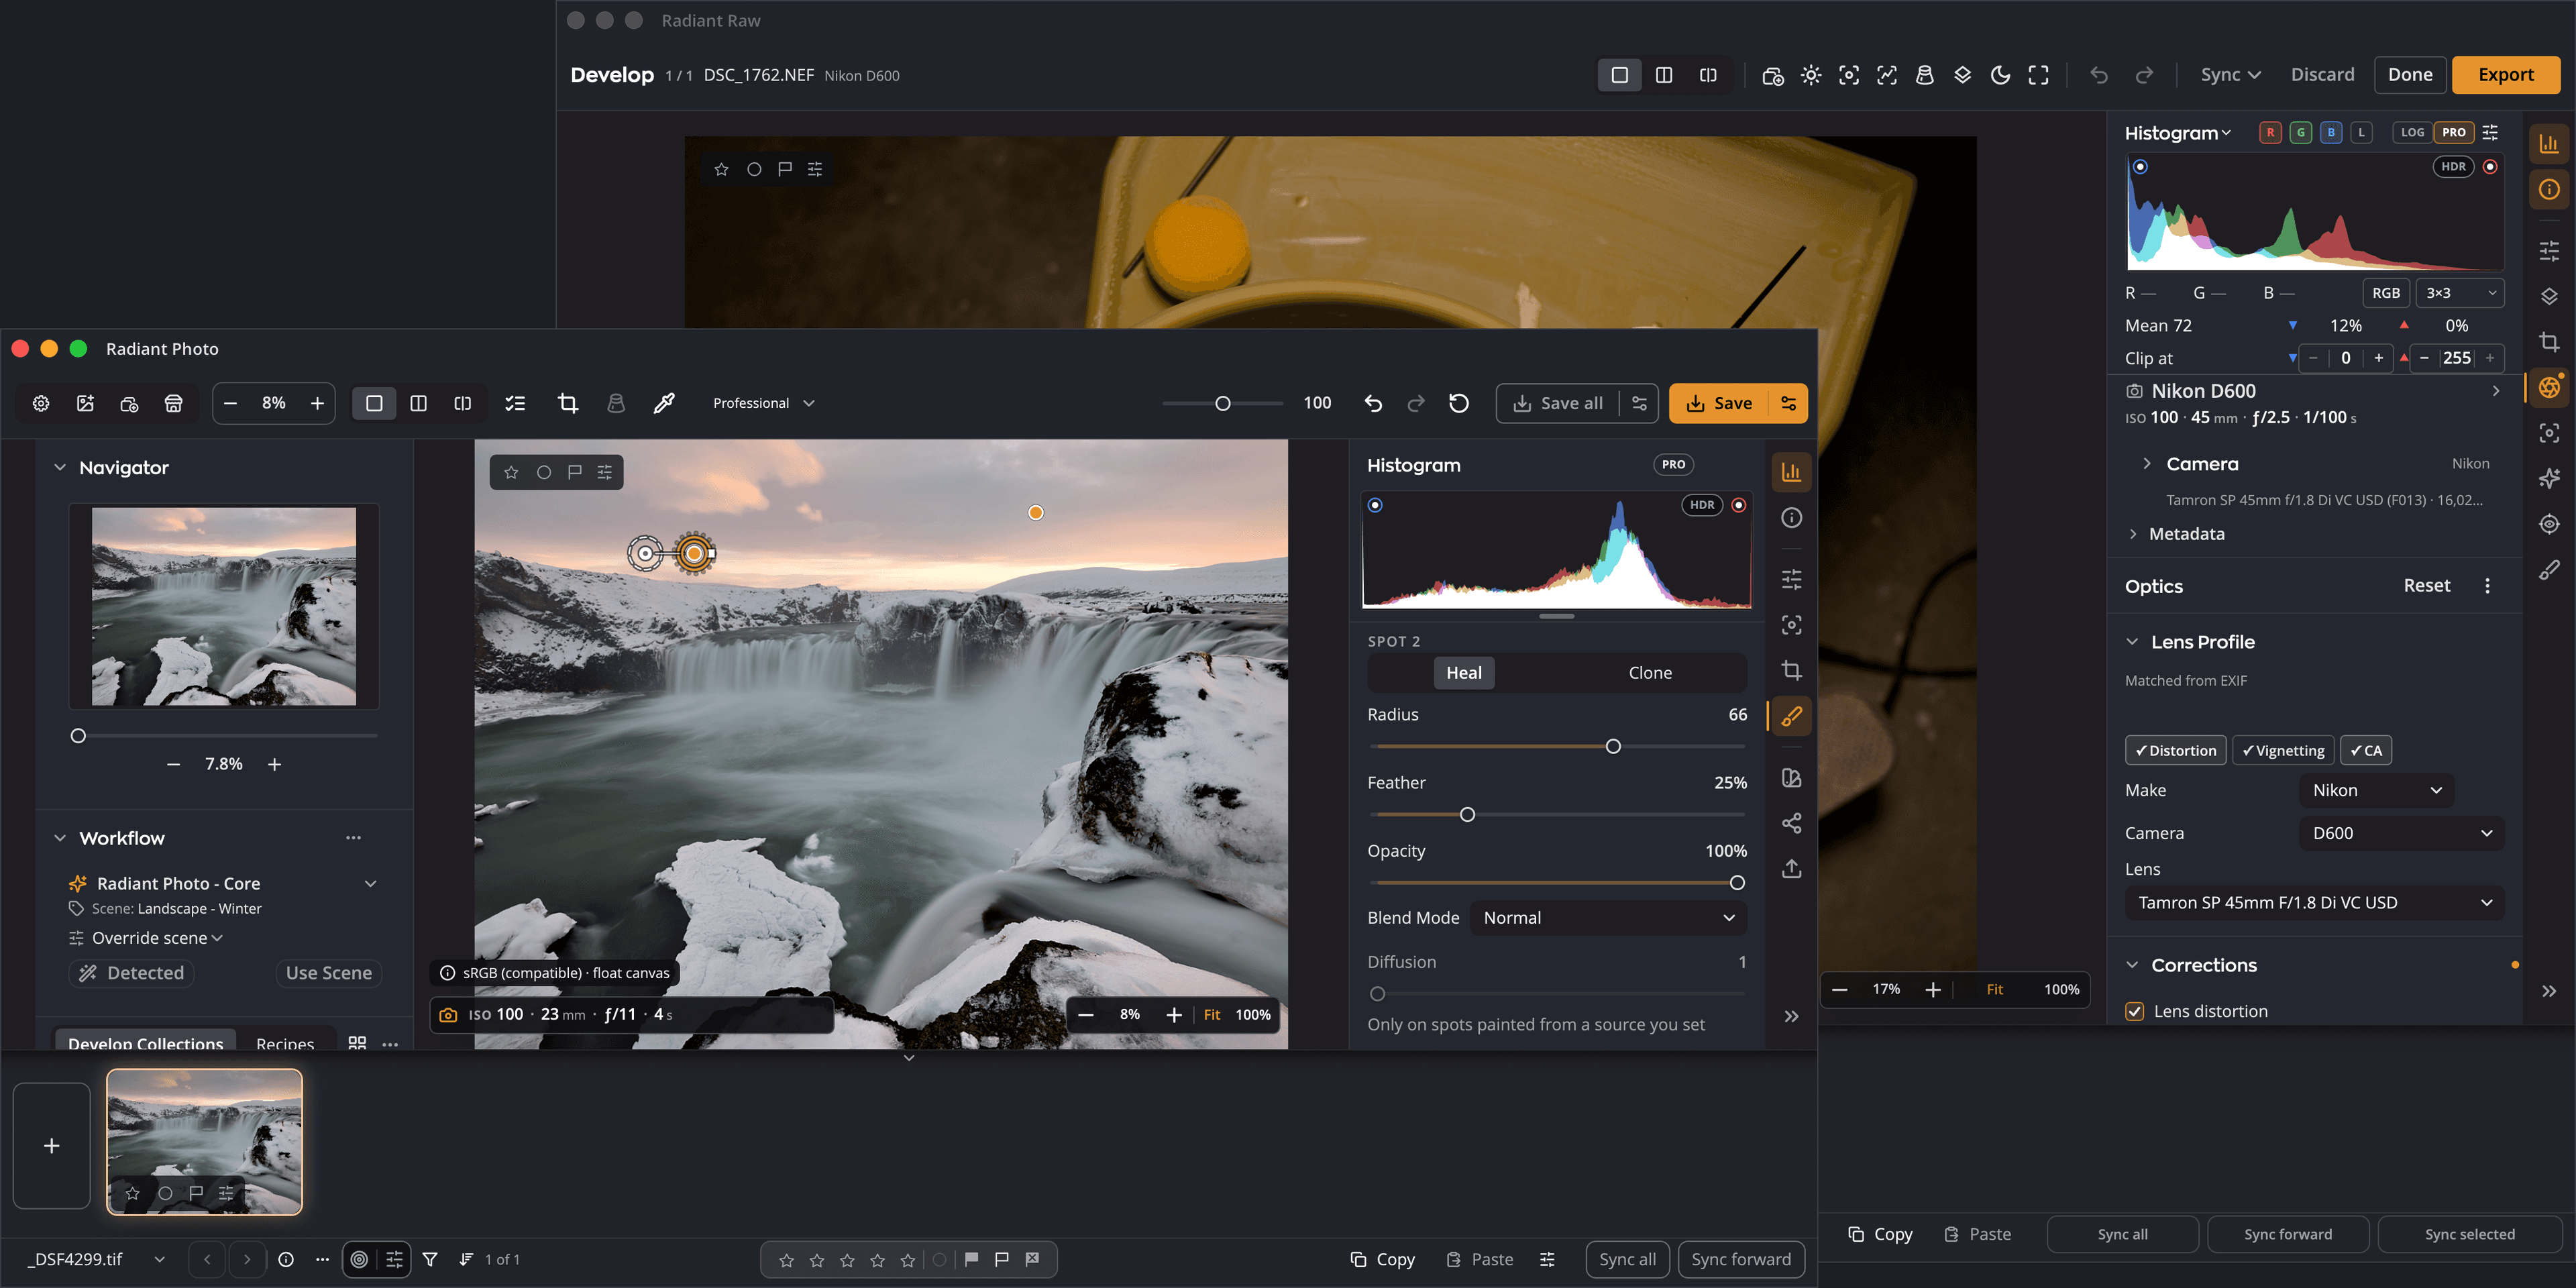
Radiant Photo opens raw files on its own with an automatic develop and twelve built-in recipes, eight of them marked Lab Tools while they are still being refined. With Radiant Raw installed and activated, one command sends a raw photo back for a full develop, and the new pixels come back under your edits. Radiant Flow hands you the keepers and keeps your ratings in sync.
Halfway through a retouch and wish you had more highlight detail? Send that one photo back, rework the develop, press Done. Your edits stay on top unless you reframe.
Select your keepers in Flow and press Return. They open here, and a star set in either app shows in the other at once.
Marks in standard XMP, develops as recipes, edits in a .radiant file beside the original. Nothing is locked in.
Your files, your rules
Everything the three apps know about a photo lives beside the photo, in files you can see, back up and move. Your raw file itself is never rewritten.


Workflows for Radiant Photo
Portraiture, Landscapes, Birds and Pets: Workflows that teach Radiant Photo the scenes of your kind of photography, so every photo opens closer to finished.
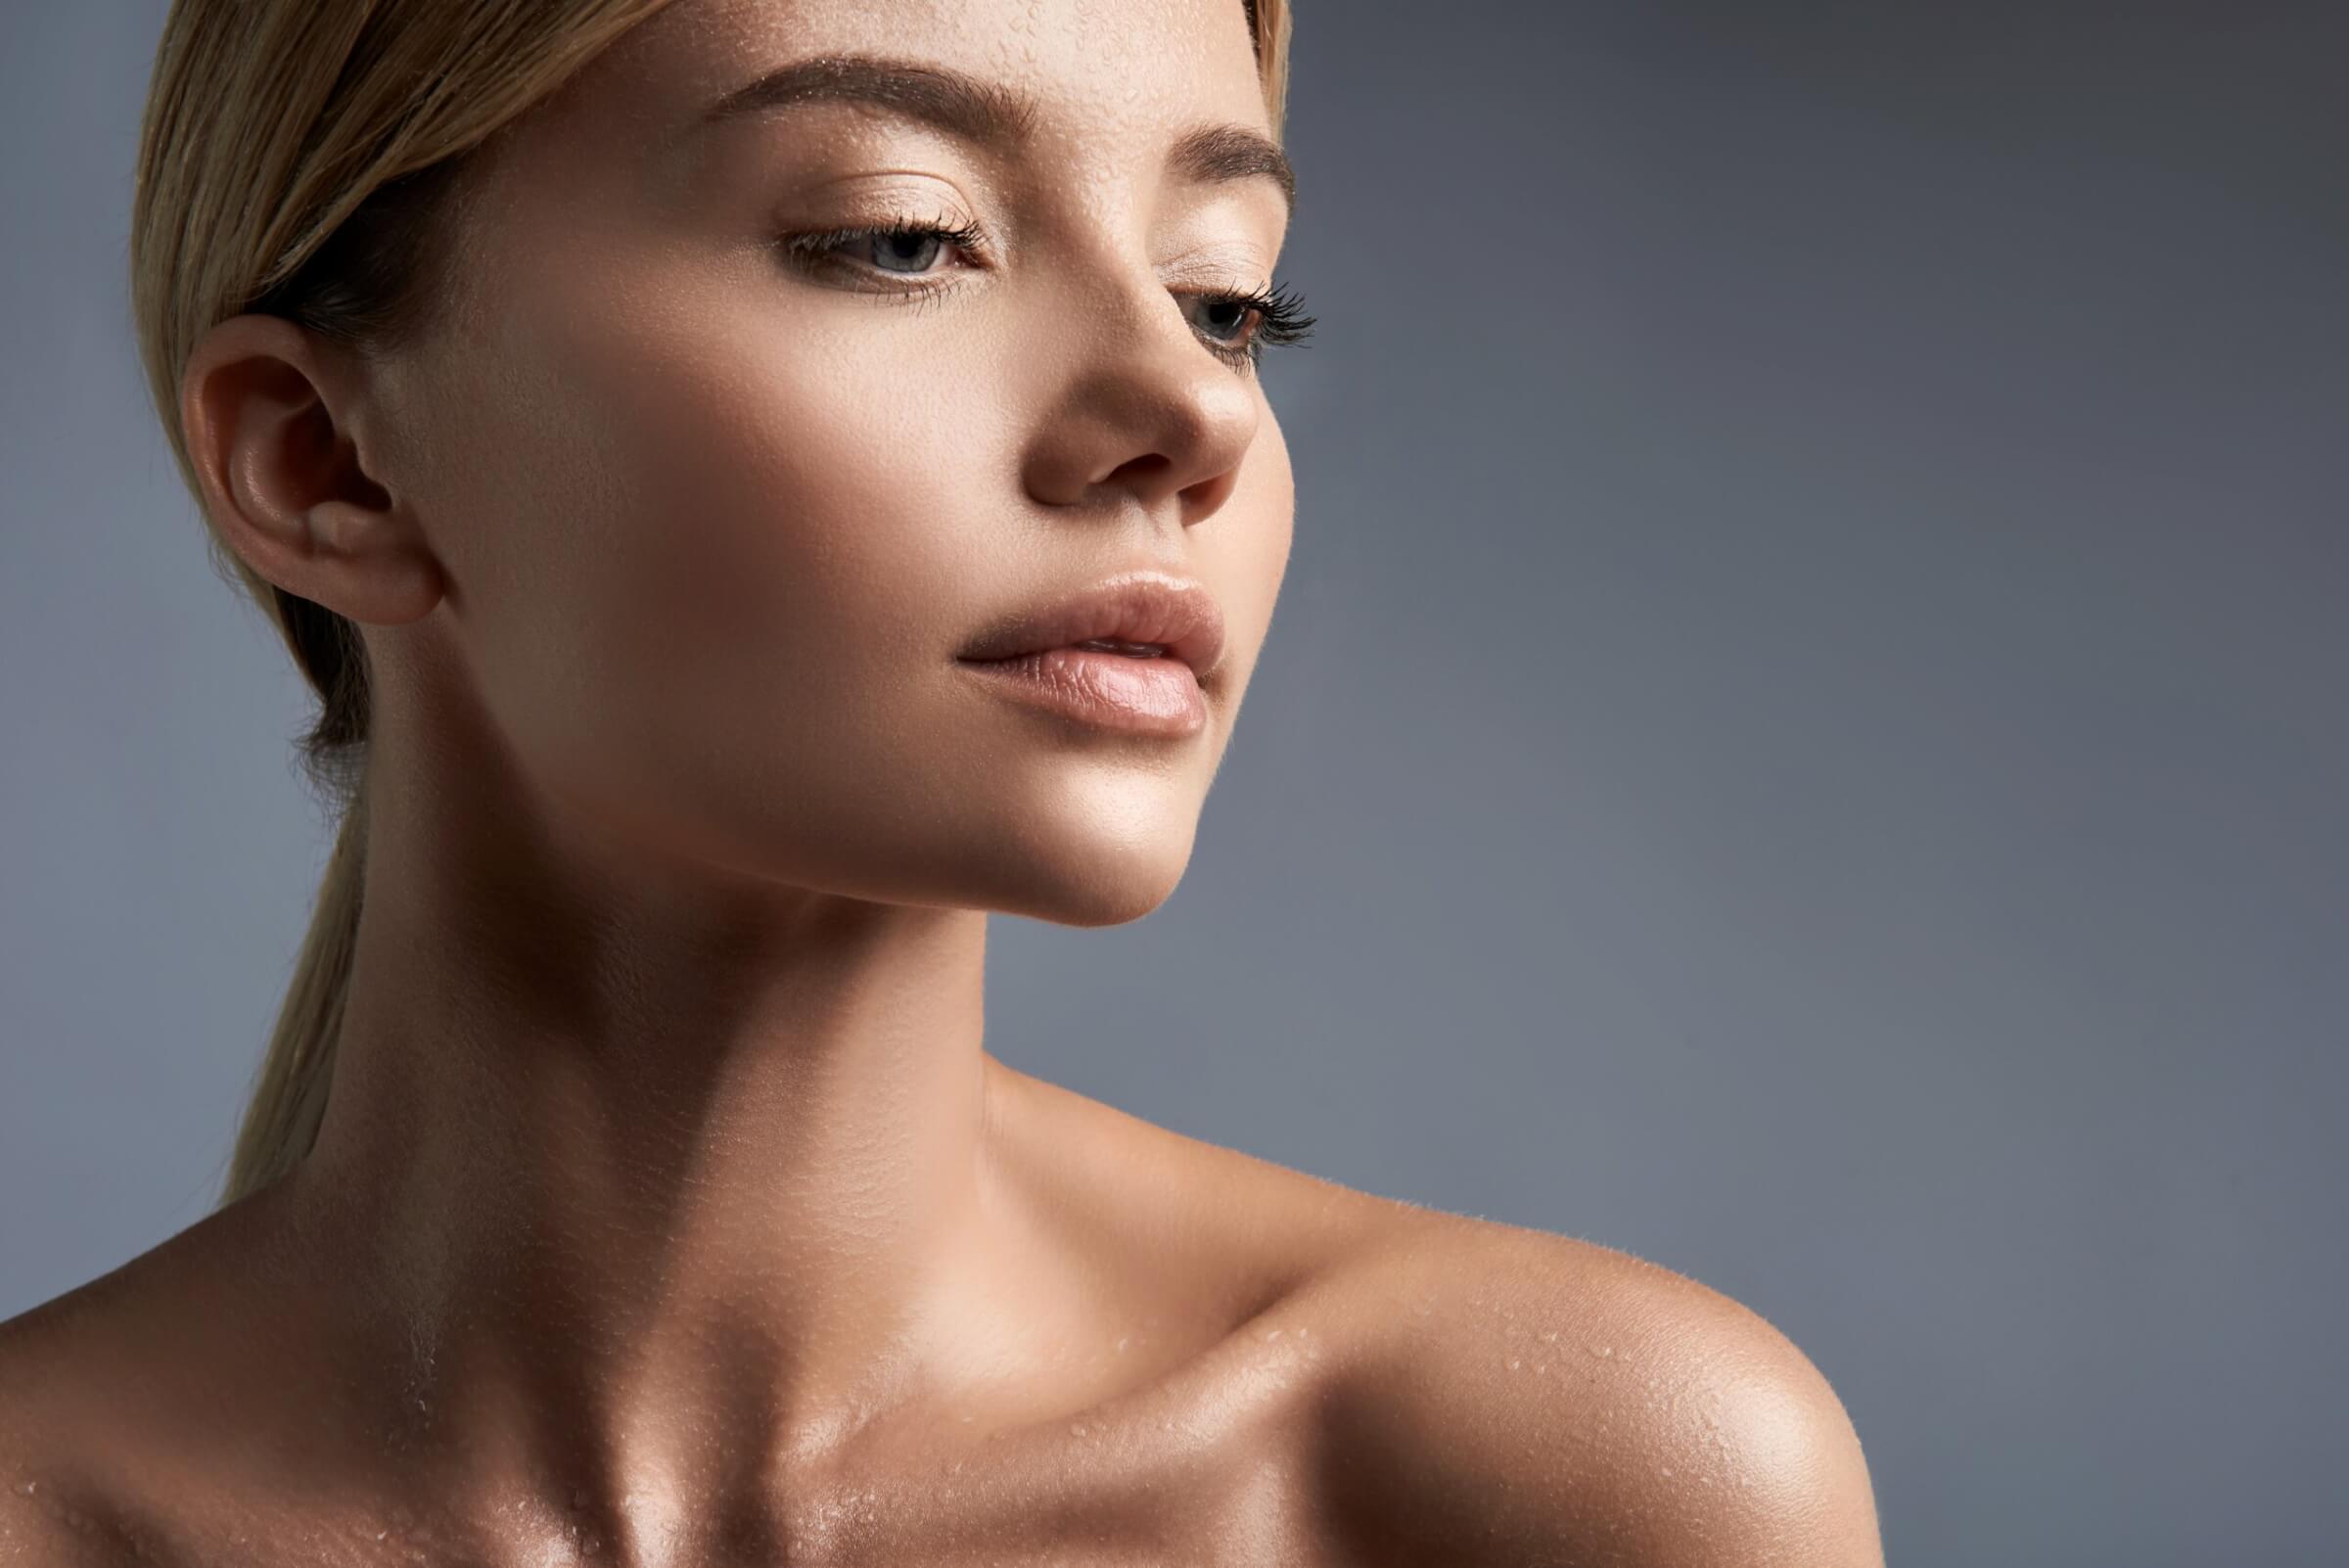

For people: in the studio, outdoors and in groups.
About the Portraiture Workflow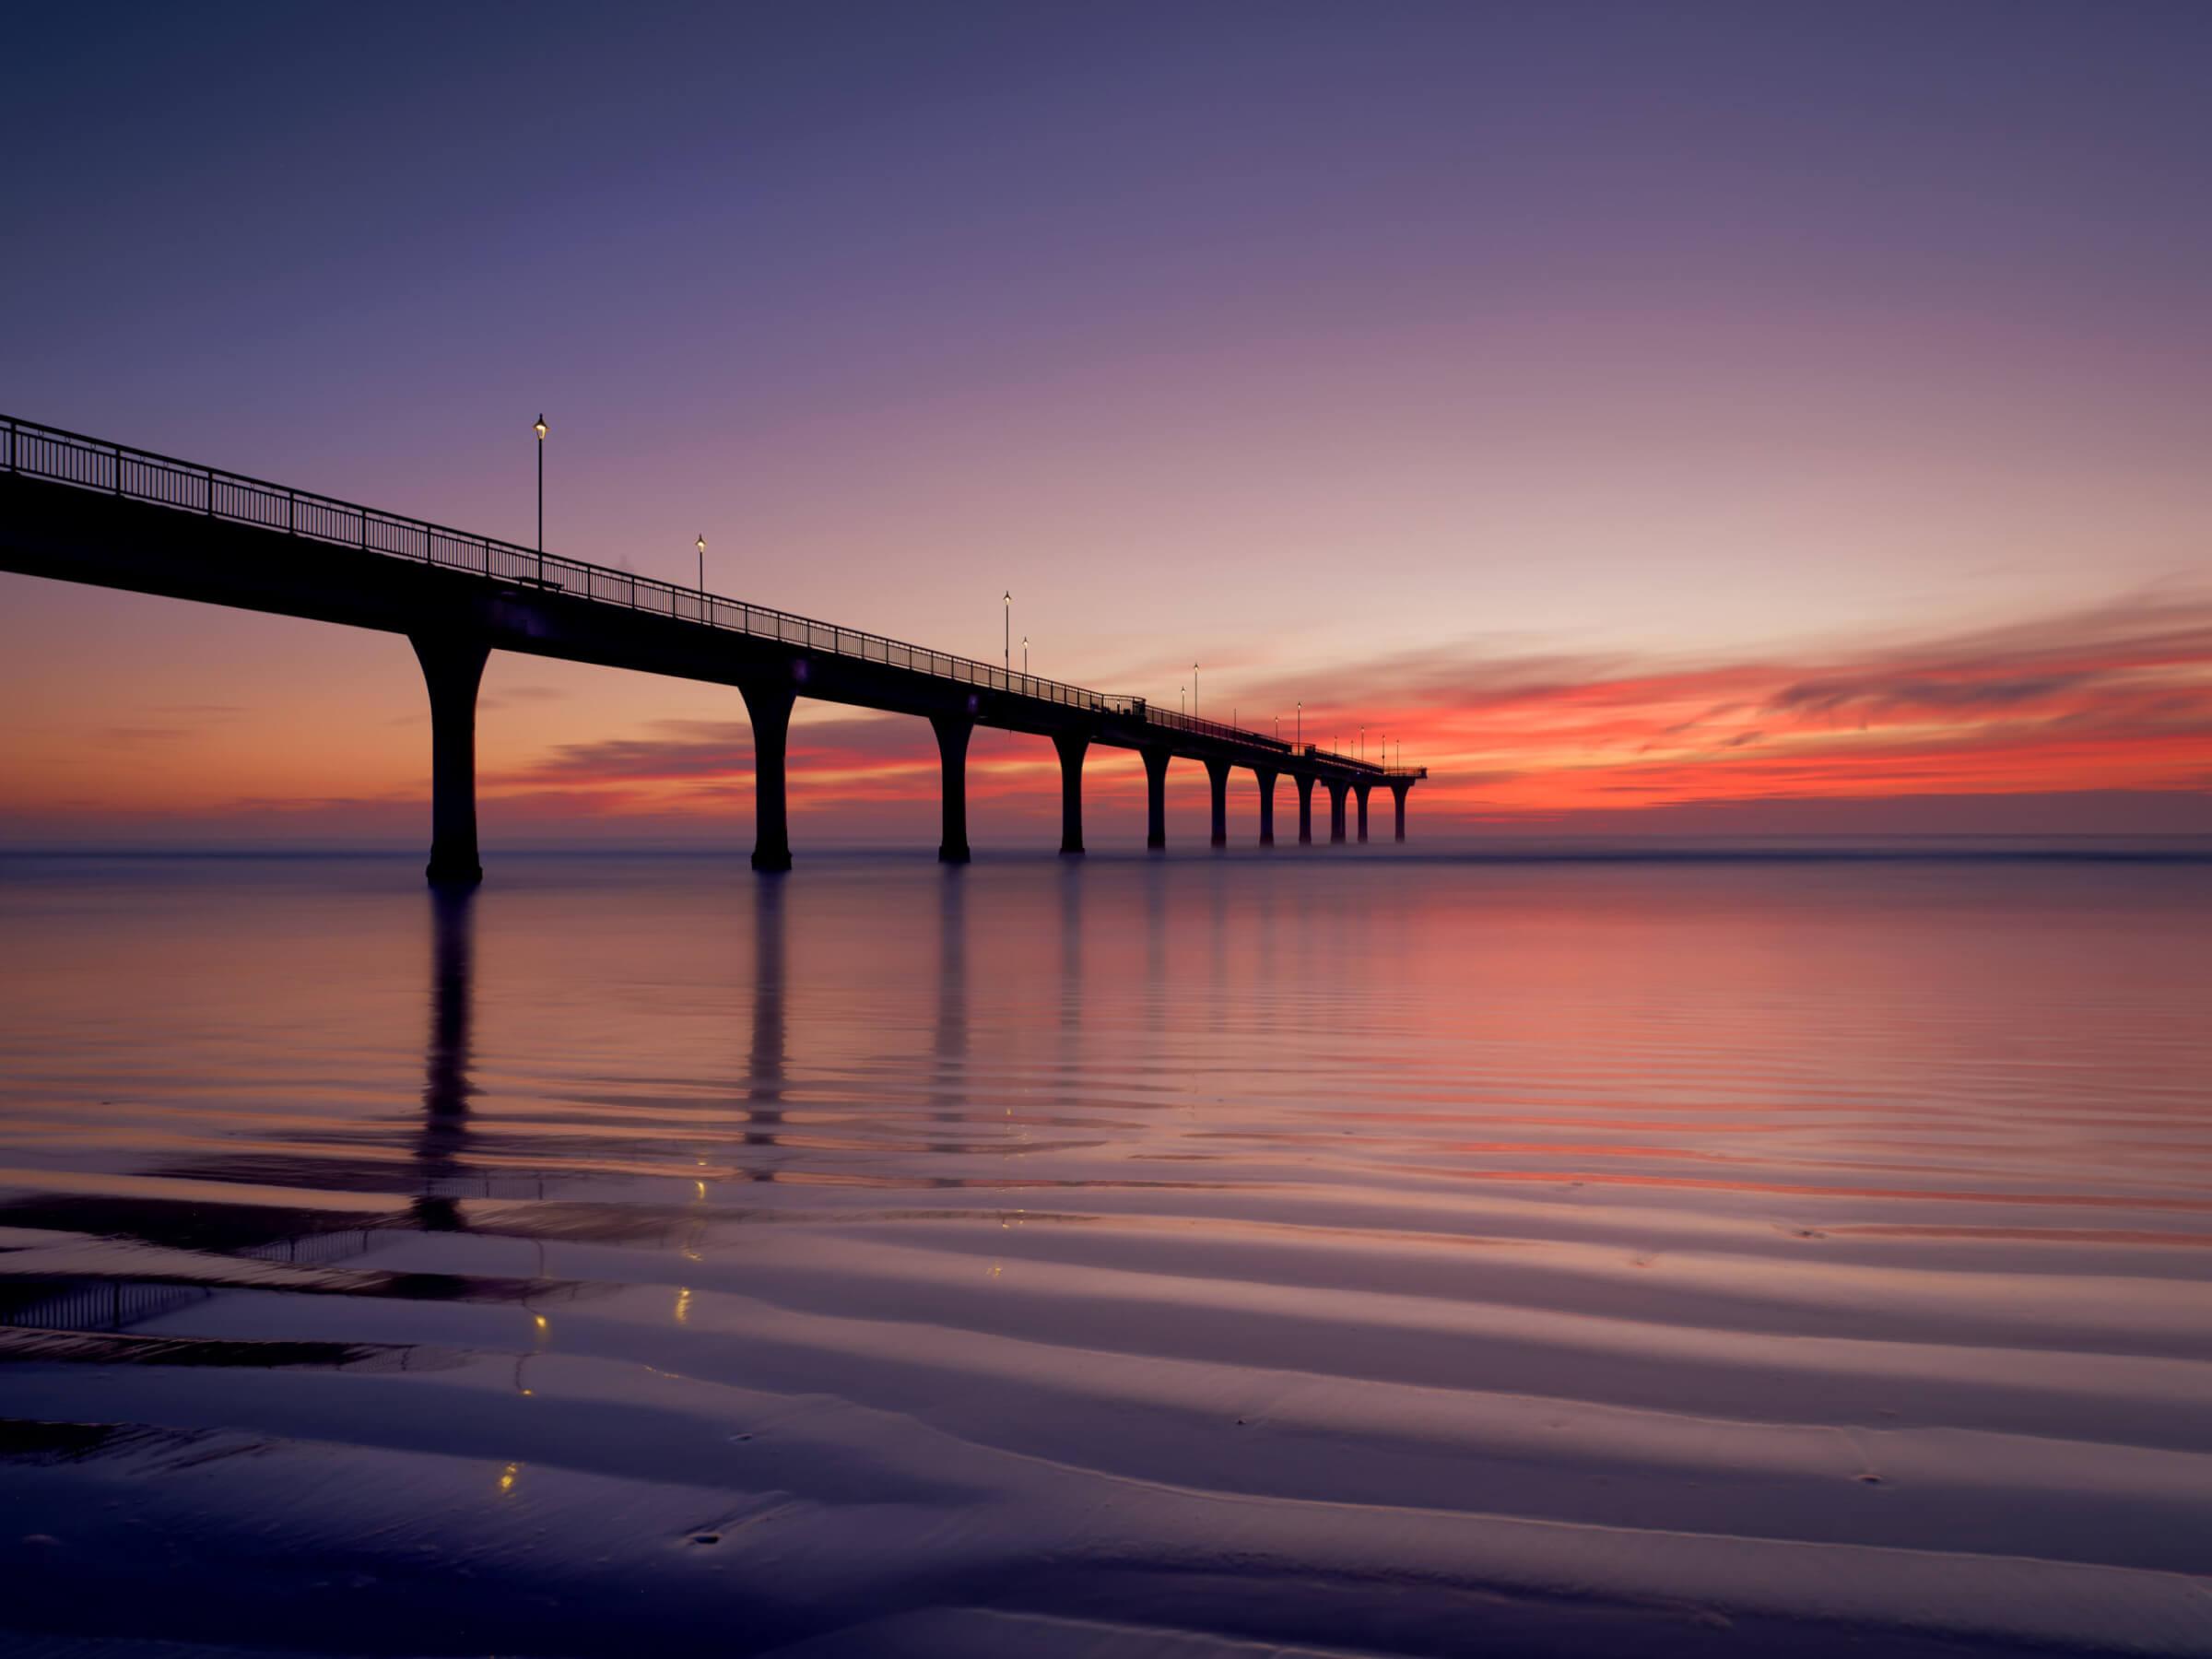

For landscapes and cities, from golden hour to night.
About the Landscapes Workflow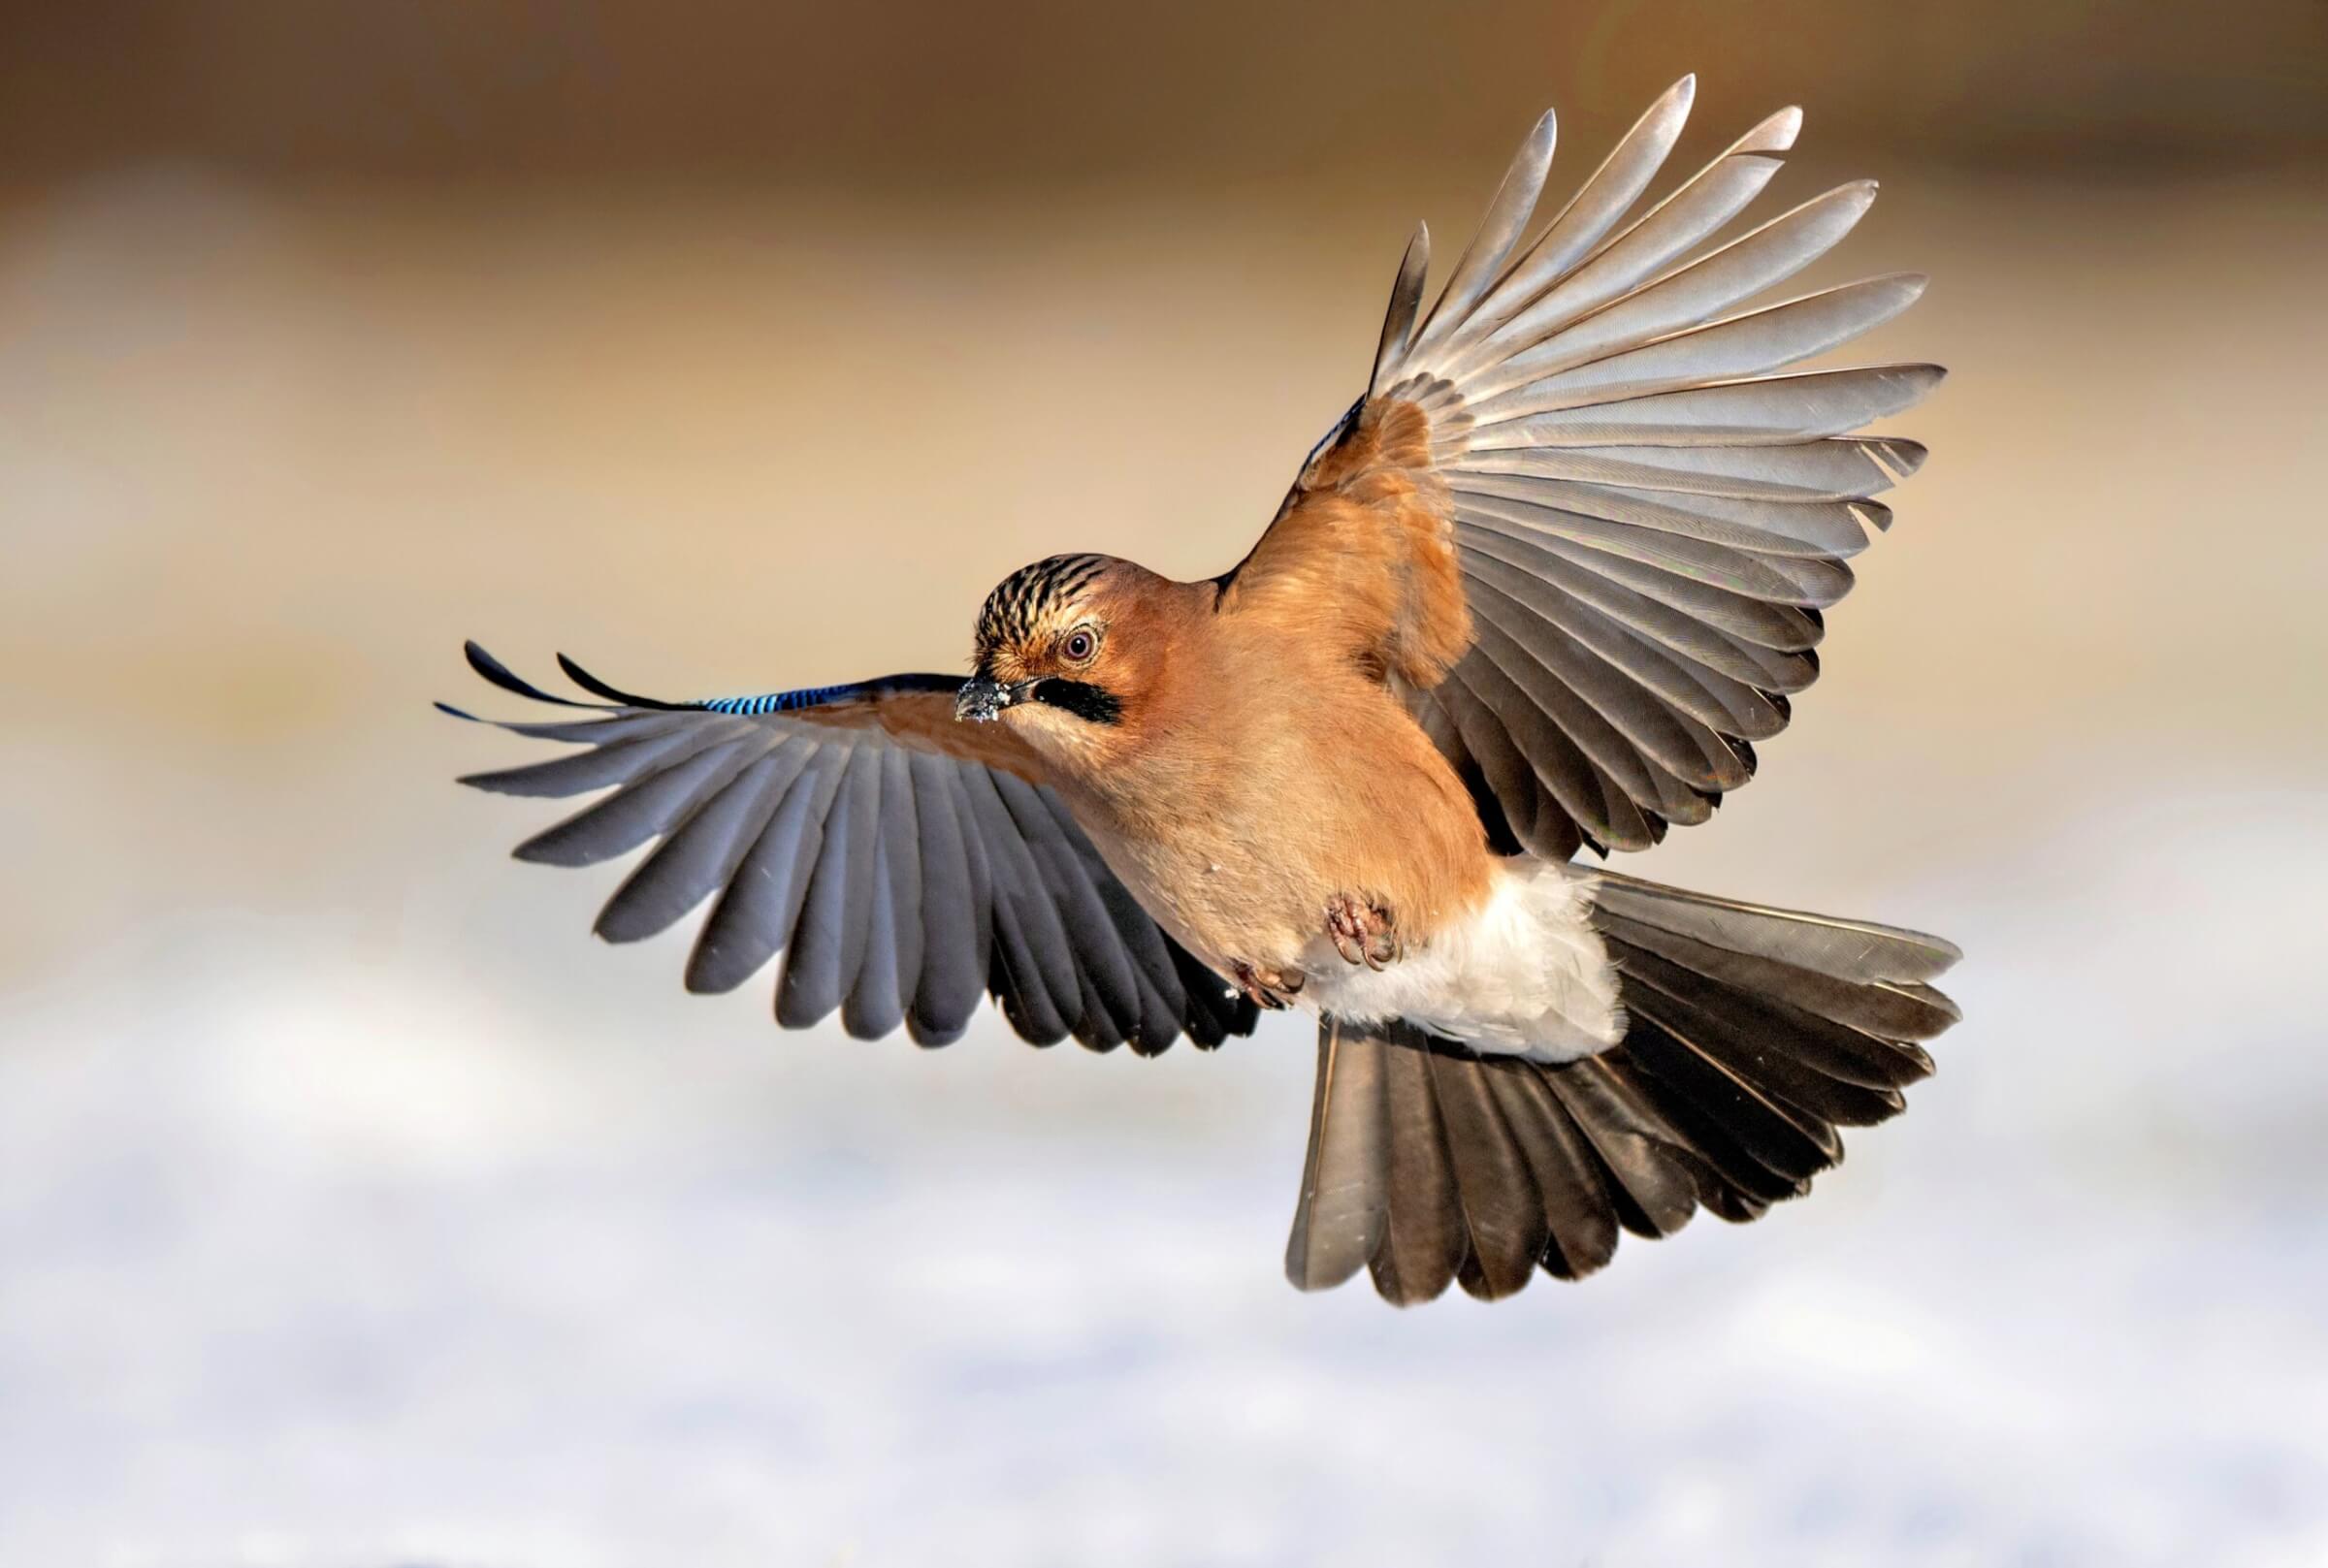

For birds, from hummingbirds to birds of prey.
About the Birds Workflow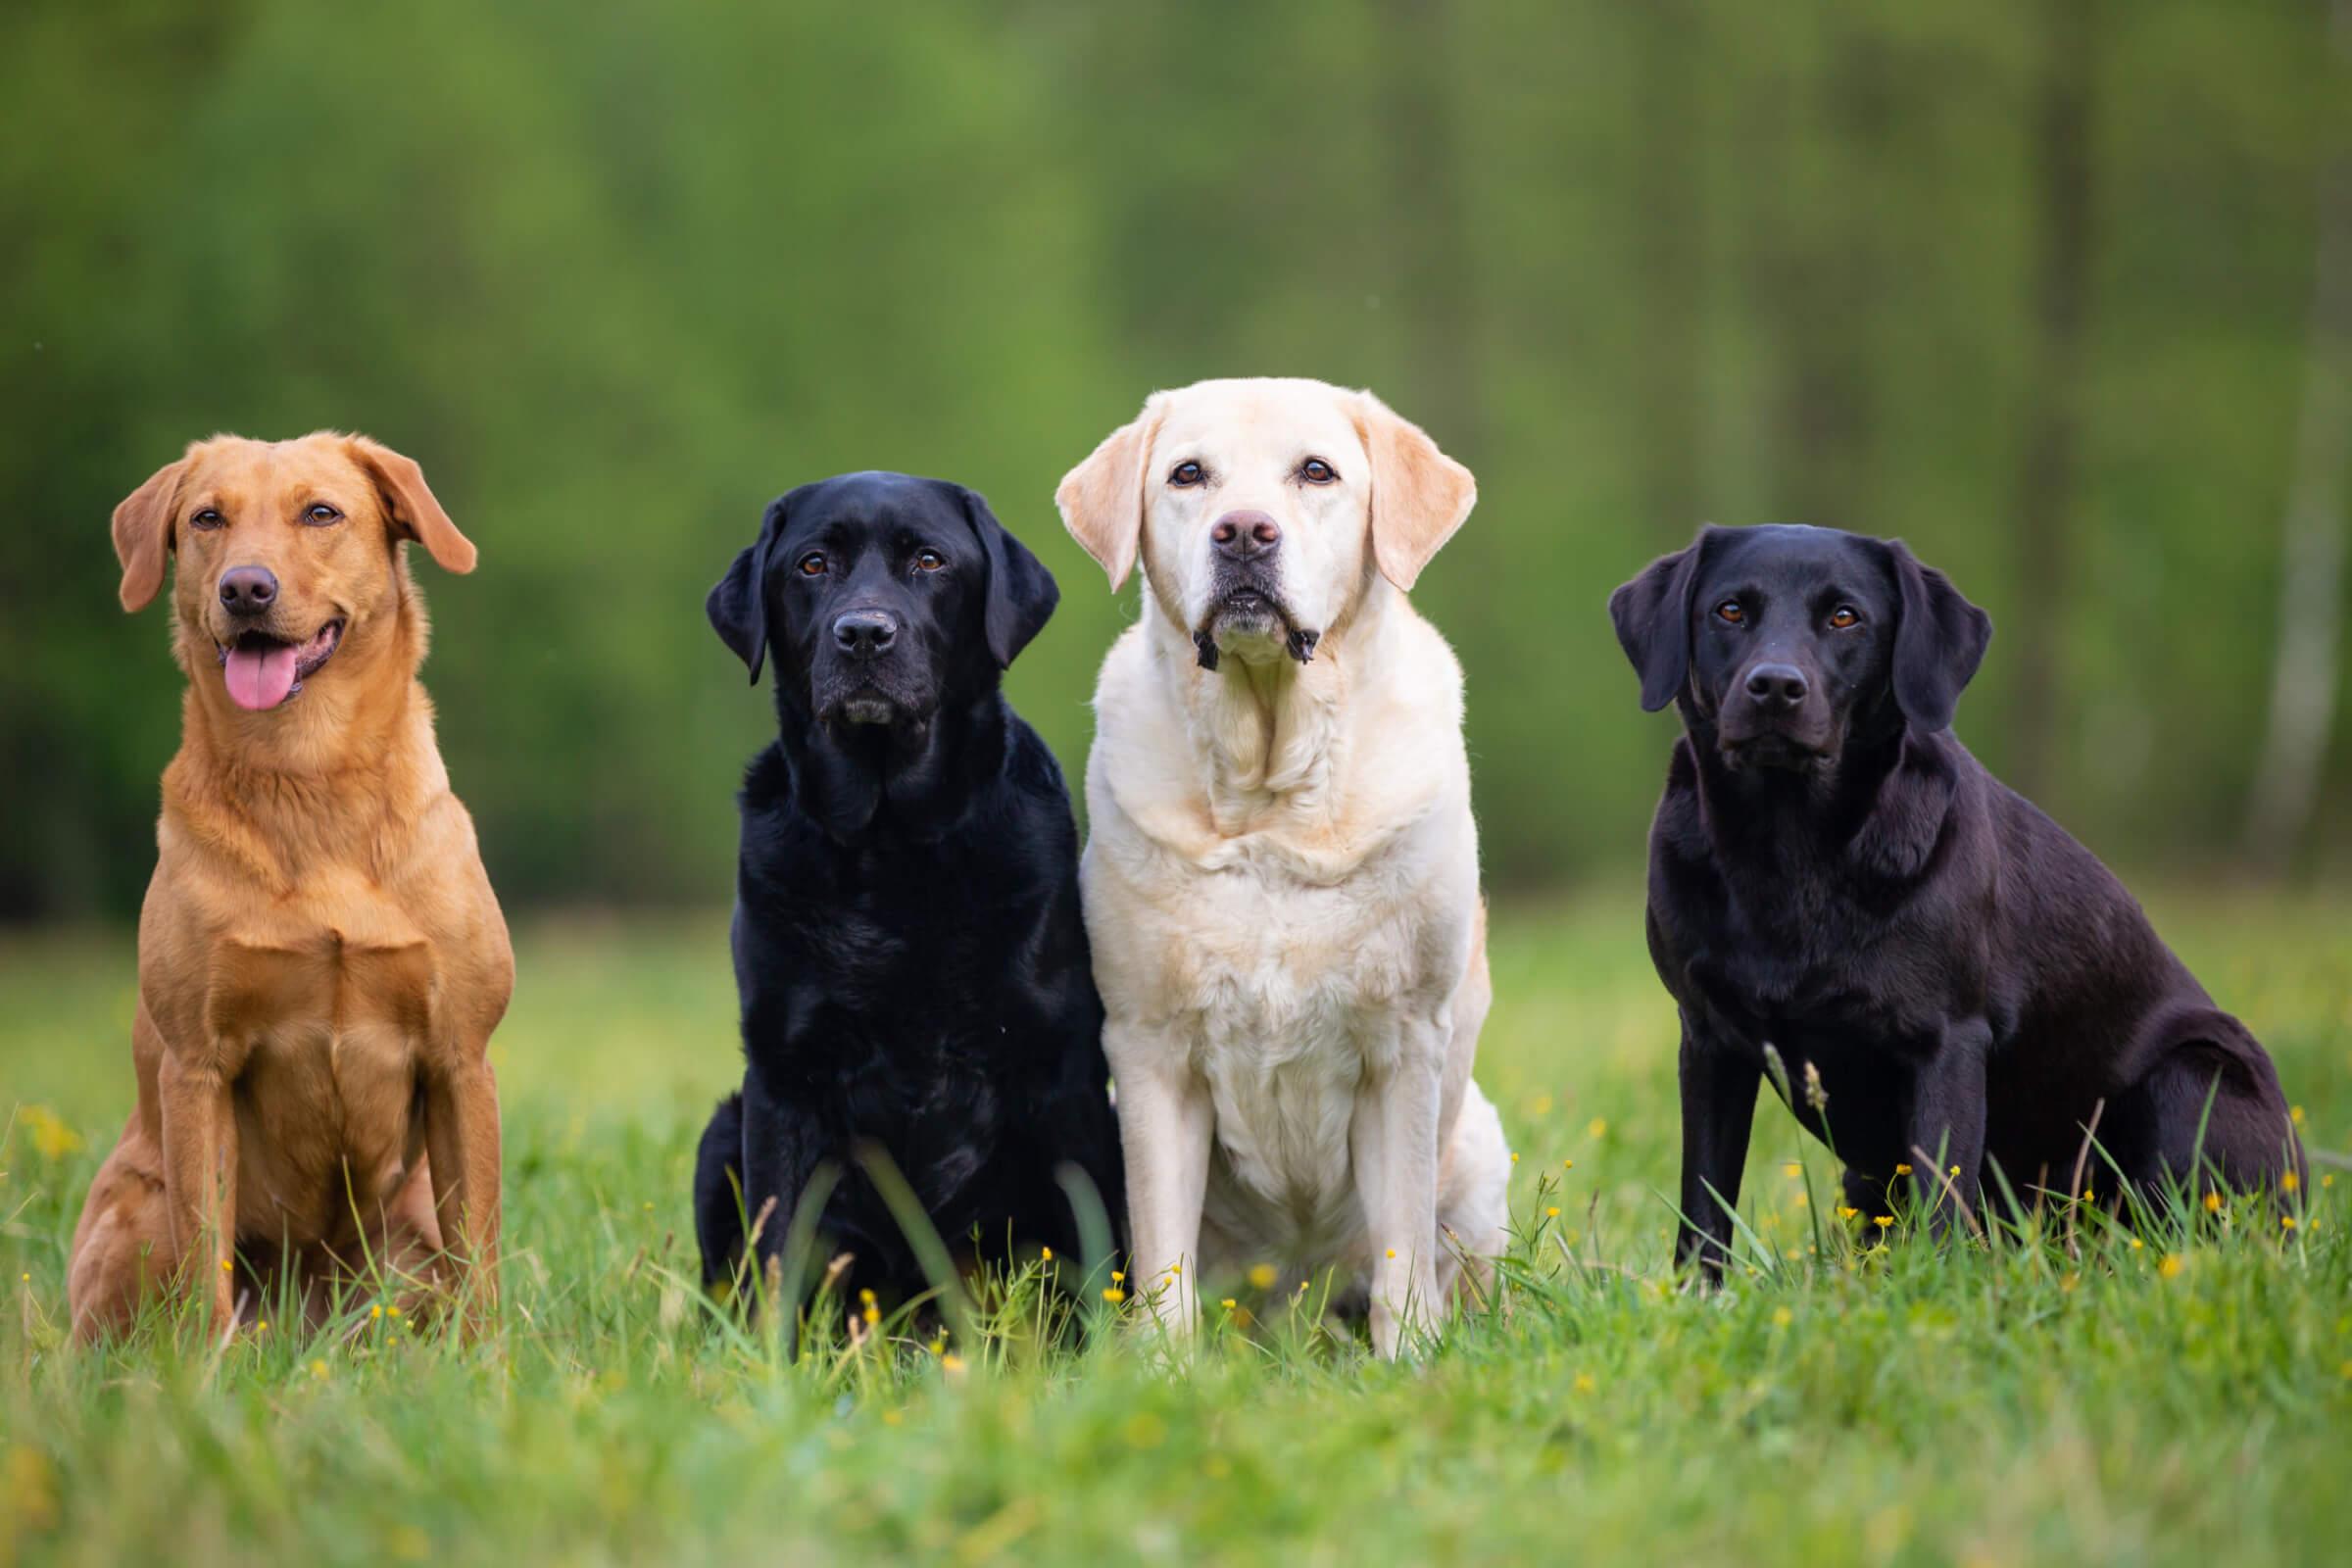

For dogs, cats, horses and every companion.
About the Pets WorkflowAt a glance
Downloads live in Support. System requirements · Support · Pricing
Questions
Yes. Radiant Photo opens raw files on its own with an automatic develop and twelve built-in recipes: Neutral, Automatic, Auto Color and Auto Tone, and Log, three B&W and four Color recipes, which are marked Lab Tools while they are still being refined. Radiant Raw adds the full develop window, every recipe including your own, and the round trip.
No. Scene recognition and editing run on your computer. Radiant Photo goes online to check your license, for the Store, and to fetch its own updates and help pages, and a font or signature hand for a watermark the first time you use it. When you add a location to a photo, the place you type is looked up at OpenStreetMap, and a small map of that spot loads from there. No photo is sent for any of these.
No. Radiant Photo corrects the photo you took. Spot Removal heals from the pixels in your own photo; nothing is invented.
Import from Radiant Photo 2… brings over your presets, now recipes, and your settings, Restore Purchases brings back what you bought, and the tools you know are where you left them. 2.5 adds Spot Removal, Auto Crop, Perspective, Levels, Curves, Presence, Color Wheels, the Focus page, Review Photos and the hand-offs to Radiant Flow and Radiant Raw.
Both: a Mac on macOS 14 or later, with Apple silicon or Intel, or a 64-bit PC on Windows 10 or 11. Full requirements are in Support.
Before and after
Each of these photos was finished in Radiant Photo. Pick one, then drag the divider across it.
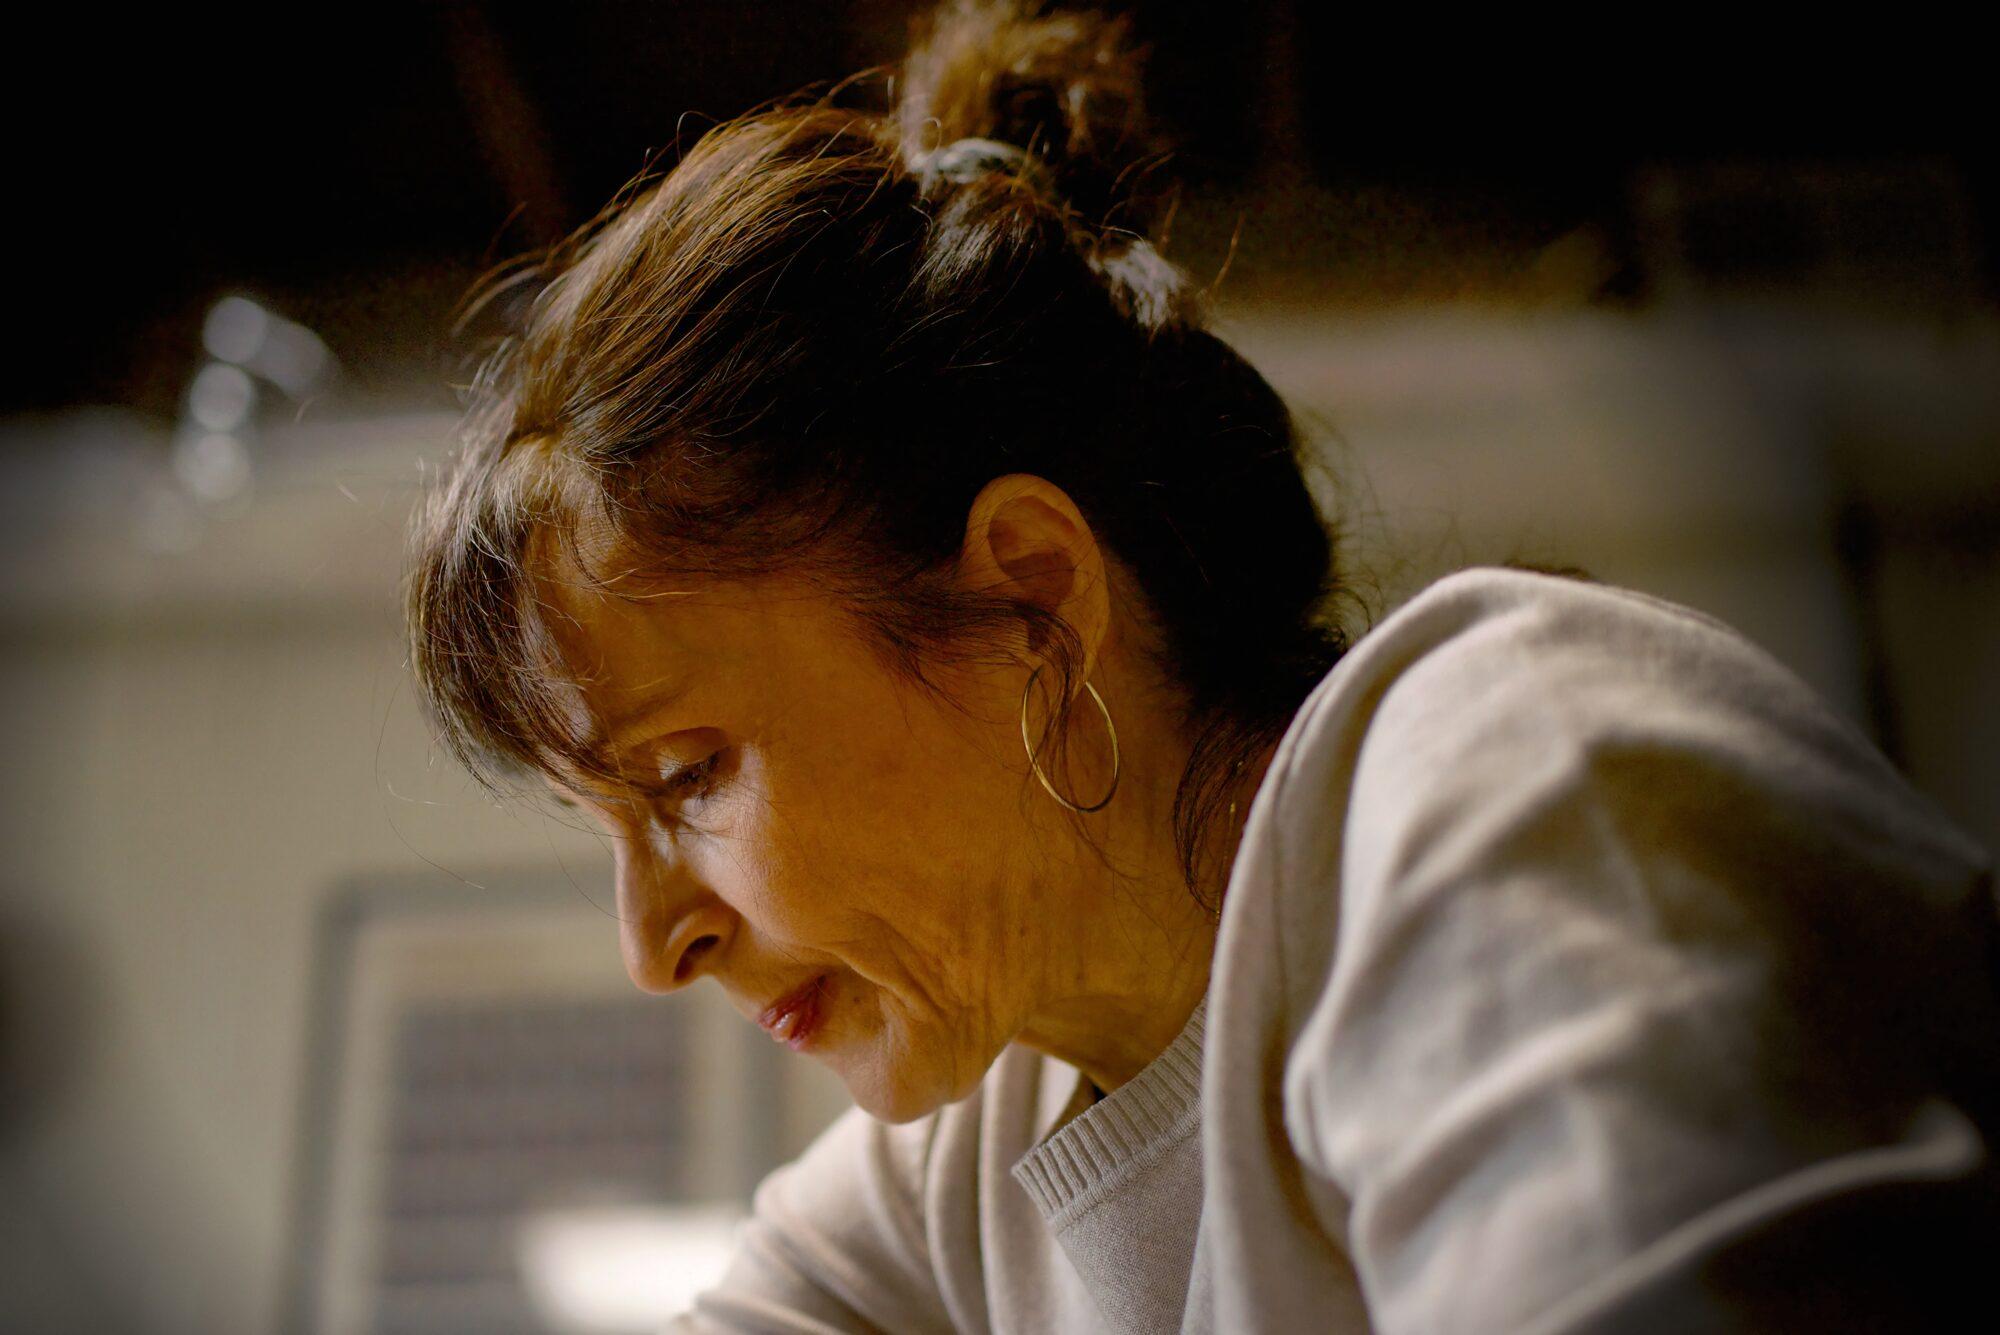
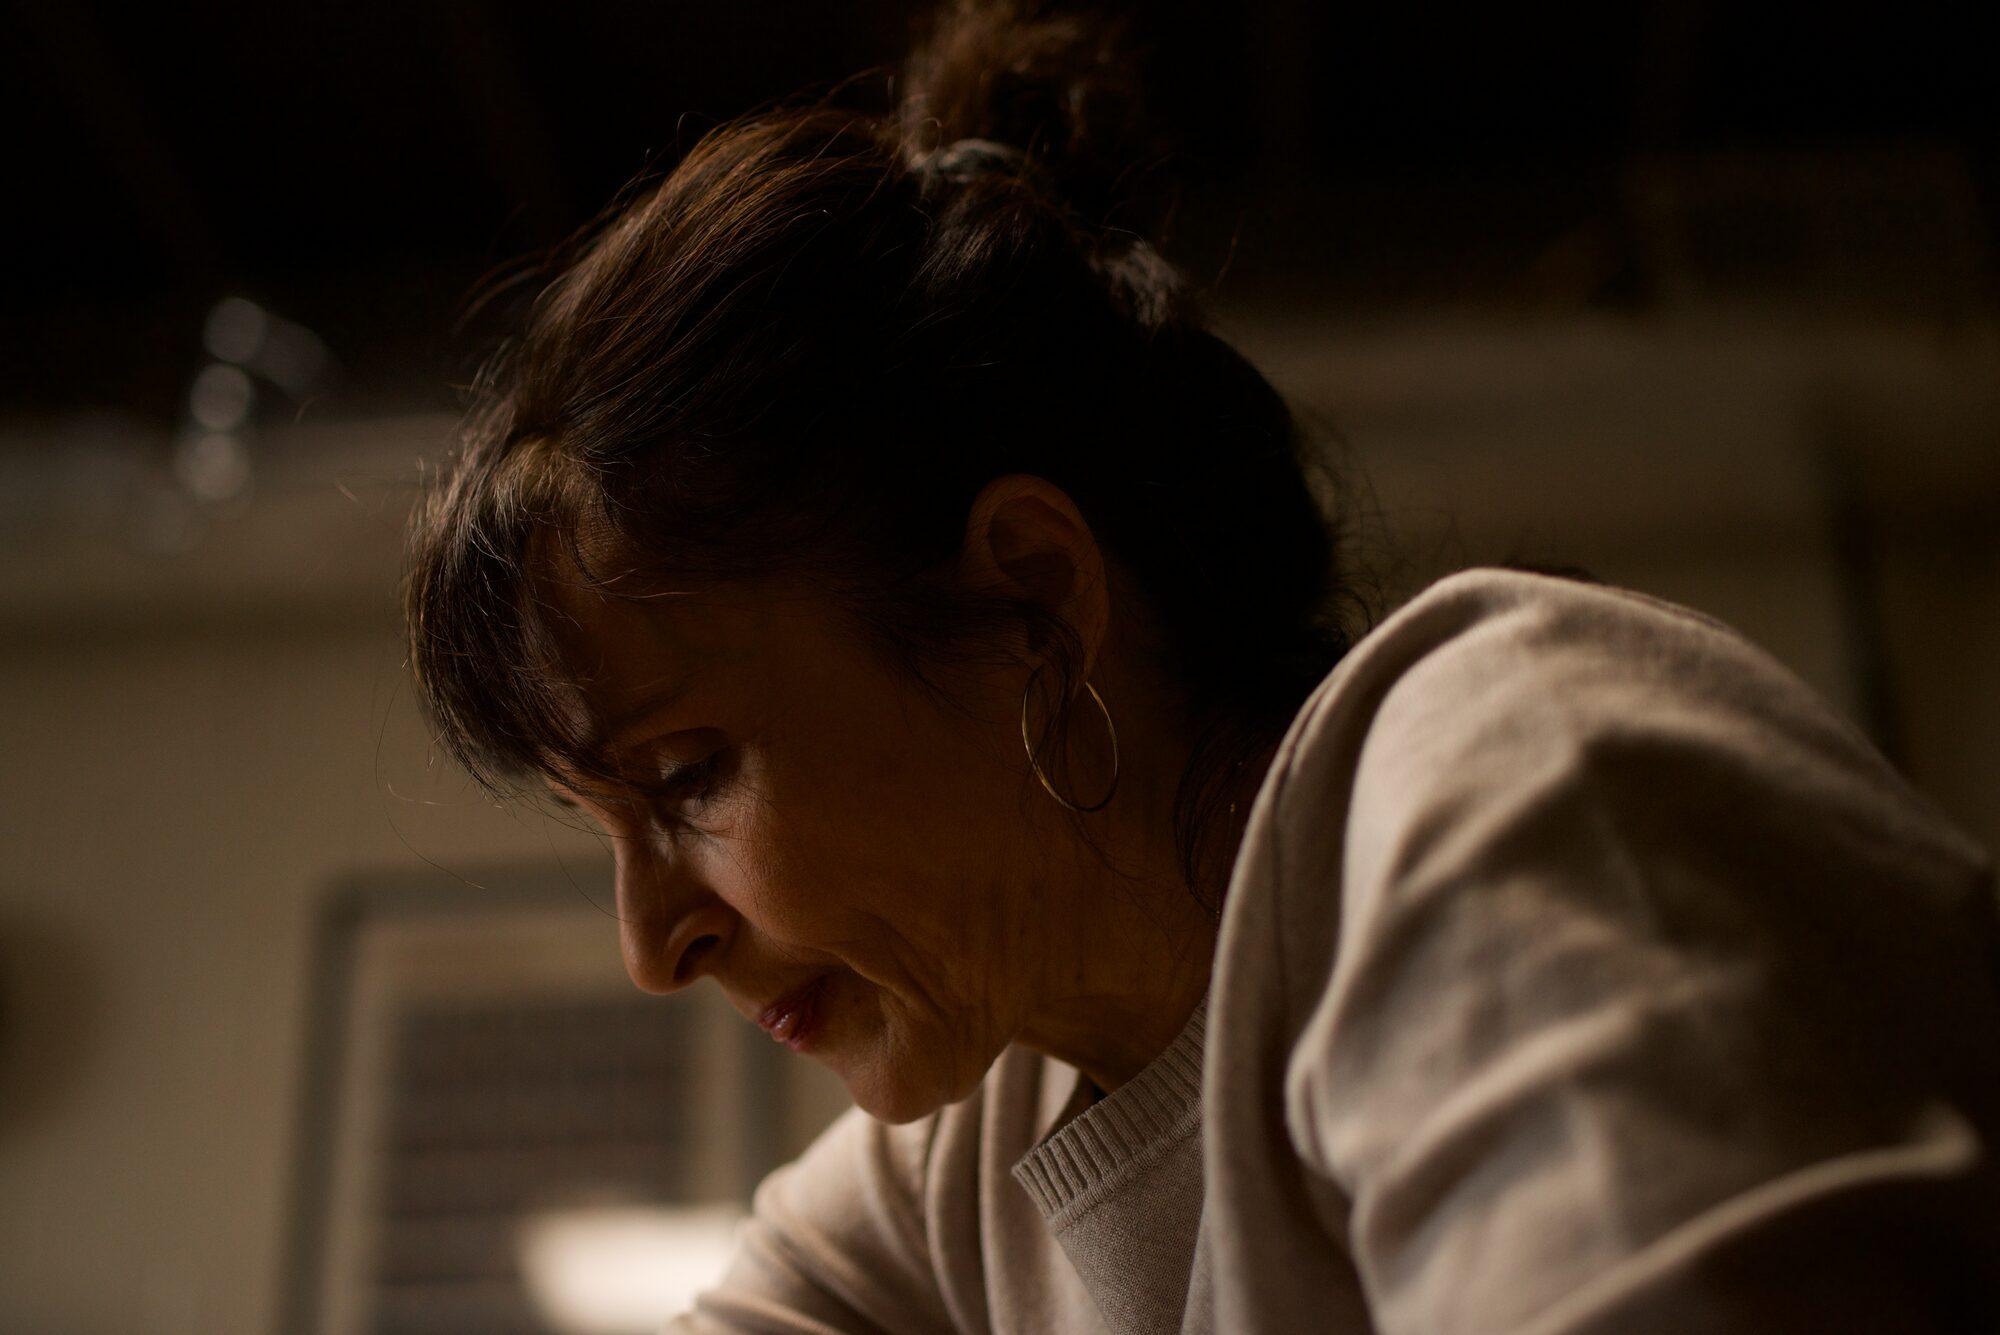
A potter studies the piece on her wheel. Photo: Richard Harrington
Assistive AI isn’t about replacing your creativity but enhancing it. We didn’t set out to create tools that do the work for you. We built Radiant Photo 2 to help you do your best work faster and with less frustration. This isn’t about shortcuts. It’s about respecting the art of photography while giving you the tools to make your vision a reality.
One workflow
Try Radiant Photo free, or add Radiant Flow and Radiant Raw for the whole shoot.