
Photo tips
More Sparkle for Your Vacation Photos
How to rescue underexposed photos with Radiant Photo.
This translation was made by machine and has not been reviewed yet.
This article is about Radiant Photo 1.3. The current version is 2.5. What’s new
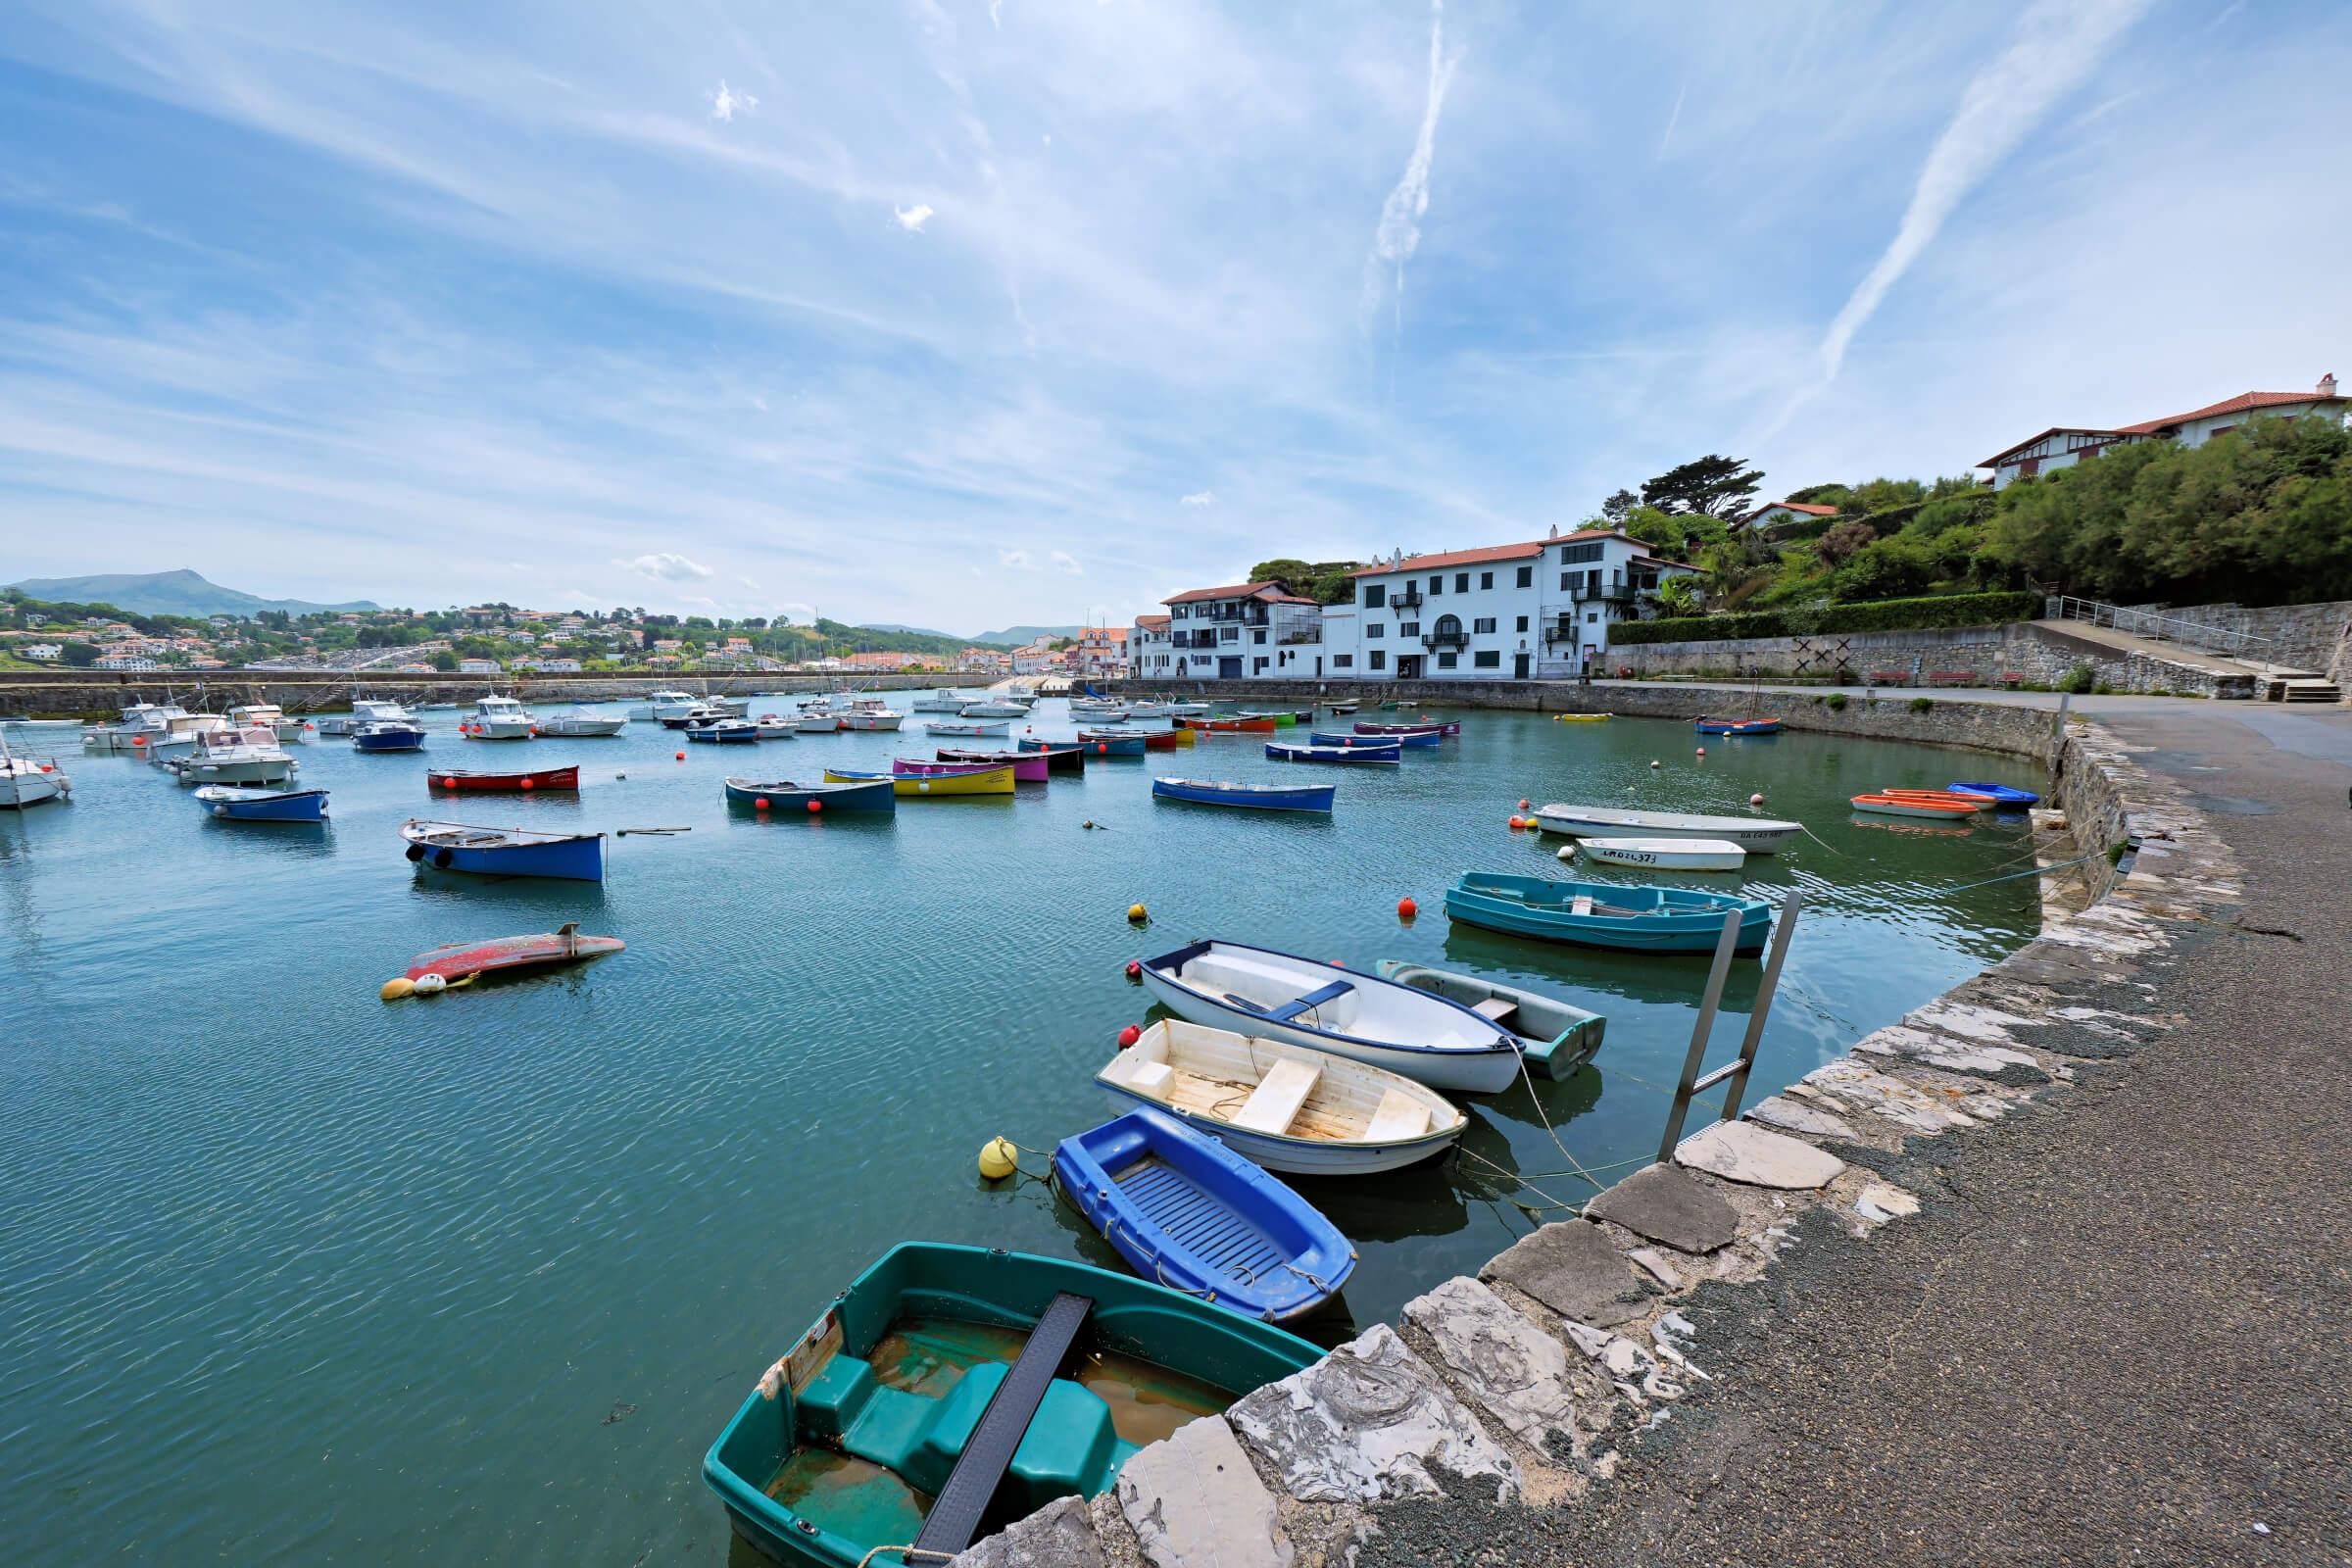
PHOTO EDITING WITH RADIANT PHOTO
How to Rescue Underexposed Photos with Radiant Photo
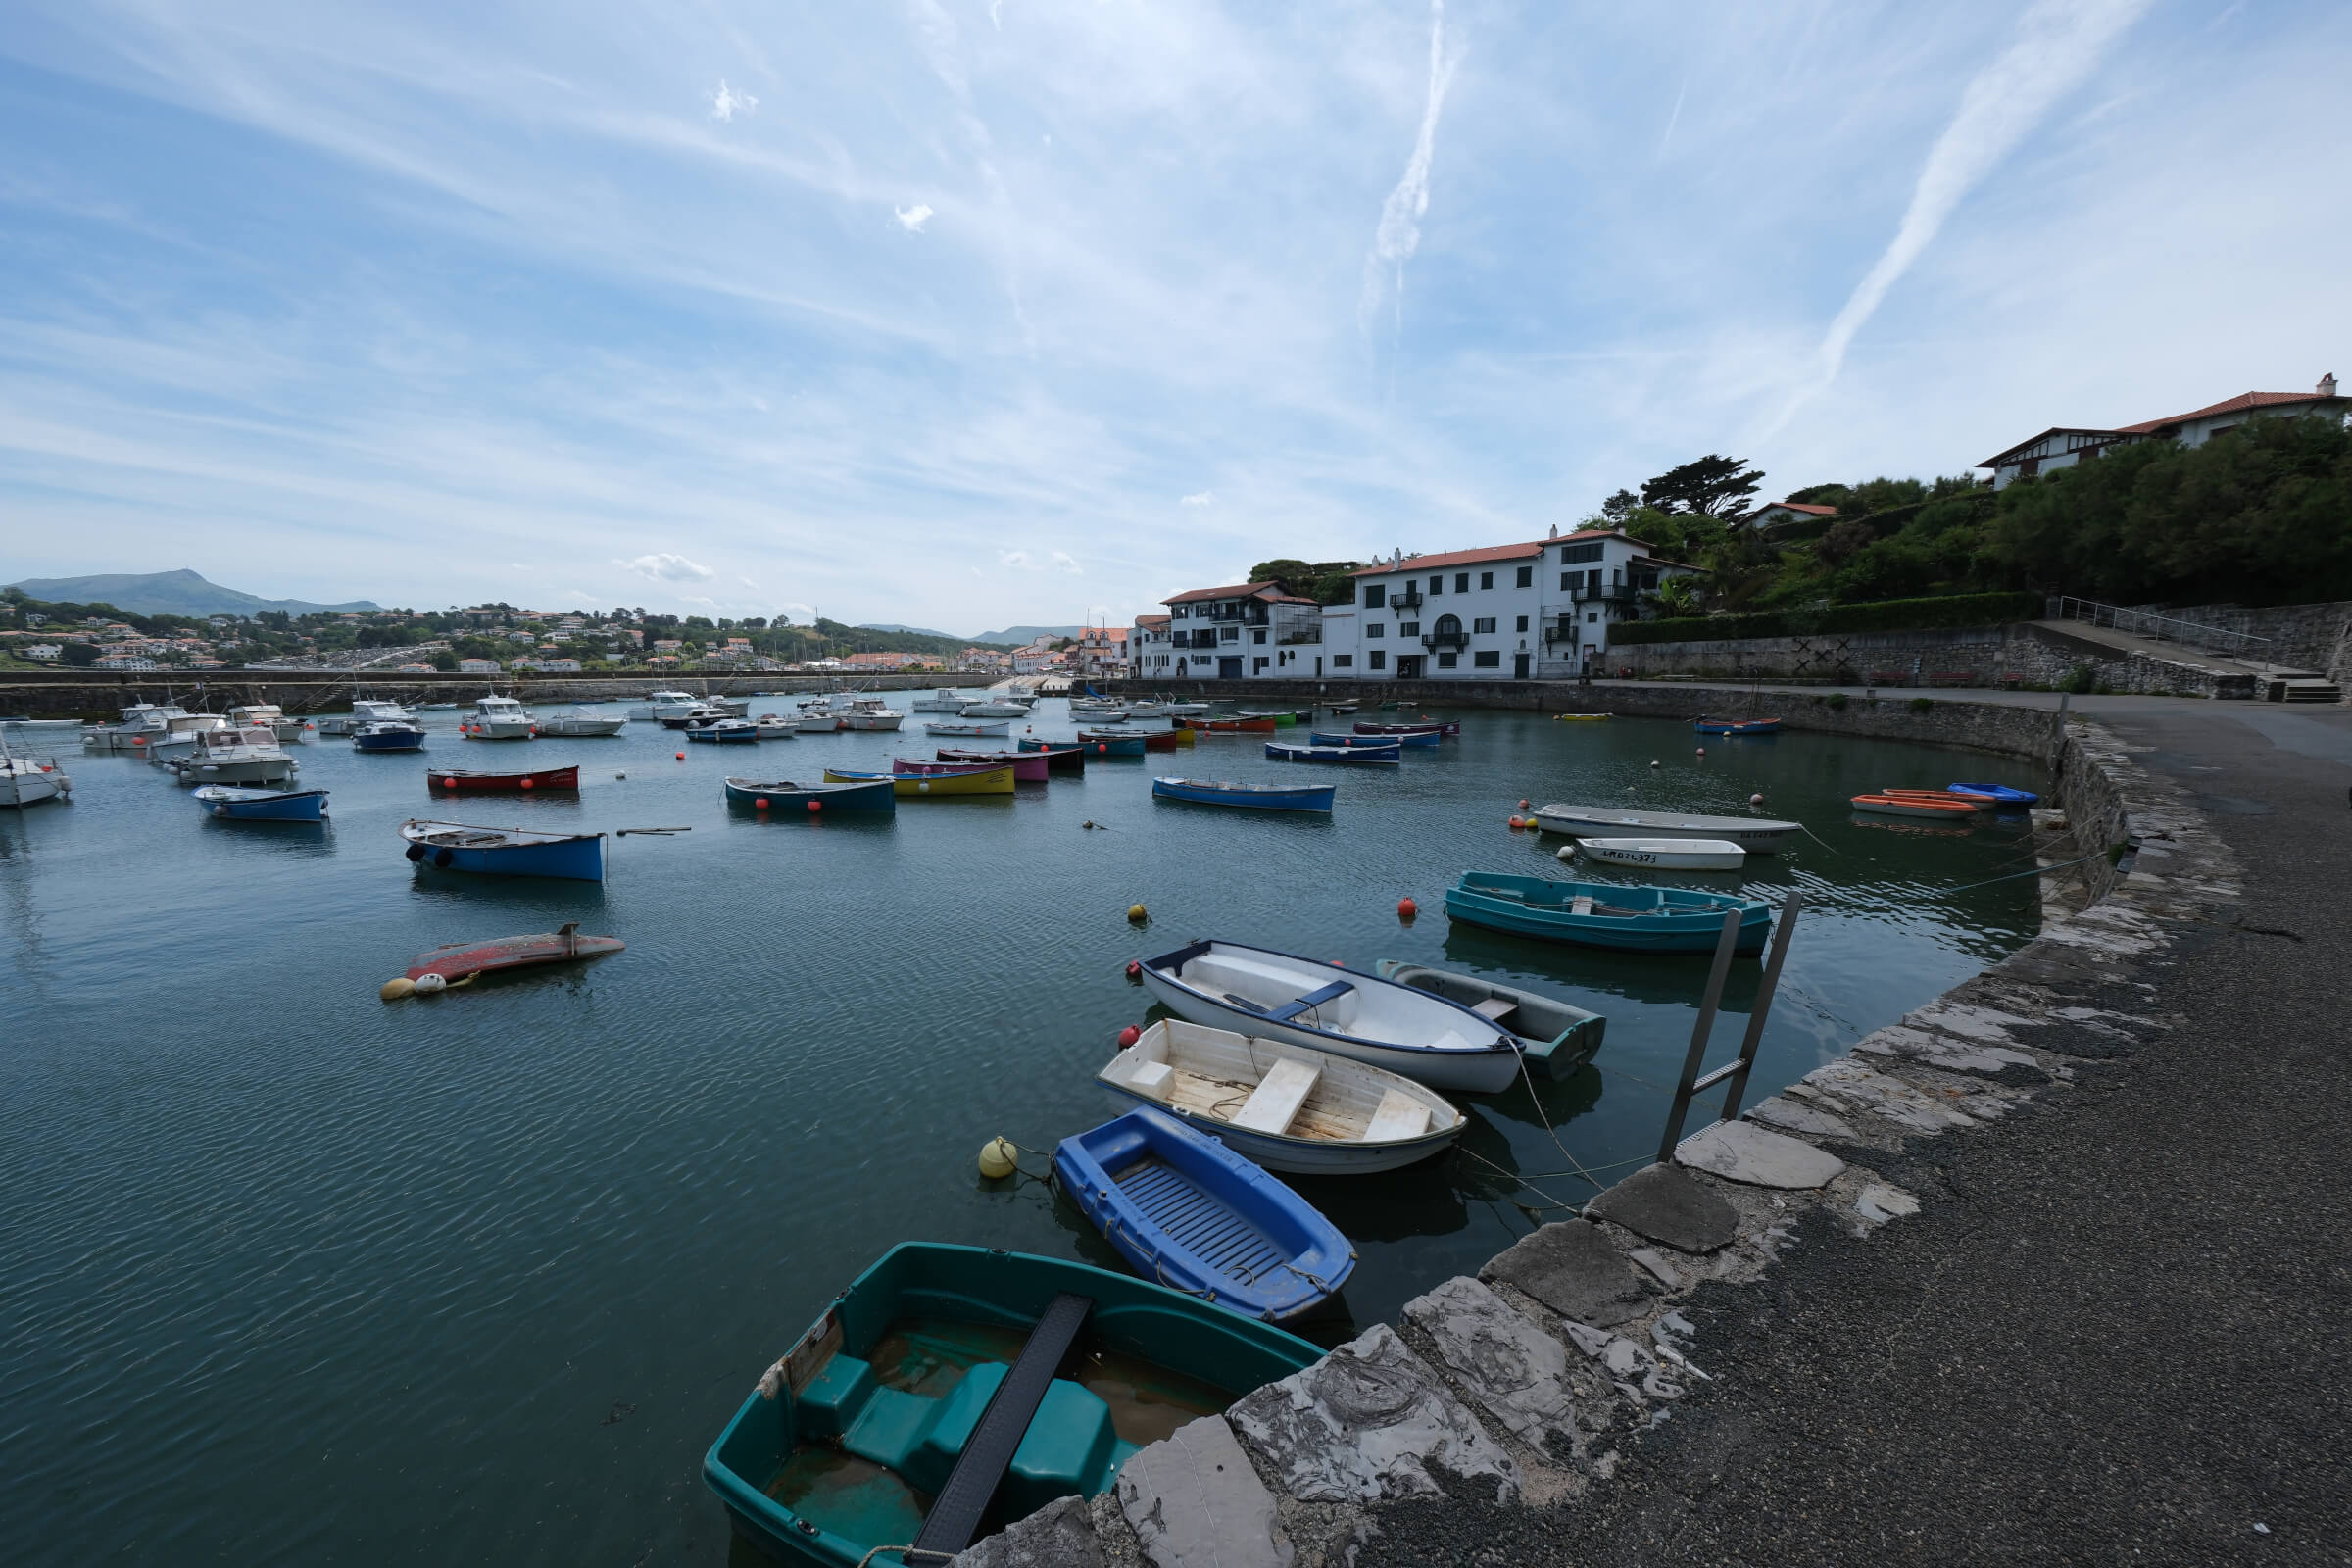
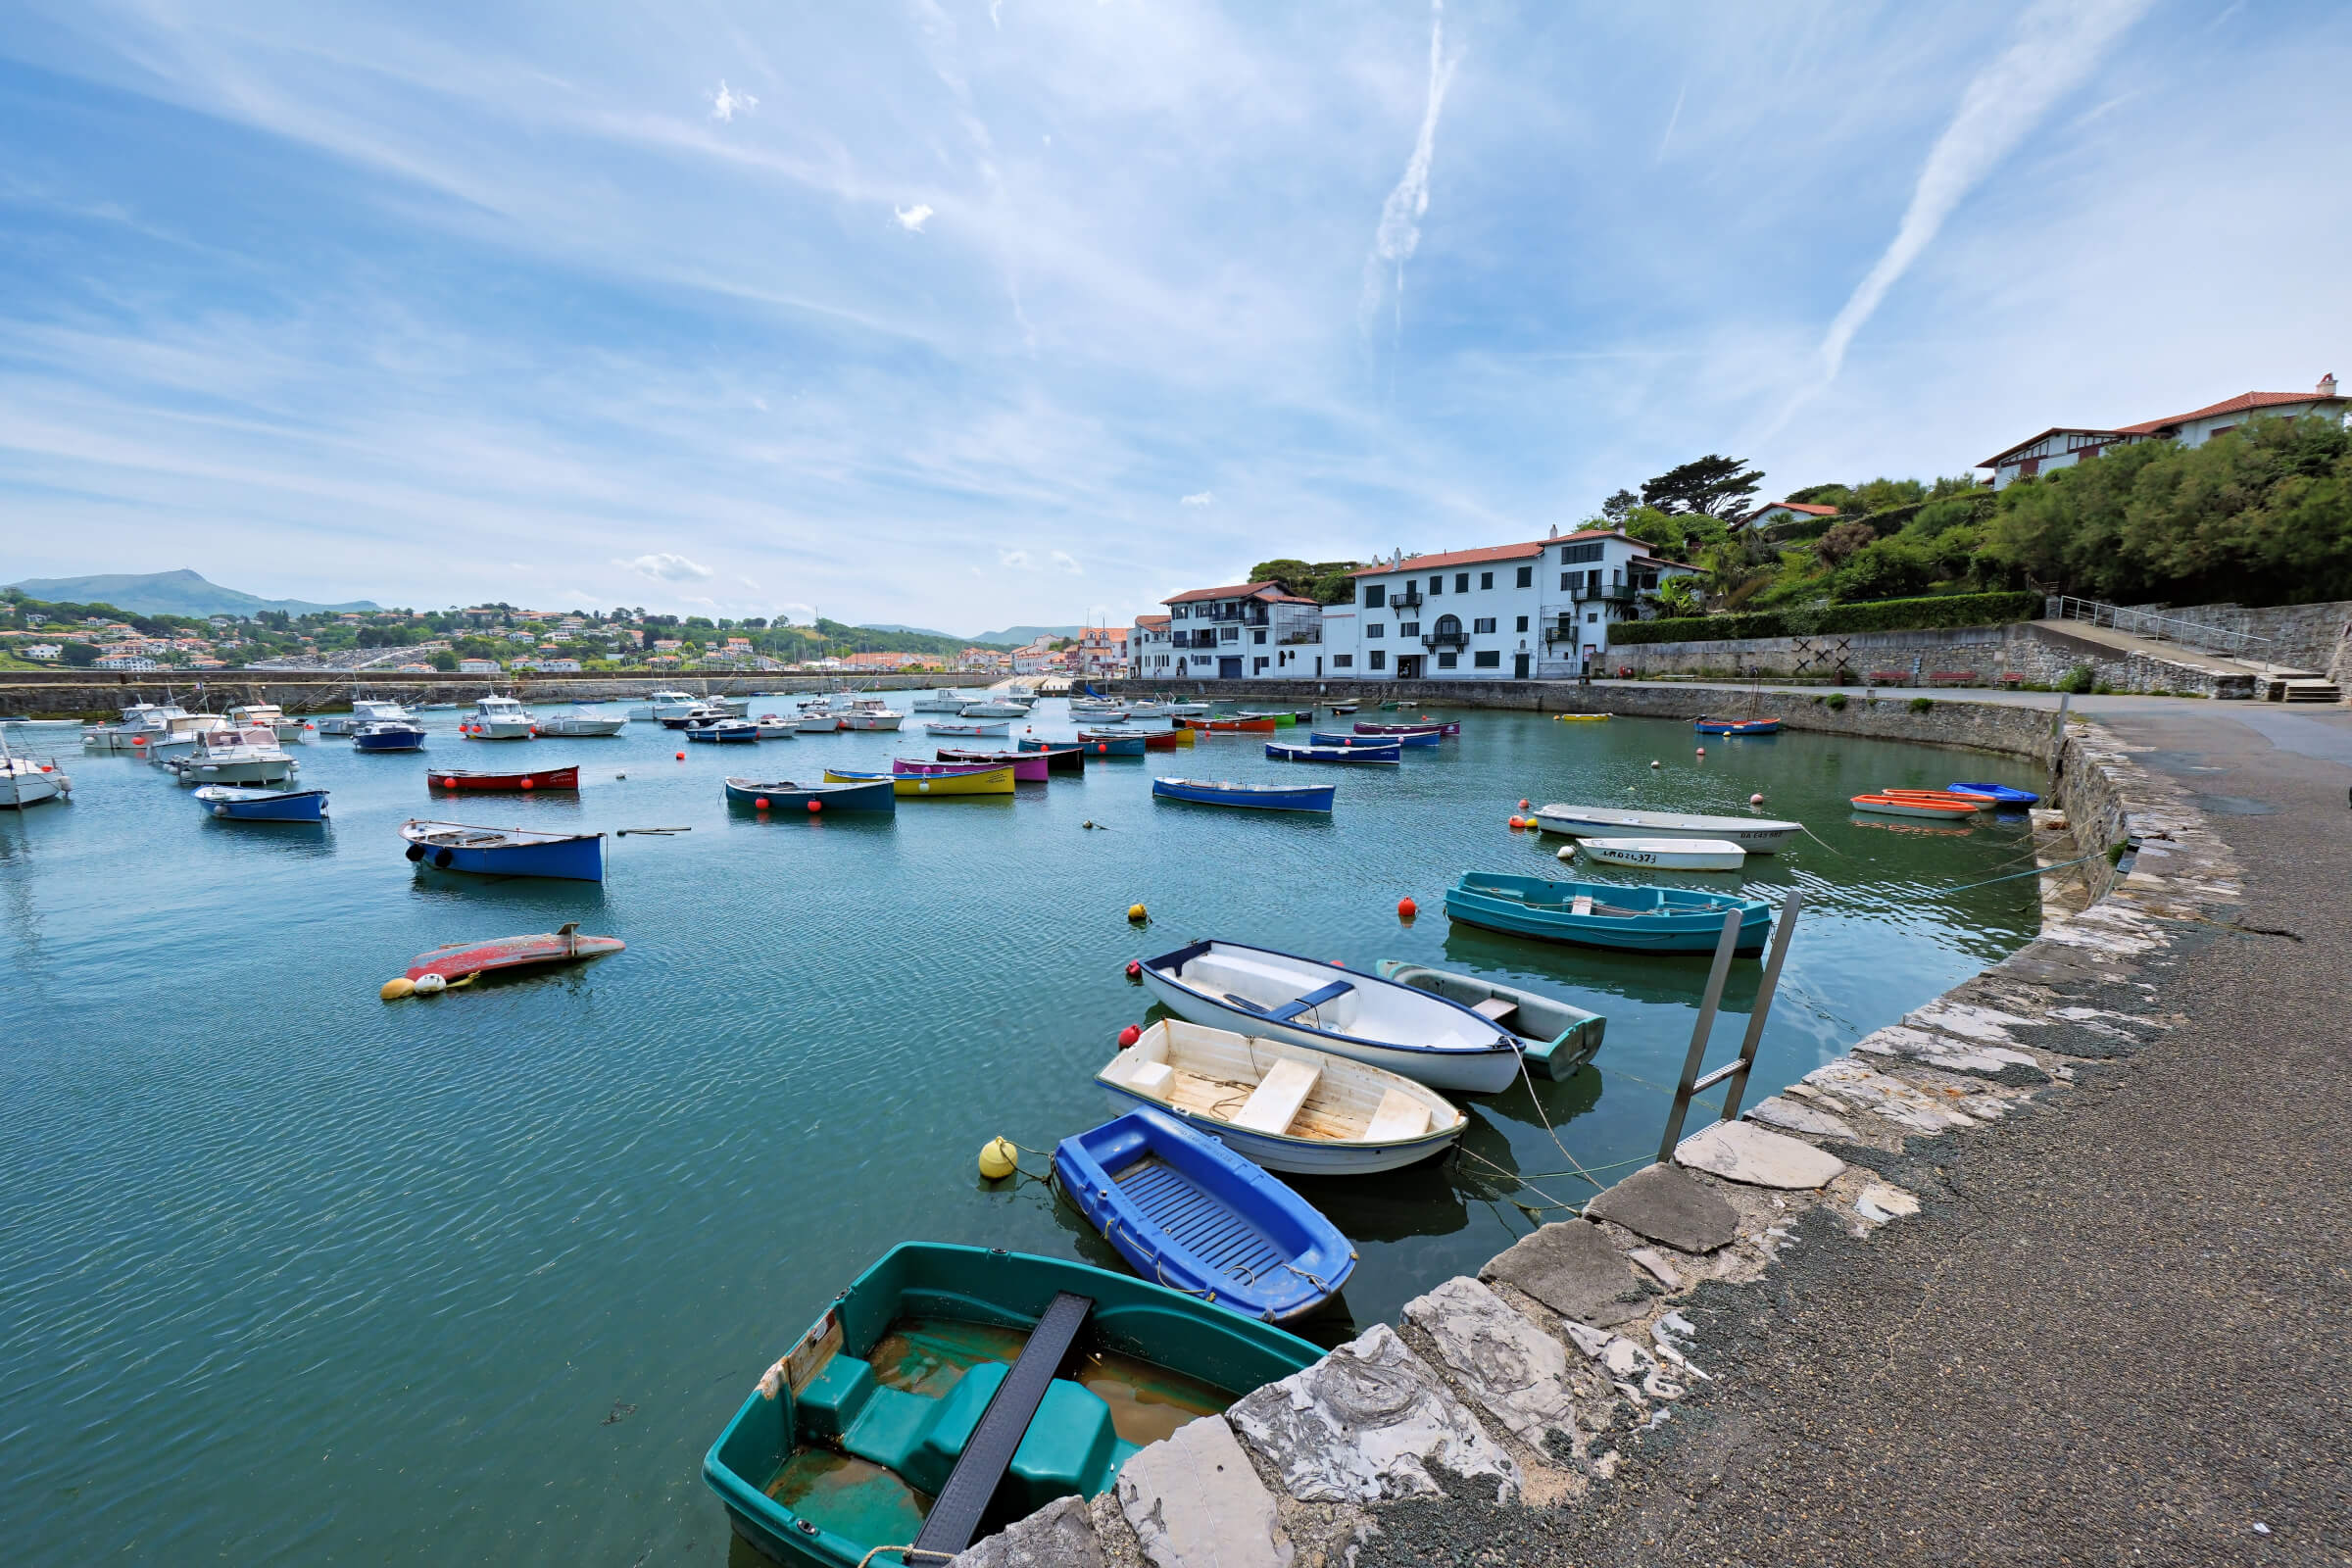
After a lovely trip to the French Atlantic coast, I sat down at home to go through my pictures. Among them I found some nice shots I had taken in the harbor of Socoa with my new mirrorless camera, a Fujifilm X-T50. Unfortunately, I don’t seem to have been paying much attention while shooting, because some of the pictures were underexposed. So I was curious what Radiant Photo’s artificial intelligence could get out of the sample image shown here.
As soon as you open the image, you get a developed version of it. You can then refine that result with Radiant Photo’s smart sliders to give it your own creative look.
Automatic Preset
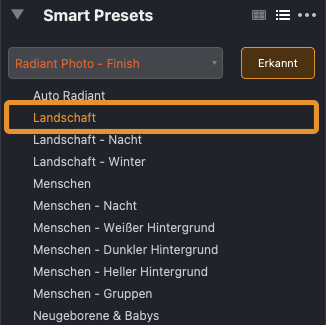
When you open the image in Radiant Photo, the built-in artificial intelligence kicks in automatically, analyzes the content of the image and picks a suitable preset. In this example, it chose the “Landscape” preset.
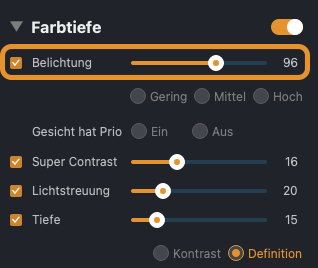
Exposure
The first automatic optimization already looks quite good. The image is brighter, and both sharper and richer in contrast. Still, the correction is a little too restrained for my taste, so I raise the exposure a bit more.
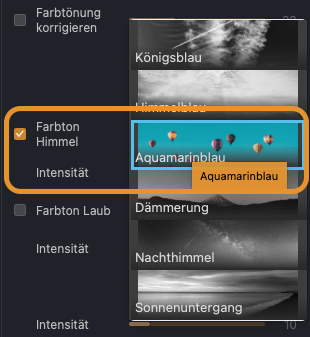
The Color of the Water
Next, I turn to the water in the picture, because its color is too pale for me. To do that, I switch on “Sky Toning” and play with different shades of blue. With “Aquamarine” selected, the water looks much more alive.
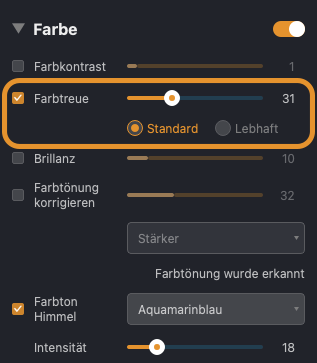
Color Fidelity
When you change the blues, as I did in the previous step, the toning can unintentionally spill over into other colors. With the “Fidelity” slider, Radiant Photo moves back closer to the original colors.
More from the blog
Radiant updates
Meet Radiant Photo 2.5 and Radiant Raw
A dedicated Raw developer, new tools for detail and color, and a Look library you can search, favorite and preview with a hover. Here is what's new, and why we think you'll love working this way.
Press release · Radiant updates
The next evolution in photo editing: Radiant Photo 2 is on its way!
INDIALANTIC, FL – November 25, 2024 — Radiant Imaging Labs is pleased to announce the release of Radiant Photo 2, the latest evolution in photo editing software.
Photo tips · Radiant updates
Elevate Your Photography with Radiant Photo 2 and Assistive AI
In the ever-evolving world of photography, technology, and artistry are converging like never before.
The Radiant newsletter
A weekly email from Radiant Imaging Labs: new articles, photo tips and release news.