Radiant Imaging Labs

Scopes · Radiant Raw and Radiant Photo

Read the light. Without looking away.

Radiant Raw and Radiant Photo share the same four scopes: Histogram, Waveform, Parade and Vectorscope. Keep one docked at the top of the panel, lay one on the photo itself, or open the Scopes window to see up to four at once, larger. They follow every slider as you drag it.

InRadiant RawRadiant Photo

  • The same four scopes in both apps
  • On the photo, lined up with it
  • Up to four at once, larger
  • Linked to the photo both ways

Try it here

Four scopes, drawn from the photo beside them.

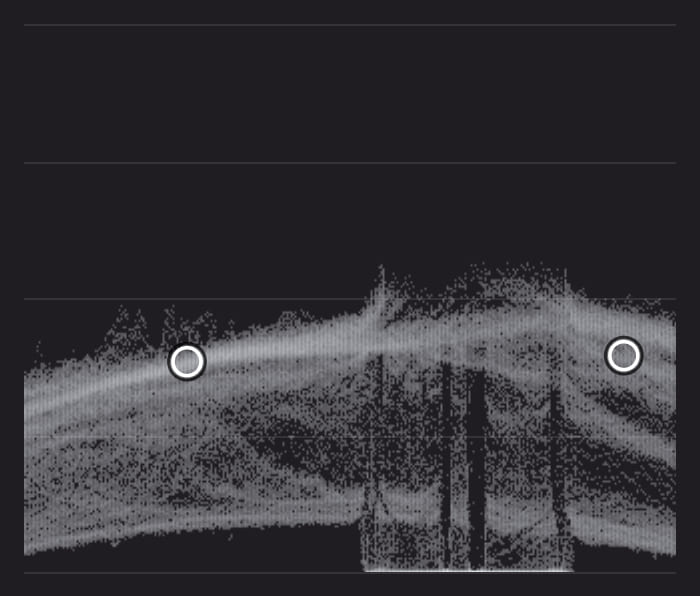
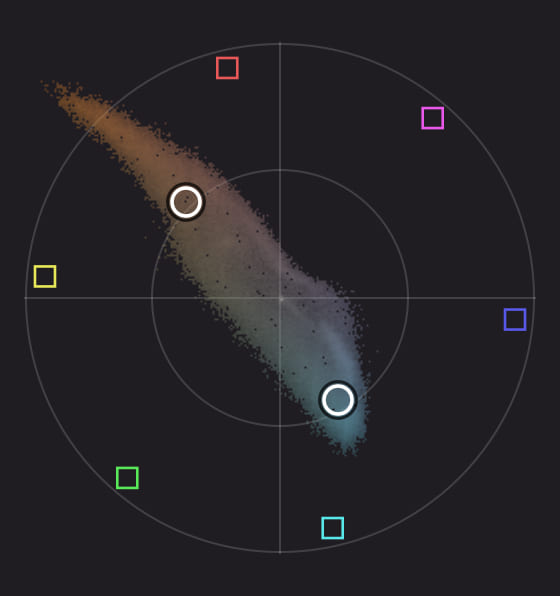
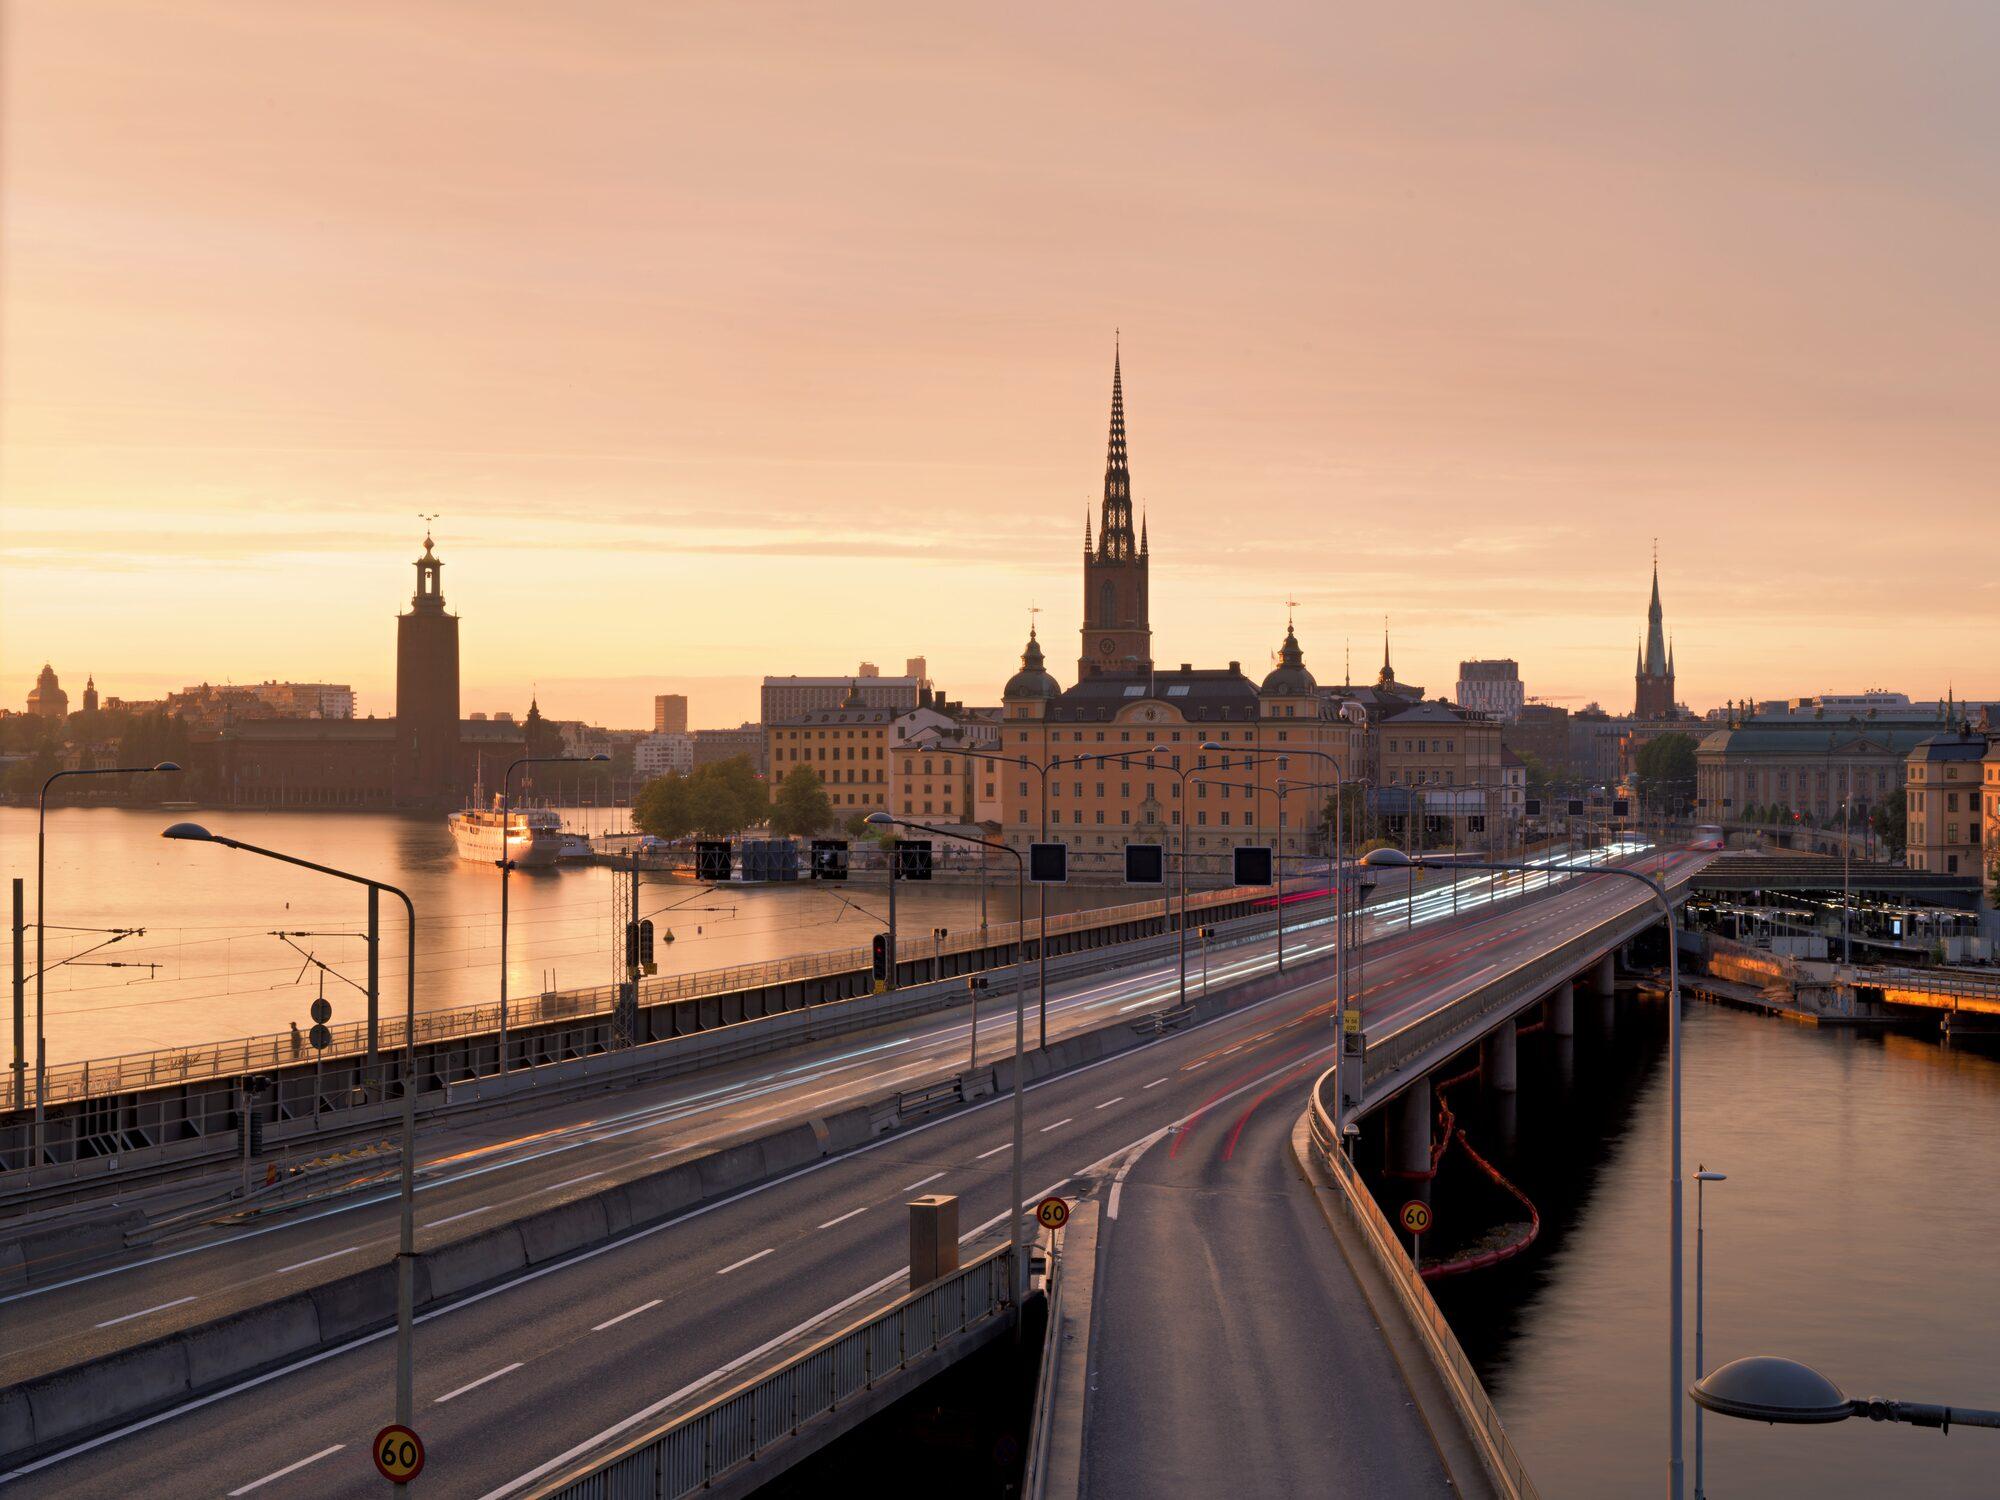
Pick a photo and a scope. Switch to Before and the scope changes with the edit. Point at the photo to find that pixel in the scope.

After: Golden light over Stockholm’s old town, traffic streaking past below.

Golden light over Stockholm’s old town, traffic streaking past below. Photo: Elia Locardi

Drawn on this page, in your browser, from the photo beside it. Point at the photo and that pixel is marked in the scope.

Three places

One set of scopes, wherever you want to read them.

Every scope can sit in three places, and each place keeps its own settings. Turn them on from View › Scopes, or from the scope menu: the title at the top of the docked scope.

1

Docked

At the top of the panel. Its title is the scope menu: choose Histogram, Waveform, Parade or Vectorscope, show the scopes on the photo or in their window, open Scope Settings, or Pin as Reference. Show Second Scope adds a second one under it, with its own scope and settings.

2

On the photo

Show Scopes on Photo lays a scope over the picture, so you read it without looking away. It never takes a click: crop, heal, the Color Sampler and every brush work straight through it.

3

In the Scopes window

Show Scopes Window opens a larger window that floats over the canvas. Move it by its title bar, resize it from its corner, and double-click the title bar to fill the canvas.

On the photo

The band, full frame, or a corner card.

Choose the Placement on the overlay’s bar, which appears when you rest the pointer on the overlay. One Opacity setting covers all three. While a tool such as Heal is active, the overlay fades under the pointer and its bar stays away, so nothing sits on the pixels you are about to touch.

Band, over the photo

The default. A waveform along the foot of the photo, exactly as wide as the photo on screen and lined up with it column for column: the spike under the sun is the sun. Zoom in and it measures only what you see. Drag its top edge to set its height, from 15 to 50 % of the photo.

Band, below the photo

Set Position to Below the photo, and the photo moves up to make room. The band sits right under it, still lined up, and covers nothing. A good choice on a big screen.

Full frame

The waveform fills the whole photo: left to right across its columns, black at the bottom, white at the top. Dim photo darkens the picture under the trace so it reads clearly. It steps aside while you drag a crop.

Corner card

The Histogram or the Vectorscope in a glass card. Drag its header to any corner, and its inner edge to size it.

The Scopes window

Larger, and up to four at once.

Choose a layout in the window’s toolbar: one scope, two side by side, two stacked, one plus two, or two by two. The first time, it opens two by two with Histogram, Waveform, Parade and Vectorscope. After that it remembers its place, size, layout and panes.

Each pane its own

Open a pane’s title to change its scope, and its settings button to change how it draws. A luma waveform can sit beside an RGB one, and the same scope can appear twice.

Linked both ways

Point at the photo and that pixel is marked in every scope, along with your Color Sampler points. Point at the Vectorscope and only the pixels of that hue and saturation stay lit: the quickest way to find where a color cast lives.

Pin as Reference

Keeps this photo’s traces as a gray ghost under the live ones, so you can match the next photo of a set to it.

What is measured

The footer names the file and says whether the scopes read the whole photo or, when you zoom in, only the visible area.

The scopes

Four scopes for still photos.

Each scope opens its own settings from its settings button or Scope Settings. Reset to Defaults puts them back.

Histogram

How many pixels sit at each brightness, from black to white.

  • Channels: red, green, blue and luma
  • Display: Overlaid or Stacked
  • Vertical axis: Linear or Log

Waveform

Brightness across the photo, column by column, so you see where in the frame the highlights and shadows are.

  • Channels: luma, RGB or both
  • Brightness and Trace, Linear or Log
  • Scale: 0–100 % or 0–255
  • Guides at 2 % and 98 %, for print; Extents outline the extremes
  • Orientation: Horizontal, or Vertical for portrait photos

Parade

The waveform split into its channels, so a color cast shows as red, green and blue sitting at different heights.

  • Panels: YRGB or RGB
  • The Waveform’s Brightness, Trace, Scale, Orientation, Guides and Extents
  • Stacked in the band, so it stays lined up with the photo

Vectorscope

Hue around the circle, saturation out from the center. The skin-tone line shows where natural skin falls.

  • Targets: 75 % or 100 %
  • Zoom: 1×, 2× or 4×
  • Range: All, Shadows, Mids or Highlights
  • Skin-tone line and Colorize

HDR, shown honestly

When a photo carries light above white, the Waveform and Parade grow a second scale above 100 %, in stops up to the HDR Limit. A dashed line marks what your display can show right now; anything above it is hatched. In Radiant Photo on an HDR-capable display, and in Radiant Raw in HDR mode.

Questions

Common questions.

Will a scope on the photo get in the way of my brushes?

No. Its body never takes a click, so every tool works straight through it. With a tool active it fades under the pointer, and its bar stays away.

Are the scopes the same in Radiant Raw and Radiant Photo?

Yes. The same four scopes, the same three places, and the same menus and words, on Mac and on Windows. Each app remembers its own Scopes window.

What about Radiant Flow?

Radiant Flow is for culling, so its metadata panel keeps the Histogram it has. The Waveform, Parade and Vectorscope are in Radiant Raw and Radiant Photo, where you develop and finish.

See exactly what your edits do.

Scopes come with Radiant Raw and Radiant Photo.