Tone
Tone sets the overall brightness and contrast of your photo. Start here on most photos: it does the most with the fewest moves.
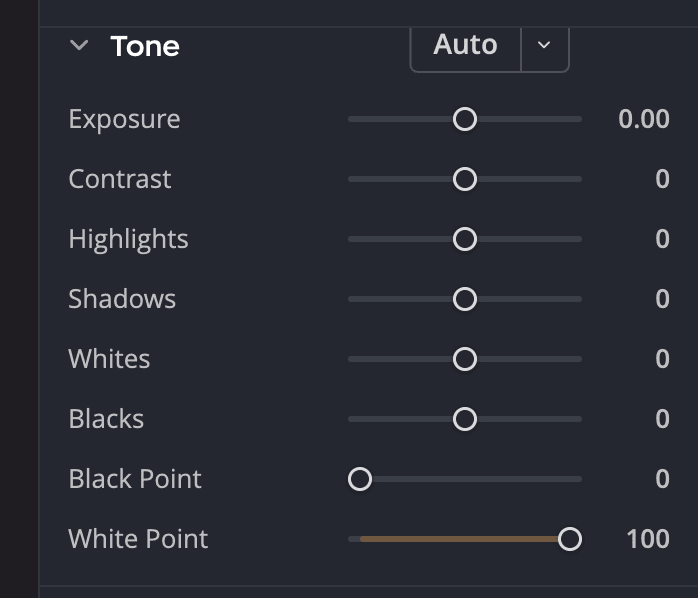
| # | Control | What it does |
|---|---|---|
| 1 | Exposure | Brightens or darkens the whole photo, in stops. |
| 2 | Contrast | Widens or narrows the gap between light and dark. |
| 3 | Highlights | Recovers or brightens the brightest areas. |
| 4 | Shadows | Opens up or deepens the darkest areas. |
| 5 | Whites | Sets how bright the brightest tones get. |
| 6 | Blacks | Sets how dark the darkest tones get. |
| 7 | Black Point | Clips the darkest tones to pure black. |
| 8 | White Point | Clips the brightest tones to pure white. |
| 9 | Auto | Sets the brightness and contrast for this photo, measured on the photo as shot. The ▾ picks how. |
Start with Auto
Click Auto in the Tone panel's header, then fine-tune from there. Auto measures the photo as shot, so clicking it twice gives the same result. The second click says Tone Auto: nothing to change.
At first, Auto uses Enhanced Contrast and Brightness. It sets Exposure, Contrast, Highlights, Shadows, Whites and Blacks for this photo. Its Exposure is the one Auto Exposure would set, so the two agree. Auto holds back when a change would clip the highlights or shadows. If every change it tries would clip, it says Tone Auto: left the photo as it was. Point at the message to see why.
When Auto is done, a message over the photo names the method, for example Tone Auto: set by Enhanced Contrast and Brightness (Contrast only). Point at it to see the values it set, or click Undo in it to take them back. See When you click Auto.
Choose what Auto sets
Click the ▾ beside Auto. The last two rows in it choose what Auto sets:
- Contrast only, the default, sets Exposure, Contrast and the Tone sliders. The Color panel stays as it is.
- Contrast and Color also sets Vibrance and Saturation in the Color panel.
A click on either row saves your choice and runs nothing. The rows show while Enhanced Contrast and Brightness is Auto's default.
For Exposure alone, choose Auto Exposure in the ▾. Its message gives the value, for example Auto Exposure: Exposure set to +0.41. Choosing a method row in the ▾ makes it Auto's default and runs it once. A check marks the default.
Tone's Auto and Levels' Auto each replace only their own last result, so you can use both on one photo. Luma, which sets the darkest, middle and lightest points, is in the ▾ of Levels.
When a Levels Auto is already on the photo, Tone's Auto runs it again with its own method on Tone's new result, in the same undo step. So you get the same picture whichever of the two you click first. Auto Exposure does the same. It also replaces the Auto that stands in Tone: the sliders that Auto set go back to their defaults, and only Exposure is set. Sliders you set yourself keep their values.
The sliders
| Slider | Range | What it does |
|---|---|---|
| Exposure | −5 to +5 EV (default 0) | Brightens or darkens the whole photo, in stops |
| Contrast | −100 to +100 (default 0) | Widens or narrows the gap between light and dark |
| Highlights | −100 to +100 (default 0) | Recovers or brightens the brightest areas |
| Shadows | −100 to +100 (default 0) | Opens up or deepens the darkest areas |
| Whites | −100 to +100 (default 0) | Sets how bright the brightest tones get |
| Blacks | −100 to +100 (default 0) | Sets how dark the darkest tones get |
| Black Point | 0 to 30 (default 0) | Clips the darkest tones to pure black |
| White Point | 50 to 100 (default 100) | Clips the brightest tones to pure white |
Double-click a slider to reset it.
Tip
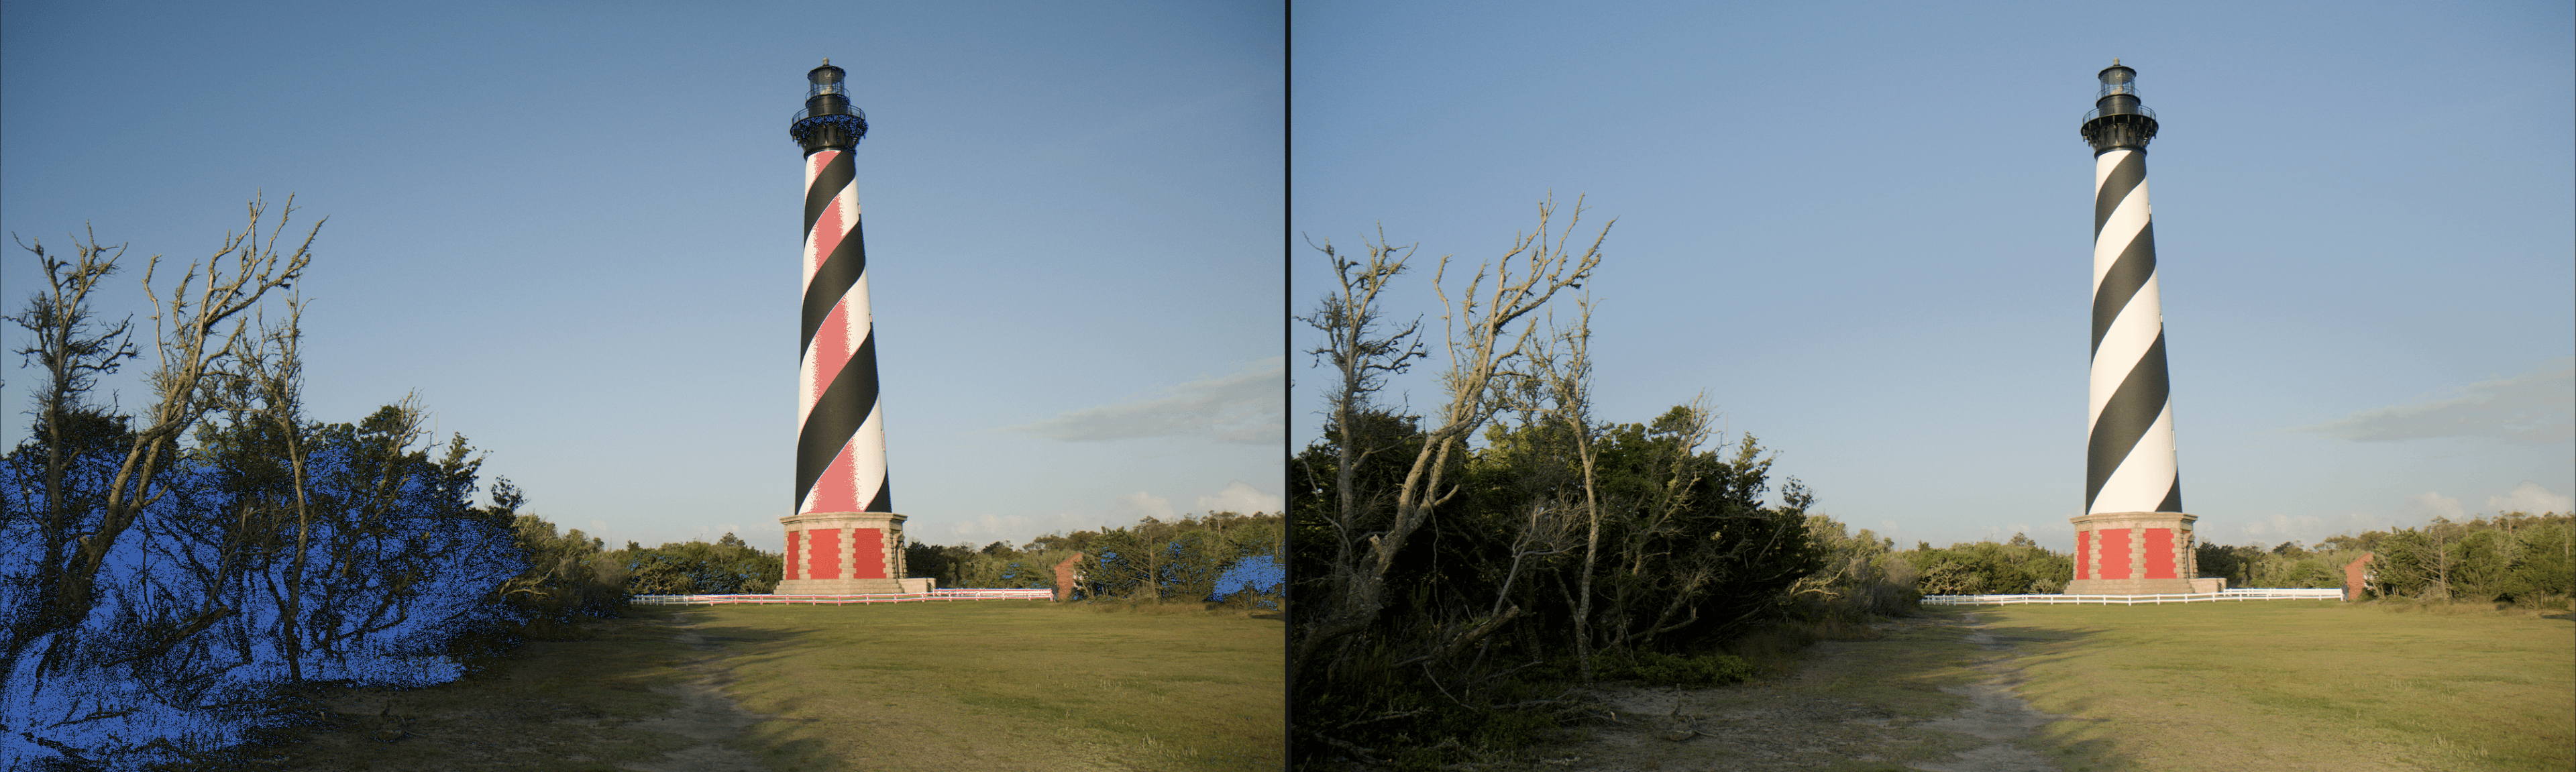
Press J to show clipping. Areas that have lost all detail are highlighted, so you can pull them back with Highlights or Shadows.