
Comparing before and after
Compare shows how far your develop has come. The "before" side is As shot: the photo as Radiant Raw first renders it, before any of your settings. So you always compare against the real starting point.
Choose a view
Click one of the five view buttons in the title bar. For the first three, you can also choose View > Compare. Point at a button to see its name. The buttons are dimmed while Crop & Straighten is open.
| View | Shows | Key |
|---|---|---|
| Develop only | Your developed photo, full size | ⌥1 |
| Before / After | As shot and Developed side by side | ⌥2 |
| Split | One photo, divided by a line you can drag: As shot on one side, Developed on the other | ⌥3 |
| Ghost | Your developed photo at half strength over As shot | None |
| Difference | What your develop changed glows, and what it left alone is dark | None |
On Windows, use Alt+1, Alt+2 and Alt+3. Press the key of the view you're in again to switch it between horizontal and vertical. In Split view, choose Center the Split to put the dividing line back in the middle.
Ghost and Difference have no key and no View menu row: use their buttons. You can zoom and move the photo in them as in Develop only. Choosing another view ends them. They don't show over a photo with a Raw Composite.
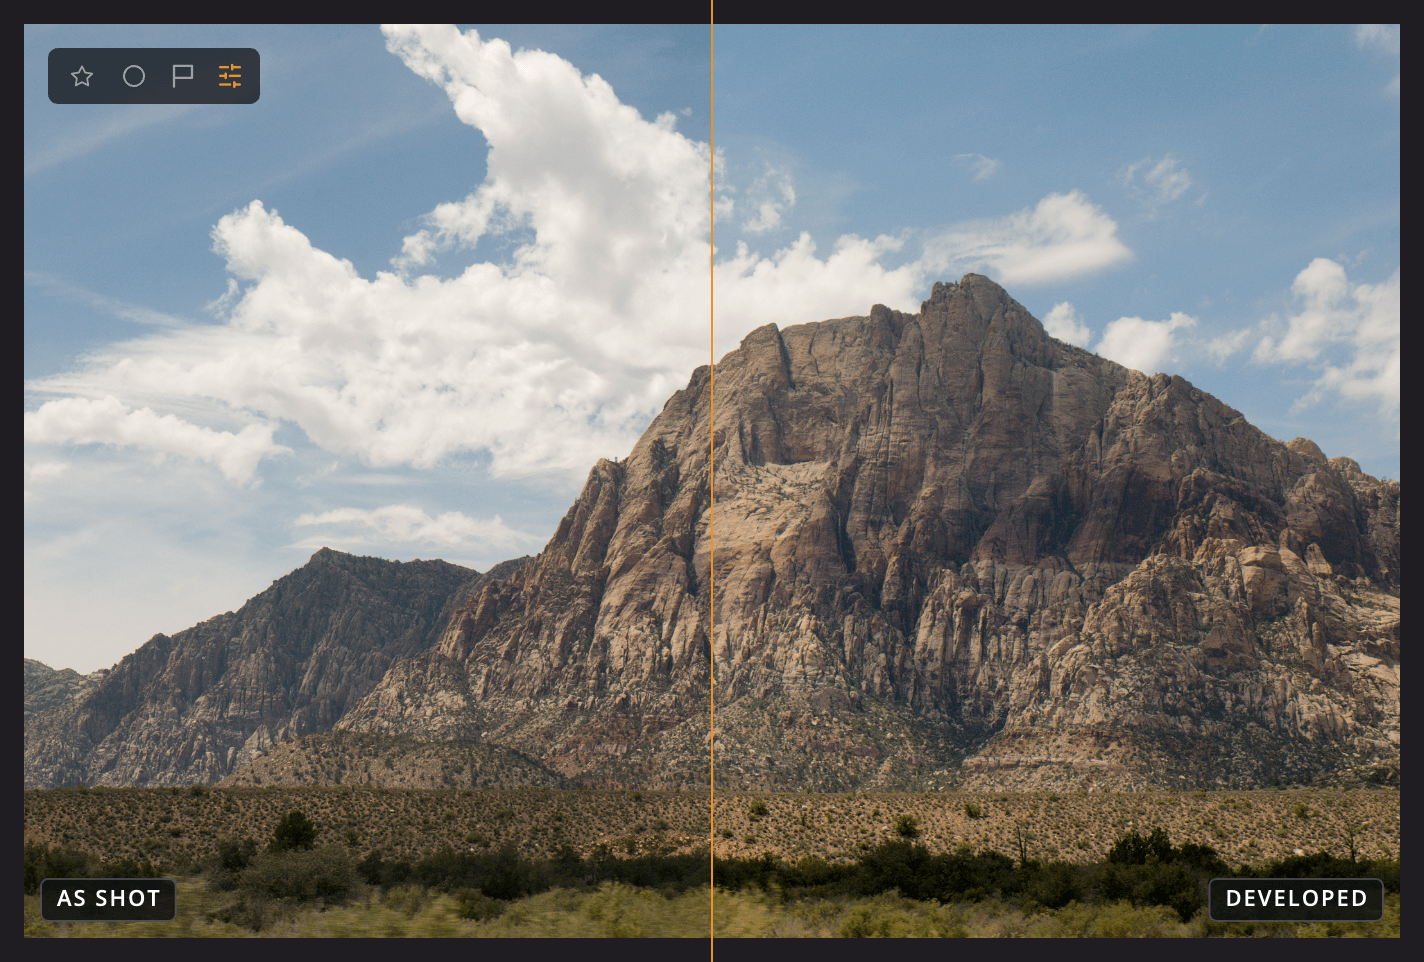
| # | Item | What it shows |
|---|---|---|
| 1 | As shot | The photo before any of your settings |
| 2 | Developed | Your developed photo |
| 3 | Dividing line | Where the two sides meet. Drag it to move the split. |