
Comparing before and after
Radiant Photo can show your edit next to the original, or two different photos side by side. Use it to judge a change or choose the better frame. The three view buttons are in the top toolbar; the same commands are in View > Compare.
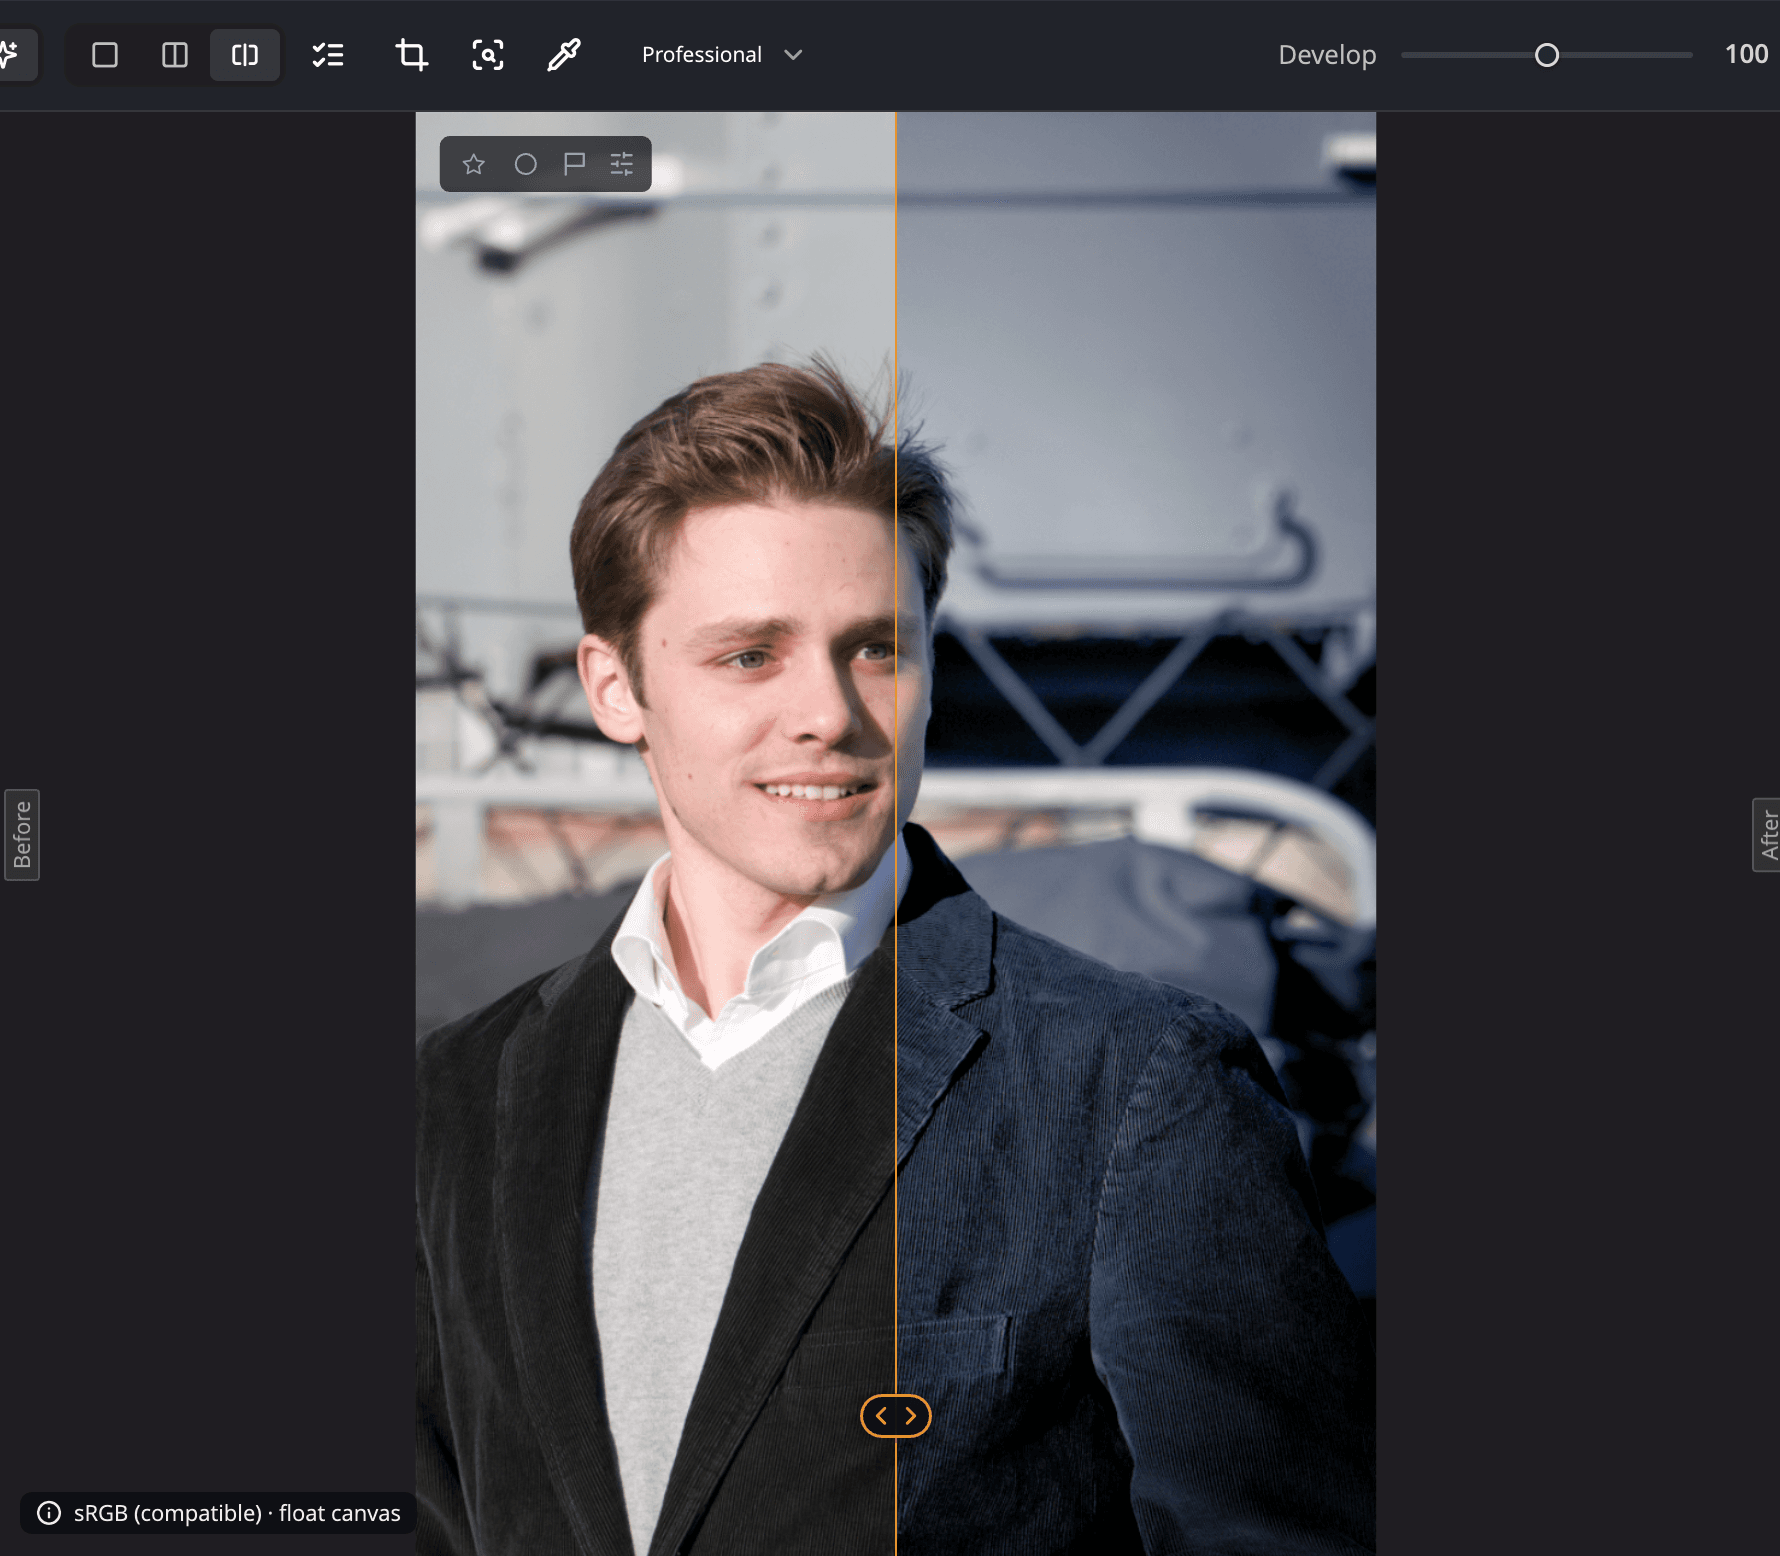
| # | View | Shortcut | What it shows |
|---|---|---|---|
| 1 | Edited Only | ⌥1 (Alt+1) | Your edited photo alone. |
| 2 | Before/After | ⌥2 (Alt+2) | The original and the edited photo side by side. |
| 3 | Split | ⌥3 (Alt+3) | One photo, original on one side of a divider and edited on the other. |
| 4 | Divider | Drag it to move the split. |
Compare your edit with the original
- Peek: in any view, press Space and hold to see the original. Let go to see your edit again.
- Side by side: click Before/After or press ⌥2 (Alt+2 on Windows). Click Before/After again to stack the two views instead, and back.
- Split: click Split or press ⌥3 (Alt+3). Click Split again to turn the divider from vertical to horizontal, and back.
- Back to normal: click Edited Only or press ⌥1 (Alt+1).
Note
Before/After shows the photo twice, so the canvas uses its 8-bit preview until you leave it. Focus points are hidden in Before/After too.
Compare two photos
Compare A ↔ B puts two different photos side by side with linked zoom. Use it to pick the sharper of two frames from a burst.
- Go to the first photo and press ⇧A, or choose View > Compare > Set Photo as Compare A.
- Go to the second photo and press ⇧B, or choose View > Compare > Set Photo as Compare B.
- Press ⇧K, or choose View > Compare > Compare A ↔ B.
- Zoom in on one side; the other follows. Press Esc, or choose View > Compare > Exit Compare, when you're done.
You can also set the slots from a filmstrip thumbnail's menu. It offers Set as A, Set as B, Replace A and Remove A from Compare, and the same for B. When the photo on screen is already in a slot, the View menu reads Compare Slot A (this photo) or Compare Slot B (this photo).
Leaving the comparison keeps your A and B choices, so ⇧K brings the same pair back. Opening the Crop or Spot Removal tool leaves the comparison, because those tools need the whole canvas.
Compare by numbers
When Radiant Photo has read the PRISM Photo Score of at least one of the two photos, a small panel, Compare by numbers, sits just above Exit compare. It lists four of PRISM's readings for each photo, from 0 to 100: Eyes open, Sharpness, Exposure and Facing. Photo A's values are on the left and photo B's on the right. Radiant Photo reads a photo's score when you view it with PRISM Photo Score showing (see Show the score on your photo), or when you click Score this shoot in Review.
- In each row, the higher value is in heavier type and underlined. When the two are equal, neither is.
- A dash means that photo has no value for that reading. It never means 0. On a scored photo, hold the pointer over the dash to read Not measured.
The numbers describe the photos as they were shot, before your edits. See PRISM in Radiant Photo.
Tip
In a long shoot, use Reviewing photos to pick and reject quickly, then Compare A ↔ B for the close calls.