
The left panel
The left panel shows where you are in the photo and which settings Radiant Photo chose for it. It's also where you pick a Workflow and apply recipes.
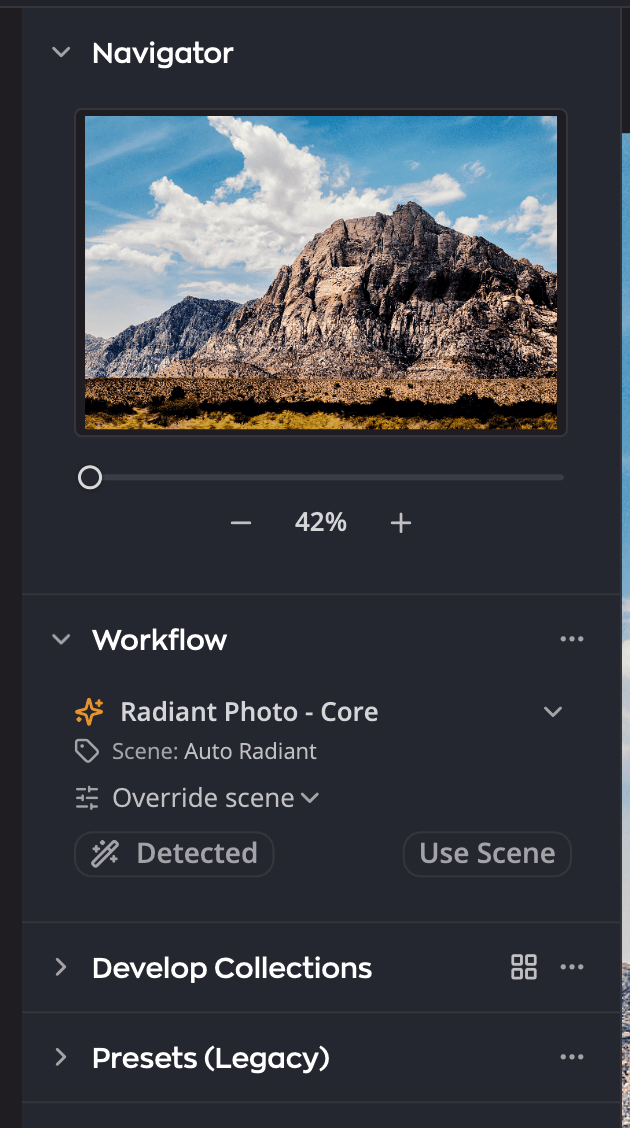
| # | Section | What it's for |
|---|---|---|
| 1 | Navigator | A small view of the whole photo, for moving around while you zoom in |
| 2 | Workflow | The active Workflow and the scene it detected in this photo |
| 3 | Develop Collections | The first tab of the last section: ready-made recipes for the detected scene |
| 4 | Recipes | The second tab: your recipes and the ones that come with Radiant Photo, applied whatever the scene |
Click the Navigator or Workflow title to open or close that section. The last section has no fold. Click a tab to bring Develop Collections or Recipes to the front.
Navigator
The Navigator shows the entire photo, with the part you're looking at outlined. Drag the outline to look at another part of the photo. Drag the slider under it to zoom in or out.
When the window is short, the Navigator steps out so the Workflow section keeps its room. It comes back when there's space again.
Workflow
When you open a photo, the active Workflow compares it with the scenes it knows and picks the closest one. That scene chooses a recipe for the photo. The default Workflow is Radiant Photo - Core.
- The Scene: line names the scene that was detected.
- Detect returns to the scene the AI picked for this photo. It reads Detected when that scene is in use.
- Use Scene restores the AI-recommended settings after you've changed them.
- Override scene lets you choose a different scene for this photo.
- Switch workflow changes to another Workflow you own.
The Workflow options menu (…) has Choose default develop settings, Reset default develop settings and Learn more.
Develop Collections
Develop Collections lists the recipes made for the detected scene, then Other scenes. Click a recipe to apply it. You can save your own and keep favorites here too. See Recipes and Develop Collections.
Develop Collections is in front the first time you open Radiant Photo. The Recipes tab sits behind it; Radiant Photo remembers which tab you left in front. See Recipes.
Recipes from Radiant Photo 1
Presets you made in Radiant Photo 1 come in as recipes. They're listed under Legacy, at the bottom of the Recipes tab. To bring them in, click … (Recipes options) and choose Import Radiant Photo 1 Recipes….
These recipes don't use scene detection. Recipes you save in Radiant Photo 2.5 appear under Recipes or Develop Collections instead.
Hide the left panel
- Press ⌥⇥ (Ctrl+Tab on Windows) to hide both side panels. Press it again to bring them back.
- Choose View > Panels for Hide Panels, Show Left Panel and the other layouts.