
Watermarks
A watermark stamps your name, studio or logo onto the photos you save, export, print and share. Design it once in the Watermarks window and make it your default: every output set to Default then carries it. Your edit and your original photo are never marked.
Open the Watermarks window
Choose File > Watermarks….
You can also open it from the Save dialog. Choose File > Save with Options… (⇧⌘S, Ctrl+Shift+S on Windows), then click Edit… in the Watermark row.
Make a watermark
| Control | What it does |
|---|---|
| New | Opens a menu: Text watermark, Logo watermark, Logo + text, Signature watermark (Signature watermarks), a template under From template, or Import… for a .radiantwatermark file. |
| Default flag | Hold the pointer over a watermark and click its flag (Make this the default watermark). The default watermark's flag stays lit. Every output set to Default uses it. |
| Kind | Text, Logo, Logo + text or Signature. You can change it at any time. |
| Anchor | Where the mark sits: a corner, an edge or the center. |
| Size | How big it is. |
| Opacity | How strongly it shows. |
| Shadow | In the Legibility section: a soft shadow that keeps light text readable over a bright sky. |
| Legibility chip | Checks the mark on every photo in the preview and offers a fix where it's hard to read. |
Your watermarks are listed on the left, with the built-in templates under them. The middle shows the selected watermark on your photos, and its settings are on the right. Beside the title, the window explains: Shared by Radiant Photo, Raw and Flow on this computer. Changes save as you go.
The preview draws the mark at the size it will have in each saved file. Opened from File > Watermarks…, it shows the photos selected in the filmstrip; opened from an output's Edit…, the photos that output writes; in either case, up to 24. Step through them with the arrows beside 1 of 3, or choose Side by side to see the first landscape, portrait and square photo together, each at its own size. Fit shows the whole photo, and 100% (100% output pixels) shows it at its output size. You can also work on the photo itself: drag the mark to move it, drag a corner to resize it, or drag its rotate handle to turn it.
Click the ⋯ button on a watermark (More actions for Signature), or right-click it, for Make Default, Rename, Duplicate, Export… and Delete…. Delete asks first and names the outputs that use the watermark; those outputs then use the default watermark. If you delete your default watermark, outputs set to Default have none until you choose another.
Every change can be undone while the window is open: press ⌘Z (Ctrl+Z on Windows), or click Undo in the message after a delete. Revert… at the bottom puts back the changes made in this window since it opened, after you confirm. Changes made at the same time in another Radiant app stay. Done (⌘Return, Ctrl+Enter on Windows) closes the window.
Under Templates are five ready-made watermarks: Corner signature, Proof tile, Centered logo, Edge credit and Artist signature. Templates are locked: the first change you make to one makes your own copy, and the template stays as it is. The logo templates show the first logo in your library, or a sample mark until you add one.
A text watermark
Choose New > Text watermark (⌘N, Ctrl+N on Windows). A watermark named Watermark is added and selected. Its text starts as © followed by the Year and Creator fields. Give it a clearer name in Name at the top of the settings.
Type your text in Watermark text, up to four lines. The buttons under it insert ©, Year, Creator, Copyright and Website, and More holds the other fields, such as the city, the file name and the camera. A field is filled in from each photo's metadata, so one watermark carries each photo's own year and credit. The line under the text shows the result on the photo in the preview, for example On this photo: © 2026 Studio name. A field that is empty on a photo is left out.
| Control | Range (default) | What it does |
|---|---|---|
| Font | The fonts on your computer (Open Sans) | Open Sans ships with Radiant. Get more fonts… downloads free fonts that every Radiant app on this computer can use. |
| Weight | The weights the font has (Semibold) | How heavy the letters are. |
| Italic | On, off (off) | Slants the letters. |
| Tracking | −100 to 400 (0) | The space between the letters. |
| Line spacing, Align | 0.8 to 2.0 (1.15) | Shown for text of more than one line: the space between the lines and how they line up. |
| Color | Five grays from white to black, or a custom color (white) | Pick a color from the photo takes the color of the point you click on the photo. |
| Auto light/dark | On, off (off) | White or near-black, whichever reads better on each photo. |
Note
A watermark uses the fonts on the computer that saves the photo. When its font isn't there, the window says so: Garamond is not on this computer. Exports use Open Sans Regular until it is installed.
A logo watermark
Choose New > Logo watermark, click Choose… and pick your logo: a PNG, JPEG, TIFF or WebP file. The window advises: PNG or TIFF with transparency, or any image with Remove background. Radiant keeps its own copy. Because Radiant keeps a copy in its watermark library, moving your logo file later doesn't affect the watermark. If Radiant can't make its copy, it says so, and the watermark then uses your original file. Replace… swaps the logo, and the logos you've used wait under Recent logos.
| Control | Range (default) | What it does |
|---|---|---|
| Remove background | On, off (on) | Clears a plain white or colored box around the logo, from the corners inward. It can't lift a logo off a photo or a gradient. Your file is never changed. |
| Tolerance | 0 to 40 (12) | With Remove background on: how far a color may be from the backdrop's and still be cleared. |
| Tint | Original colors, White, Black, Auto light/dark (Original colors) | Draws the logo in its own colors, in white or black, or in whichever of the two reads better on each photo. |
Logo + text puts your logo and a line of text together. Its text starts as the Creator field and has the settings of a text watermark. Arrange (Beside or Above, default Beside) and Gap (0 to 100%, default 35%) set how the two sit together.
Placement
| Control | Range (default) | What it does |
|---|---|---|
| Pattern | Single, Tiled (Single) | In the Watermark section: one mark, or a pattern that covers the whole frame. |
| Anchor | 9 positions (Bottom right) | Which corner, edge or center the mark sits against. |
| Offset X, Offset Y | 0 to 25% (3%); −25 to 25% (0%) on a centered axis | The distance from the edge, as a percentage of the photo's short edge. Equal offsets (on) moves both together. |
| Spacing, Stagger rows | 0 to 300% (80%); on | With Tiled, in place of the anchor and offsets: the room between the tiles, and whether the rows are offset from each other. |
| Size | 0.5 to 50% (4%) | A percentage of what Size of says. Most of the slider's travel covers 0.5 to 10%. |
| Size of | Short edge, Frame width (Short edge) | Short edge keeps the mark the same on portrait, landscape and square photos. With Frame width, Size runs from 5 to 100% of the photo's width. |
| Rotation | −180° to 180° (0°) | Turns the mark, snapping to multiples of 45° as you pass them. With Tiled it turns the whole pattern. |
| Opacity | 0 to 100% (85%) | How opaque the mark is. |
| Blend | Normal, Multiply, Screen, Overlay (Normal) | How the mark mixes with the photo. |
Legibility and the safe area
The Legibility and Safe area sections start closed. Click a section's name to open it.
| Control | Range (default) | What it does |
|---|---|---|
| Shadow | On, off (off) | A soft shadow behind the mark. Set its Opacity (0 to 100%, default 45%), Blur radius (0 to 50%, default 12%), Distance (0 to 25%, default 4%), Angle (0° to 359°, default 135°) and Color. |
| Outline | On, off (off) | For text: a line around the letters, with its Width (0.5 to 10%, default 3%), Opacity (default 60%) and Color. For a signature, it's the edge, on at 1.6% and 70%, in the ink that contrasts with the signature's own, so it has no Color. |
| Background | On, off (off) | A box behind the mark, with its Opacity (default 40%), Padding (0 to 100%, default 40%), Corner radius (0 to 50%, default 20%) and Color. |
| Keep inside safe area | On, off (on) | Shrinks the mark to fit, then moves it in. Its Safe area slider sets the border, 0 to 10% of the short edge (2%). |
The Legibility chip at the end of the line under the preview checks the mark on each photo in the preview, for example Legible on this photo. When it reads Low contrast on 2 of 12 · Show, click it: it shows the next of those photos and offers Turn on Auto light/dark, Add a shadow and Add a background. A tiled pattern isn't checked.
Show safe area on the toolbar draws the safe area on the photo. The line under the photo gives the output size, for example 6000 × 4000 output. Text never renders below 9 px tall on a small output.
Choose the default watermark
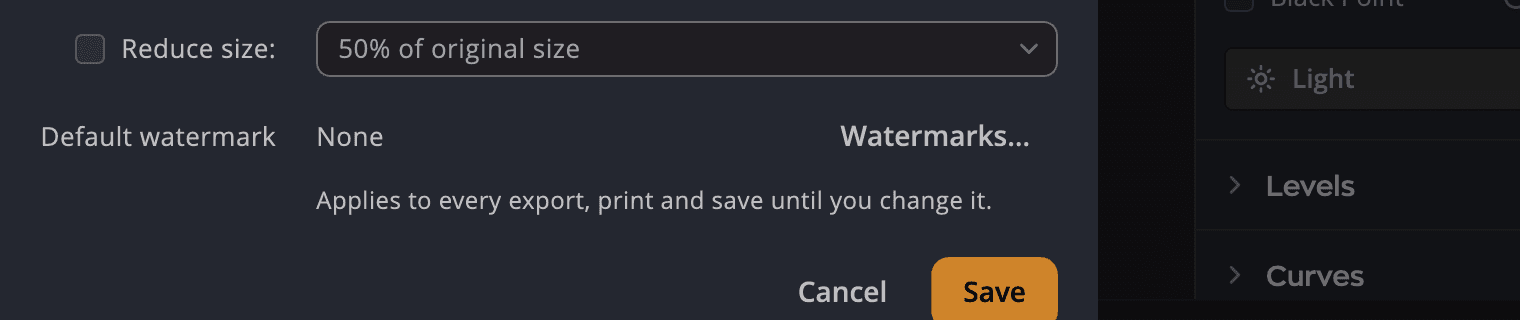
The default watermark is one setting for the whole app. Set it in Settings > Metadata, Default watermark. It reads None — no watermarks yet until you make one, and Watermarks… beside it opens the Watermarks window. Under the setting, Radiant Photo explains: Used by every output set to Default. Saves back into a library are never marked.
Each output then picks its own watermark: the Watermark row in the Save dialog, in Batch Export and in Contact Sheet…, and the chip on each Share row that renders the photo. Default (Signature) follows the default watermark. Choose None there to save unmarked files.
Note
Setting the default watermark to None means there is no default. Outputs set to Default then save unmarked files, but an output that picked its own watermark still stamps it.
Where it's stamped
| Stamped | Not stamped |
|---|---|
| Save, Export, Save All… and Save with Options… | Your original photo and its settings file |
| Batch Export | Save to Apple Photos (macOS), because saves back into a library are never marked |
| Print… | Convert Raw to Linear DNG… |
| Copy to Clipboard and Share via… | Export Develop Sidecar (.xmp)… |
| Add to Photos (macOS), which makes a new copy | |
| Contact Sheet… printed or saved as PDF | A contact sheet saved as HTML |
On the Share page, each row that renders the photo carries a watermark chip, for example Watermark: © Studio name. Click it to choose another watermark for that row. Export uses the choice made for Save with Options…. Save to Apple Photos is never watermarked.
Important
If a mark can't be drawn, for example because its logo is missing (its row in the Watermarks window reads Logo missing · Replace…), the photo is saved without it, and Radiant Photo tells you. Open File > Watermarks… and replace the logo.