
Quick start
Five minutes from install to your first finished photo. Each step links to the full topic when you want more.
1. Start Radiant Photo
The first time you open Radiant Photo, choose New to Radiant Photo? for a free 30-day trial, or Already own Radiant Photo? to enter your keycode, then click Continue. See Activating Radiant Photo.
On a new computer, Personalize Radiant Photo then opens: five short screens for the theme, the Workspace and the speed. Make your choices and click Use This Setup, or click Skip Setup. See Personalize Radiant Photo.
2. Open a photo
On the Home screen, click Open Photos, or drag photos onto the window. You can also press ⌘O (Ctrl+O on Windows). Open several at once and they line up in the filmstrip.
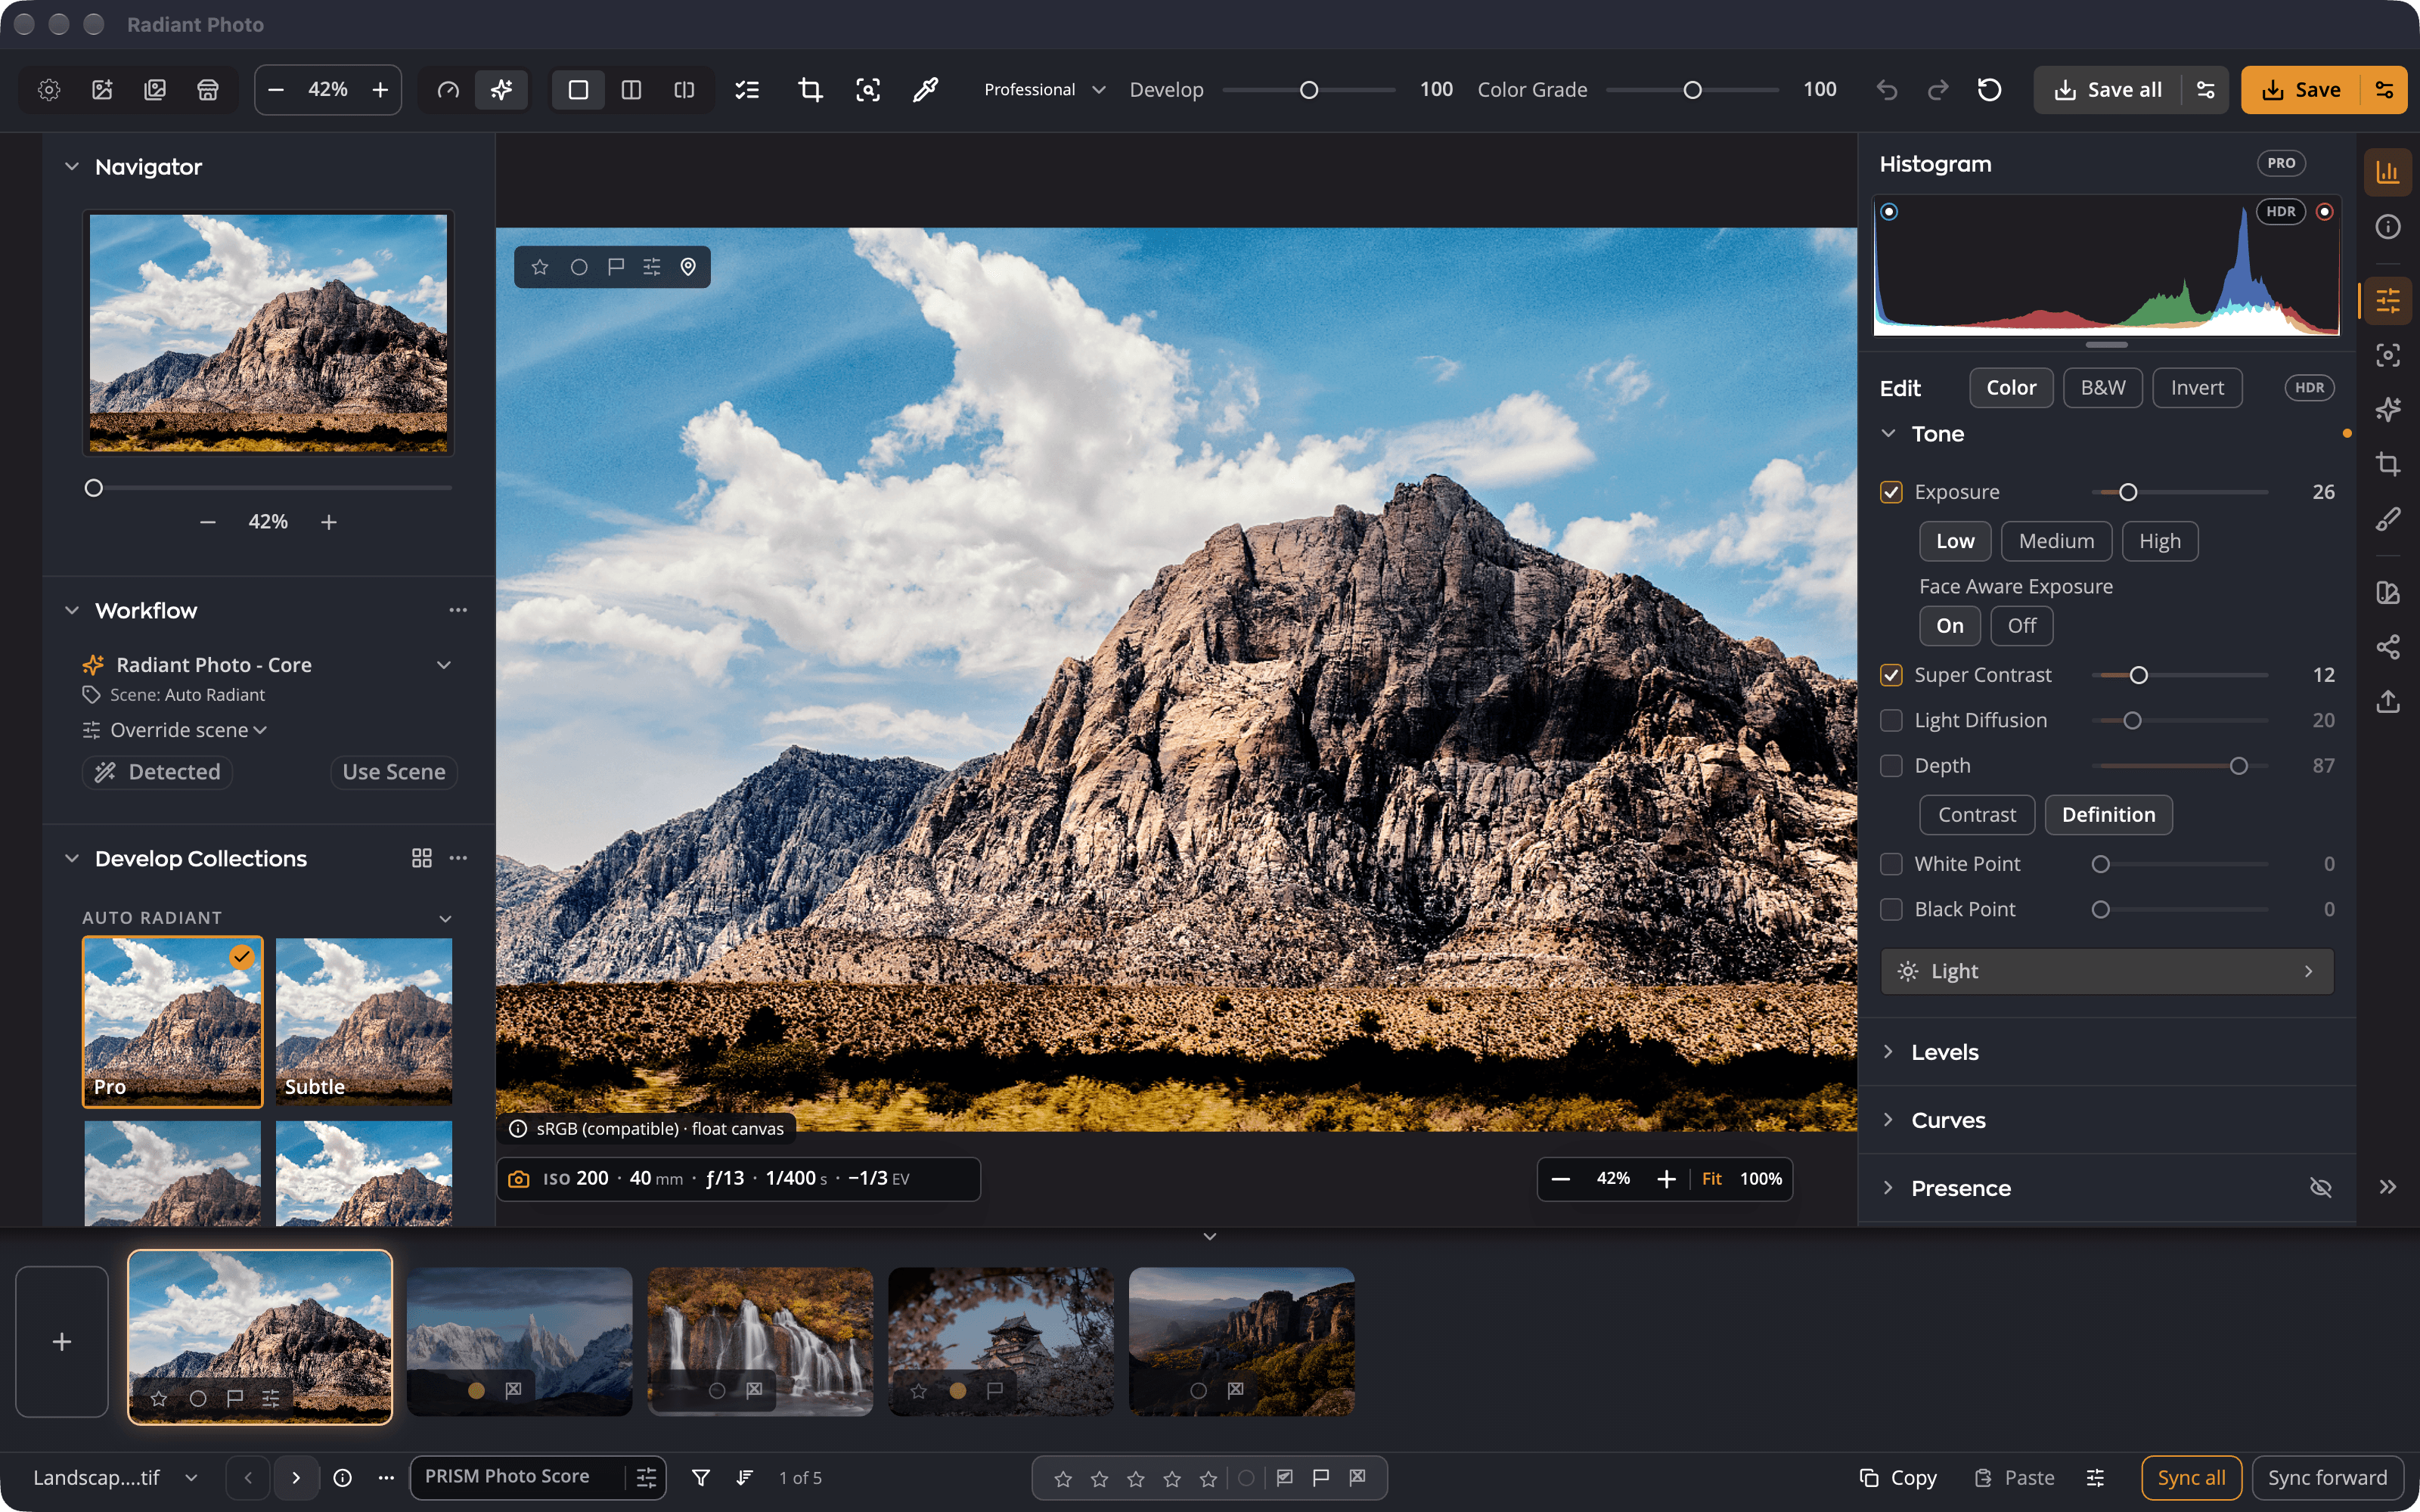
Radiant Photo recognizes the kind of scene and applies a recipe made for it. The Workflow panel on the left shows the scene it found. See The role of a Workflow.
3. Make it stronger or gentler
Drag the Develop slider at the top of the window. 100 is the starting point; move left to soften the whole correction, right to strengthen it. For finer control, use Enhance, Color and Skin Tone in the Smart Editing panel. See The Develop and Color Grade sliders.
Tip
Press Space and hold to see the original. Let go to see your edit again.
4. Add a Look
In the Color Grading panel, click Look to open the Look Browser. Hover a Look to preview it on your photo, click to apply it, then set how strong it is. See Color Grading and Looks.
5. Save
Click Save at the top right. The first time, Radiant Photo asks where and how to save; after that, Save repeats your choices. Your original is never changed. See Saving your edits.