
Crop & Straighten
Crop & Straighten trims your photo to a better frame, levels a tilted horizon and corrects converging lines. Radiant Photo can also suggest framings for you. Open the Crop & Straighten page on the right panel, or press C.
Cropping never throws pixels away. You can change or remove a crop at any time, and it's applied only when you save.
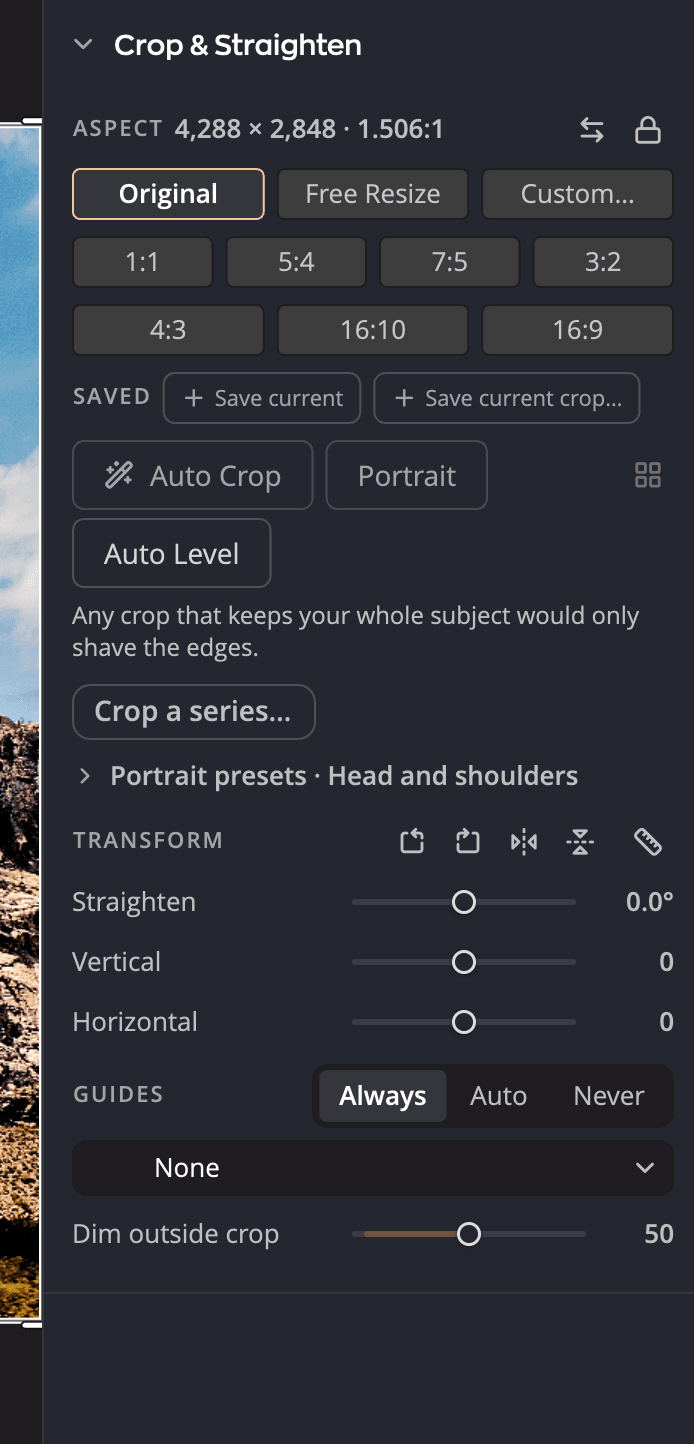
| # | Section | What it does |
|---|---|---|
| 1 | Aspect | The shape of the crop, with its Output size in pixels |
| 2 | Saved | Your own aspect ratios |
| 3 | Crop presets | Whole crops you saved, to apply to other photos |
| 4 | Auto Crop, Auto Level, Compare Crops, Portrait | Framings and leveling done for you |
| 5 | Crop a series… | Crops a batch one photo at a time |
| 6 | Portrait presets | How Portrait frames faces |
| 7 | The four rotate and flip buttons, in the Transform heading | Turns and mirrors the photo |
| 8 | Transform | Straightens and corrects perspective |
| 9 | Guides | Composition overlays for the crop tool |
Crop a photo
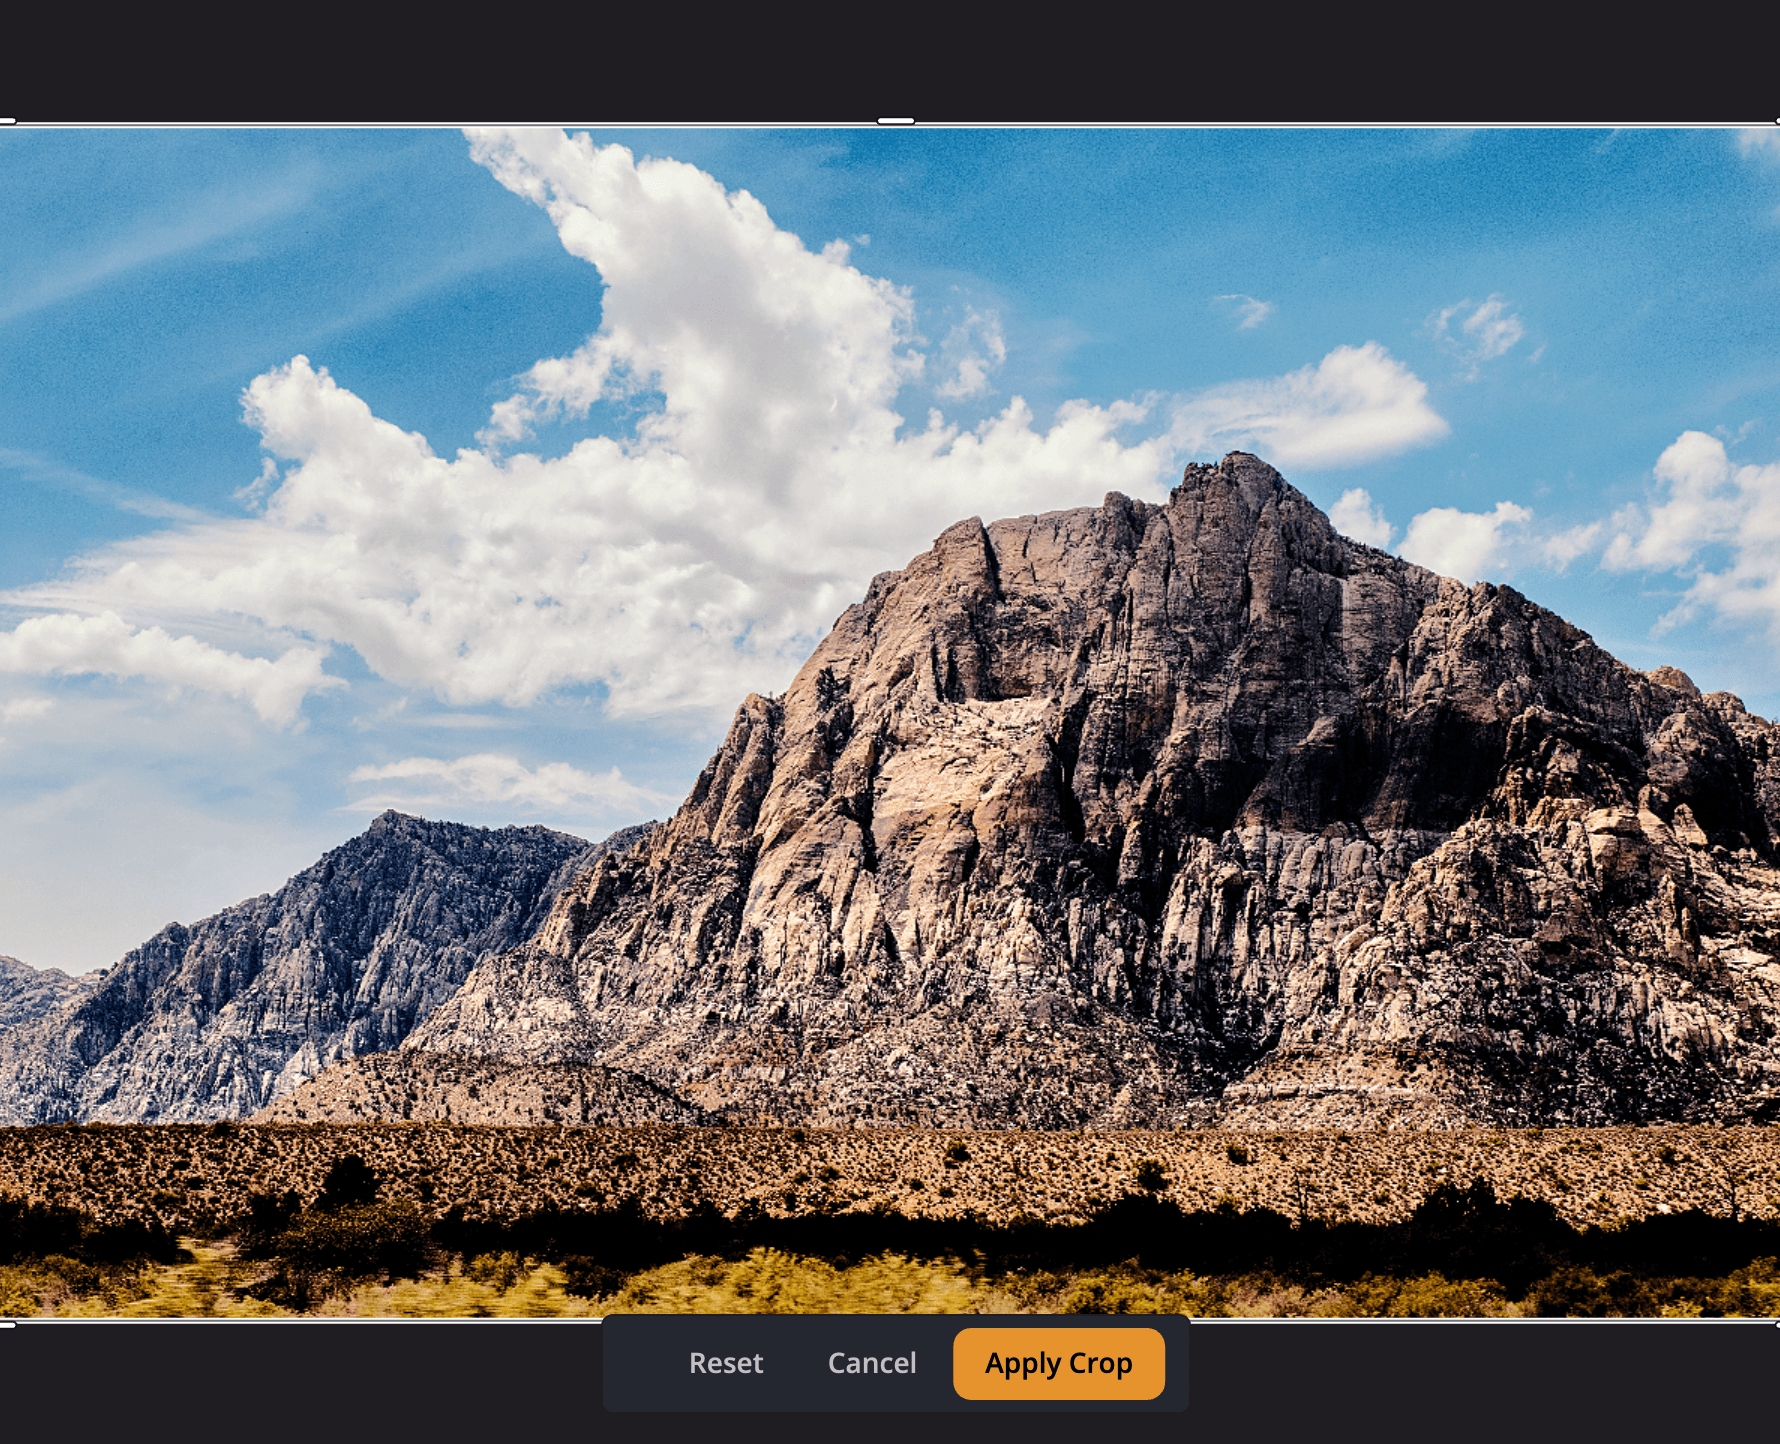
- Press C, or click Start Cropping.
- Drag a corner or an edge of the frame. Drag inside the frame to move it.
- Click Apply Crop or press Return (Enter on Windows).
To leave without changing anything, click Cancel or press Esc. Reset removes the crop, turns, flips, straightening and perspective, and sets the shape back to Free Resize.
While you drag, hold ⇧ (Shift) to keep the current shape, or ⌥ (Alt) to resize around the center.
Choose a shape
Under Aspect, choose a shape:
| Choice | What it does |
|---|---|
| Original | This photo's own shape |
| Free Resize | No fixed shape |
| Custom… | Type a shape of your own |
| 1:1, 5:4, 7:5, 3:2 | Print shapes: 8 × 8, 8 × 10, 5 × 7 and 4 × 6 inches |
| 4:3, 16:10, 16:9 | Screen shapes: 1024 × 768, 1280 × 800 and 1920 × 1080 |
Point at a shape to see its print or pixel size. The shape starts as the photo's own: Original for a photo you haven't cropped, or the shape of its crop. A crop that matches no shape shows Free Resize. Click Swap orientation or press ⌥X (Alt+X) to turn a shape between landscape and portrait.
To keep a shape as you move from photo to photo, click the padlock (Keep this ratio when you switch photos).
Save your own shapes and crops
- Under Saved, click Save current to keep the shape you're using. Right-click a saved shape for Rename ratio, Remove ratio and Lock this ratio.
- Click Save current crop… to keep the whole crop, its position included, under Crop presets. Click a preset to apply it to another photo. Right-click it for Rename… and Delete.
Let Radiant Photo frame it
While the crop tool is open, four buttons help you frame the photo:
| Button | Key | What it does |
|---|---|---|
| Auto Crop | ⌥C (Alt+C) | Suggests framings around your subject or the strongest line |
| Auto Level | No key | Straightens the photo to its strongest line |
| Compare Crops | ⇧C (Shift+C) | Shows every suggested framing side by side |
| Portrait | ⌥⌘K (Ctrl+Shift+K) | Frames the face with your default portrait preset |
What Auto Crop does depends on Settings > Crop > When you press Auto Crop:
- Apply the best framing (default): one press crops.
- Show the list first: nothing changes until you pick a framing from the list.
- Open Compare Crops: compare them, then pick.
Each framing has a short reason, such as Line on a third. When Auto Crop has nothing to suggest, it tells you why, for example This one is composed well as it stands.
Sometimes Auto Crop finds the sky along the left or right edge. The canvas then offers Turn Right Side Up, with the note The sky runs along one side, so this photo may be lying on its side. Click it to turn the photo a quarter turn. Nothing turns until you click. The offer appears only on a JPEG, PNG, TIFF, BMP or GIF photo that you haven't turned or flipped.
Auto Level tells you when it can't help, for example This photo has a Perspective correction, so it can’t be leveled automatically.
In Compare Crops, press G to switch between Grid and One at a Time. Use the arrow keys to move between framings and press Return (Enter on Windows) for Use This Crop.
Portrait presets set how Portrait frames a face: Ratio, Fit (Respect or Force), Head, % of the height, Eyes, % down and Face, % across. Click Set from this photo to use your current crop as the example. See Portrait tools.
Crop a batch
To crop many photos in a row, click Crop a series…. Radiant Photo steps through the photos in the filmstrip in their sort order, starting with the one on screen. Each Apply Crop moves to the next photo with the tool still open. The counter shows where you are, for example 3 of 12. Click Stop the series to end early.
You can also copy a crop to other photos. In the Copy Settings chooser, Framing offers Exact rectangle, Same ratio, centered, Auto Crop each photo or Portrait each photo. See Copying and syncing settings.
Tip
To stay in the crop tool as you move through the filmstrip, turn on Settings > Crop > Keep Crop open when switching photos.
Rotate, flip and straighten
These controls are in the Transform section. Its heading holds the four rotate and flip buttons, then the ruler button for the Straighten tool.
| Control | Range (default) | What it does |
|---|---|---|
| Rotate left, Rotate right | 90° | Turns the photo. Keys: ⌥⌘R and ⌥R (Ctrl+Shift+R and Alt+R). |
| Flip horizontal, Flip vertical | − | Mirrors the photo |
| Straighten | −45° to +45° (0) | Rotates the photo to level it |
| Vertical | −100 to +100 (0) | Corrects lines that lean toward or away from you, such as tall buildings |
| Horizontal | −100 to +100 (0) | Corrects a photo taken at an angle from the side |
To straighten along a line in the photo, click the Straighten tool (Straighten by drawing a line) and drag along the horizon or a wall. When the tool finds a likely line, it offers it: click Level to this line to use it without drawing.
Use guides
Composition guide draws an overlay inside the frame: None (default), Rule of Thirds, Grid, Diagonal, Golden Triangle, Golden Ratio or Golden Spiral. Press O to step through them and ⇧O (Shift+O) for Flip guide.
Choose when the guide shows: Always (default), Auto (only while dragging) or Never. Dim outside crop darkens the area you're cutting away, from 0 to 100 (default 50).
Keys in the crop tool
| Key | What it does |
|---|---|
| Return (Enter) | Apply the crop |
| Esc | Cancel |
| Arrow keys | Move the frame 1 px. Hold ⇧ (Shift) for 10 px. |
| [ and ] | Choose which edge or corner the arrow keys move |
| ⌥↑, ⌥↓ (Alt+Up Arrow, Alt+Down Arrow) | Straighten by 1°. Hold ⇧ (Shift) too for 10°. |
Start over
Point at the panel header and click the reset button (Reset Crop & Straighten) to remove the crop, turns, flips, straightening and perspective from the photo. It does the same as Reset in the crop bar.