
The right panel
The right panel is where you edit. It holds the histogram, information about the photo and every editing tool. The rail at its edge chooses what the panel shows.
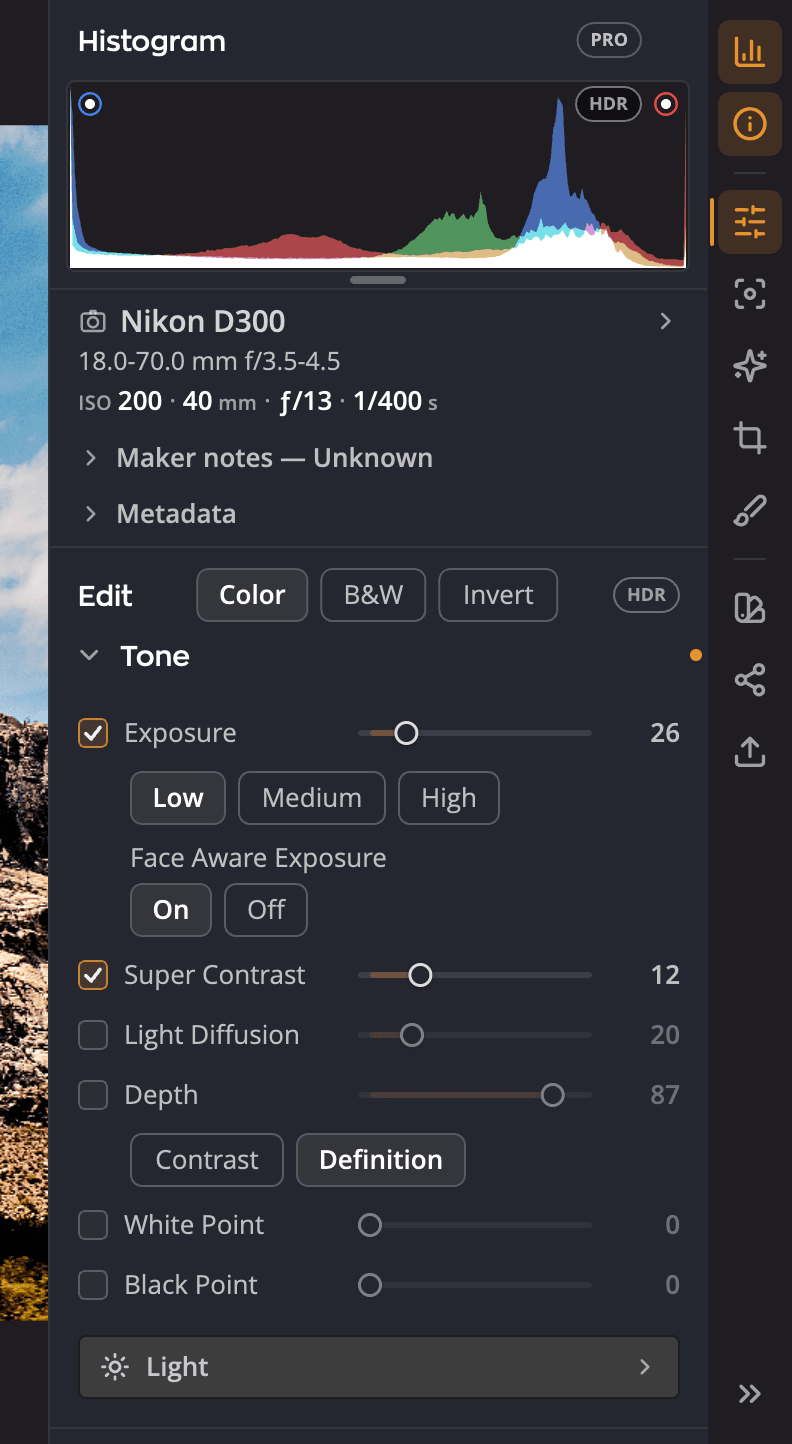
| # | Part | What it's for |
|---|---|---|
| 1 | Histogram | How the tones and colors in the photo are spread out |
| 2 | Info card | Camera settings and metadata for this photo |
| 3 | Edit header | Color, B&W or Invert, and HDR |
| 4 | Tool sections | The editing tools of the current workspace |
| 5 | Pages | Adjustments, Focus, Crop & Straighten, Spot Removal |
| 6 | Looks showcase, Share, Export | Larger tasks that take over the panel |
| 7 | Hide right panel | Folds the panel away. Click again to show it. |
The rail
The top two rail buttons turn parts of the panel on and off. The rest choose a page.
| Button | What it does |
|---|---|
| Histogram | Shows or hides the histogram |
| Info | Shows or hides the Info card, in place of the page. ⌘I (Ctrl+I). |
| Adjustments | Every editing tool in the current workspace |
| Focus | The Magnifier, focus aids, Details and Manual Noise Reduction |
| Crop & Straighten | Cropping, rotating and straightening |
| Spot Removal | Removing dust and blemishes. Press Q. |
| Looks showcase | Large previews of Looks on your photo |
| Share | Export, print and share choices |
| Export | Saves the photo with your last save settings, the same as ⌘E (Ctrl+E) |
Info and a page are one or the other. Turning Info on puts the page away, and a page button or a page's key turns Info off. The histogram stays as it is, and Radiant Photo opens with Info the next time if you left it open.
Recipes aren't on the rail. They're on the Recipes tab, behind Develop Collections in the left panel. See Recipes.
Right-click Adjustments for Solo mode and Show active tools only. See Using Workspaces.
Histogram
The histogram shows shadows on the left, midtones in the middle and highlights on the right.
- Click Show shadow clipping or Show highlight clipping to mark pixels with no detail left. Press J to turn both on or off.
- Show out-of-gamut warning marks colors that fall outside the color gamut.
- Pro histogram adds channel buttons, statistics and a readout under the pointer. It also adds a Scope menu that switches the panel to a Waveform, an RGB Parade or a Vectorscope. With it on, you can also drag on the histogram to adjust tone. See Histogram and scopes.
- Logarithmic histogram scale lifts thin areas at the ends so they're easier to see.
For larger scopes, choose View > Scopes > Show Scopes Window (⌃⌘W, Ctrl+Shift+U on Windows) or Show Scopes on Photo (⌃⌘G, Ctrl+Shift+G). See Histogram and scopes.
Choose what Info shows
Info has three parts: the capture card, Camera and Metadata. To choose which ones show and in what order, open the Customize sections card:
- Right-click the capture card, or the Camera or Metadata header, and choose Customize Info Panel….
- Choose View > Panels > Customize Info Panel….
On the card, uncheck a part to hide it, and drag a row by its grip to move it. The capture card isn't in the list: it always shows. A hidden part stays on the card, so you can check it again, and hiding it loses nothing it holds. The header's menu does the same one step at a time: Hide Camera, Move Up and Move Down. Radiant Photo keeps one order for you on this computer.
Solo mode at the top of the card is on at first: Opening a section closes the others. Opening Camera closes Metadata, and opening Metadata closes Camera. The capture card and the histogram above it stay as they are. Turning Solo mode on with both open keeps the upper one open. Turning it off opens and closes nothing. The tools have their own Solo mode, and changing one doesn't change the other.
A Metadata part that holds typing you haven't saved is never closed by Solo mode, and you can't hide it until you save or revert. Its checkbox and the menu row say Save or revert Metadata first. You can still move it.
Reset on the card puts back the default order with every part shown.
Edit header
The Edit header sits above the tools on the Adjustments page.
- Color, B&W and Invert choose how the photo renders. B&W turns on the Black & White tool. Invert shows the photo as a negative.
- HDR shows and edits the highlight range above SDR white. It needs a display with HDR (EDR) headroom. On other displays it's grayed out.
Tool sections
On the Adjustments page, each tool is a section. Click a section's title to open or close it. Double-click any slider to put it back to its default.
| Control | What it does |
|---|---|
| Eye | Enable or Disable the whole tool, keeping its settings |
| Dot | Shows that you've changed this tool |
| Reset | Reset the tool to its defaults. Or hold ⌥ (Alt) and click the title. |
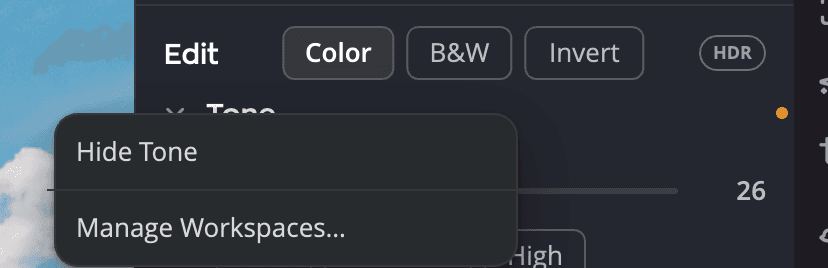
| Right-click | Hide the tool from this workspace, or open Manage Workspaces… |
Single keys open the main tools: T Tone, K Color, Y Skin Tone, D Details, A Face Selection, F Face, E Eyes, S Skin, M Makeup, L Color Grading, H Selective Color, B Black & White, G Graduated Filter and V Finishing Tools.
Tip
With Solo mode on, opening one tool closes the others. It's on by default and keeps the panel short.