
Noise Reduction
Noise Reduction removes the grain and color speckles that come from high ISO settings, small sensors and heavy JPEG compression. It typically cleans up a photo by two to three stops, so a shot at ISO 1600 looks closer to ISO 200 or 400. You'll find it in the Details panel, just below Sharpening.
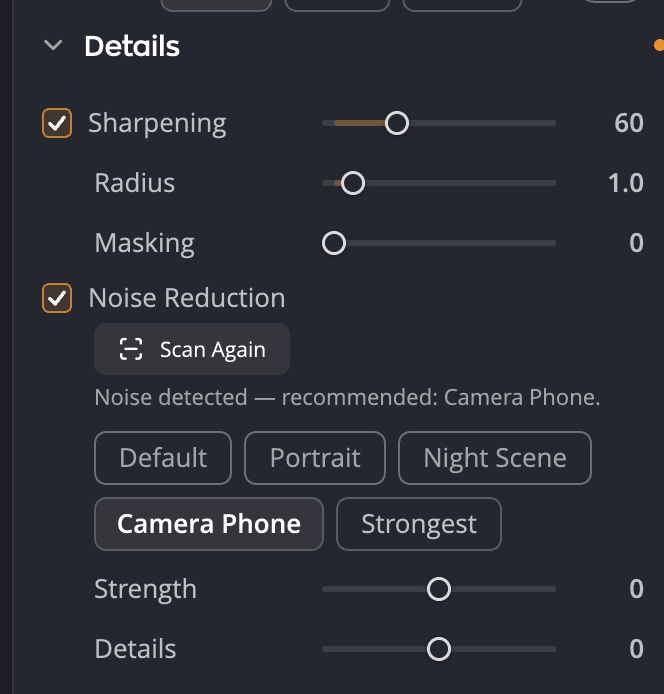
Turn it on
- Open the Details panel (press D).
- Select the Noise Reduction checkbox.
That's it for most photos. To check a photo for noise first, run a Detailed Scan (below). It tells you whether it found noise and, if it did, selects a method for it.
Let Radiant Photo choose the method
Different kinds of photos have different kinds of noise. A Detailed Scan looks at your photo and recommends the best method for it.
- Click Detailed Scan. The button reads Scanning… while it works.
- Read the result under the button. It says Noise detected — recommended: followed by a method, or No noise detected.
- If it found noise, the recommended method is already selected. To try another, click any method that isn't grayed out.
After a scan, methods that don't suit this photo's noise are grayed out, sometimes several at once: when the scan recommends Camera Phone, Default, Portrait and Night Scene can all be grayed out. Hold the pointer over one to see why. To scan again after changing the photo, click Scan Again.
Choose a method yourself
| Method | Best for |
|---|---|
| Default | Most camera photos. A strong, reliable setting. |
| Portrait | People. Removes larger noise and blemishes while keeping skin natural, so it never looks plastic. |
| Night Scene | Dark scenes with bright, detailed areas, where blotches and color banding show up in the shadows. |
| Camera Phone | The grainy look of most phone photos. |
| Strongest | The maximum amount of noise reduction. Use it with care, because it can soften fine detail. |
Fine-tune
| Slider | Range | What it does |
|---|---|---|
| Strength | −30 to +30 (default 0) | Removes more or less noise than the method's own setting. |
| Details | −5 to +5 (default 0) | Balances smoothness against texture. Move it right to keep more fine detail. |
Even at a Strength of 0, the method you picked is already working.
Tip
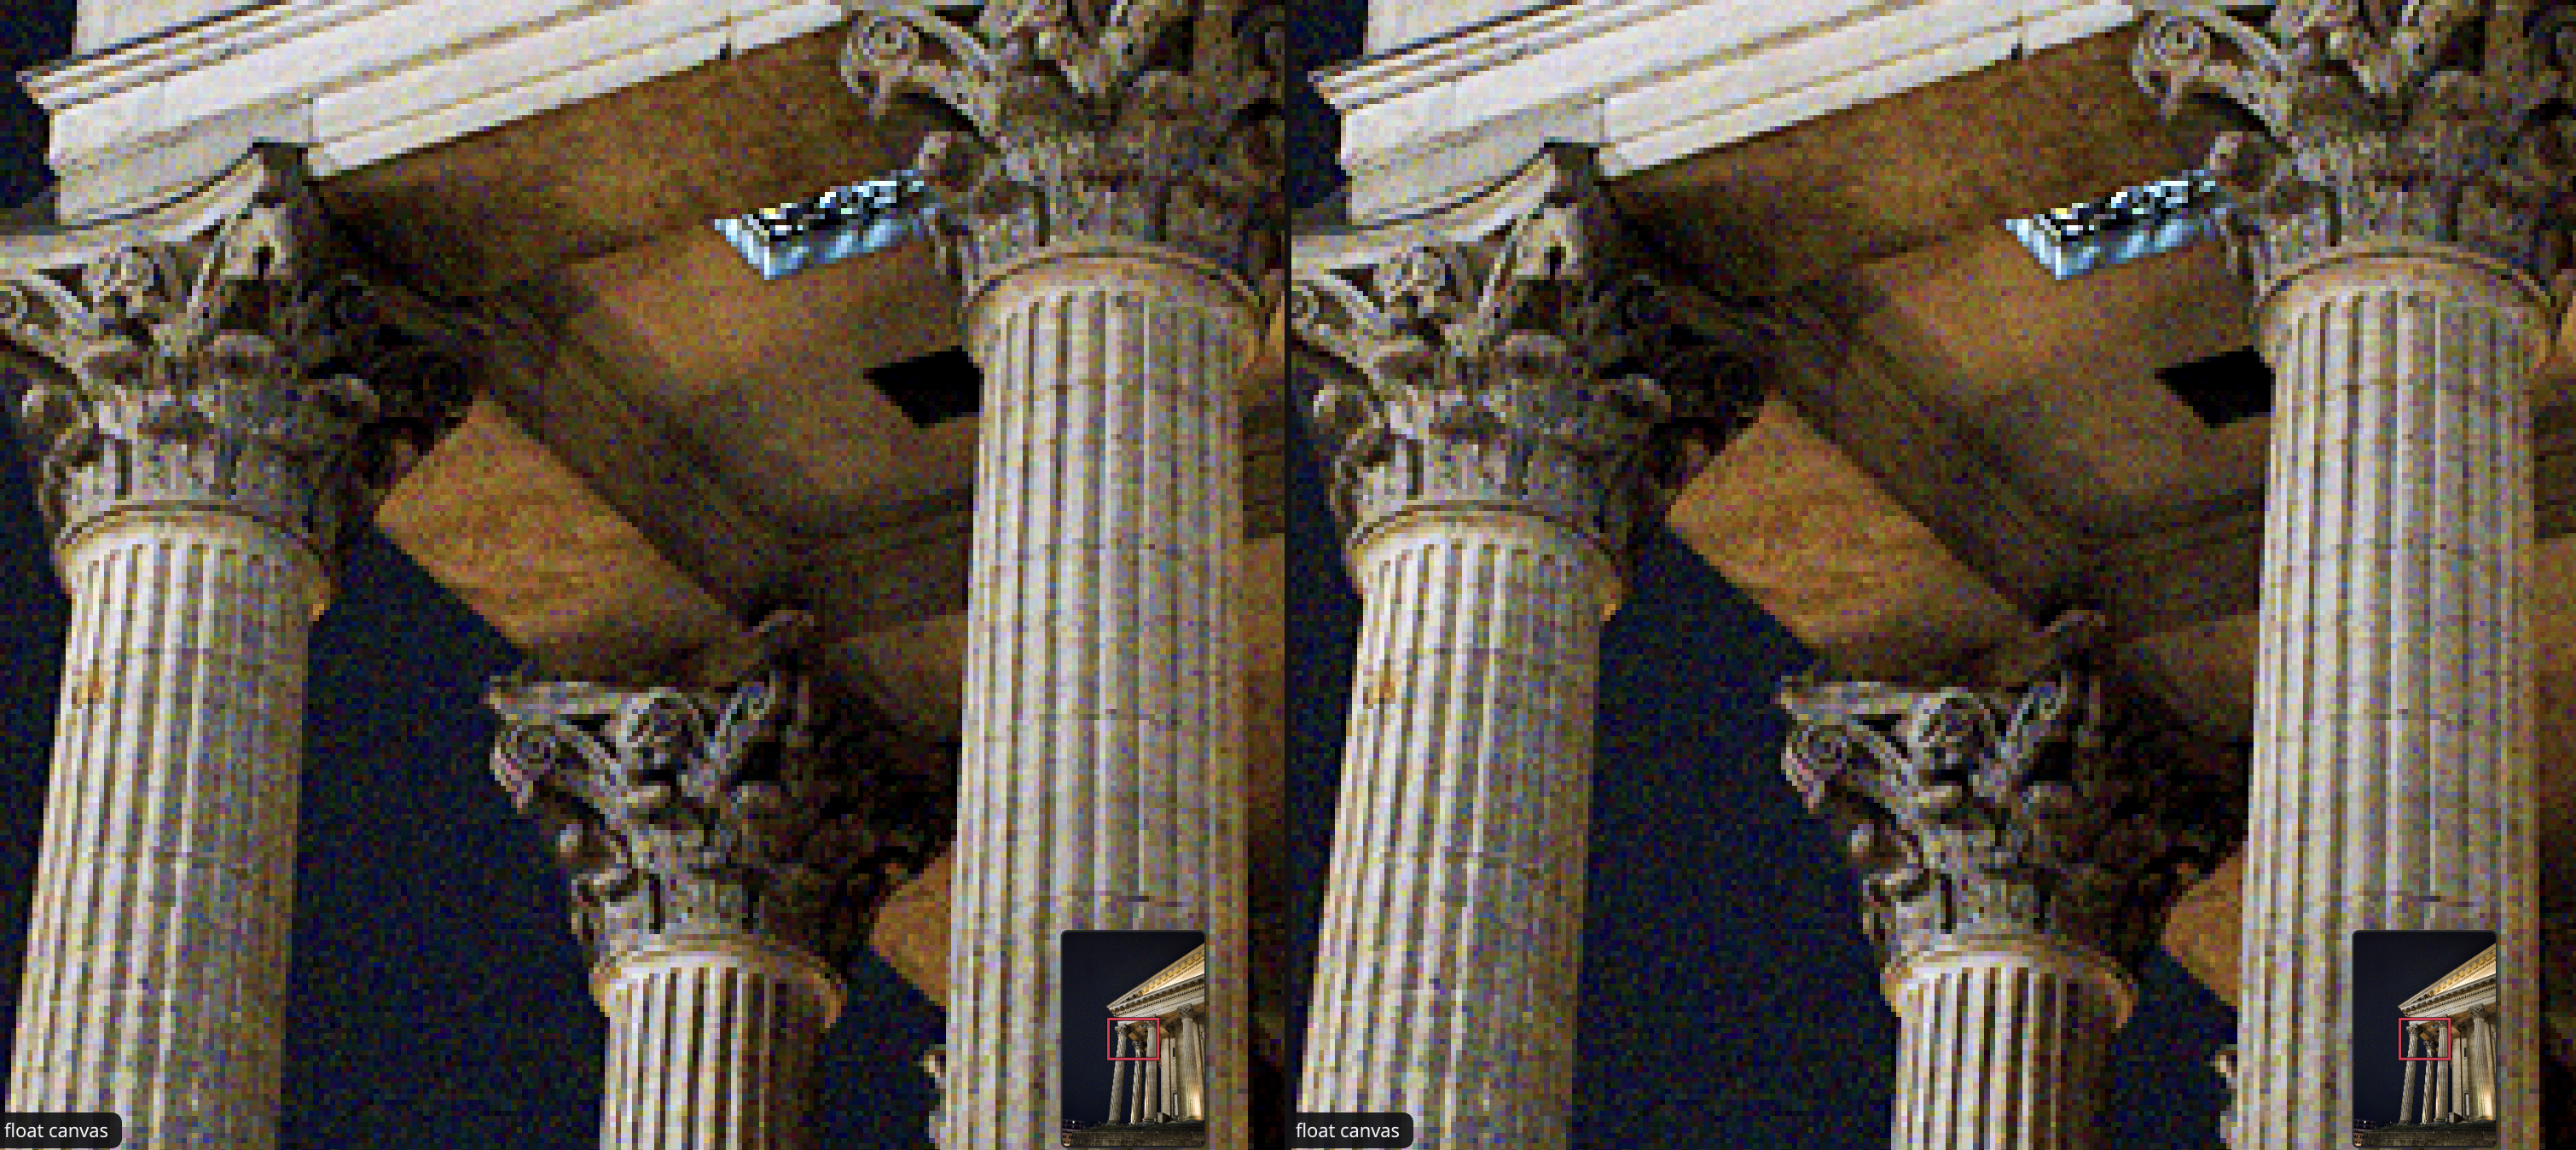
Judge noise at 100%. Press ⌘1 (Ctrl+1 on Windows) to zoom in, then press Space and hold to see the original.
Manual Noise Reduction
For direct control, use Manual Noise Reduction on the Focus page. It works on its own sliders rather than the scan and the methods above.
| Slider | Range | What it does |
|---|---|---|
| Amount | 0 to 100 (default 50) | How much noise to remove |
| Radius | 0.5 to 8 (default 2.0) | The size of the noise grain to target |
| Detail | 0 to 100 (default 50) | How much fine detail to protect |
The Preset menu has starting points: Light, Medium, Strong, JPEG Cleanup and High ISO. Choose Save current as… to keep your own.