
Sharpening
Sharpening brings out the fine detail in your photo. Even a photo that's in focus can look a little soft because of the way a camera's sensor processes it. You'll find Sharpening at the top of the Details panel, on the Adjustments page of the right panel. Press D to open it.
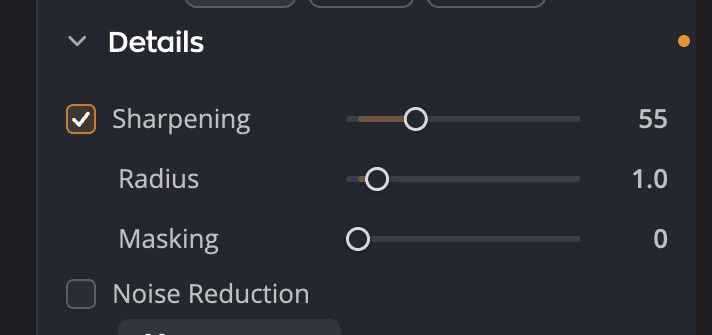
The Details panel holds two tools: Sharpening and Noise Reduction.
| # | Control | Range (default) | What it does |
|---|---|---|---|
| 1 | Sharpening | 0 to 200 (40) | How strongly edges are sharpened |
| 2 | Radius | 0.1 to 10 (1.0) | How far from each edge the sharpening reaches |
| 3 | Masking | 0 to 100 (0) | Protects smooth areas so only edges are sharpened |
| 4 | Noise Reduction | − | See Noise Reduction |
Sharpen a photo
- Open the Details panel (press D).
- Select the Sharpening checkbox, or drag its slider.
- Raise Sharpening until the details look crisp.
Don't push too far. Strong sharpening can make noise and halos visible.
Note
Moving Radius or Masking also selects the Sharpening checkbox, because those sliders only change the photo while Sharpening is on.
Fine-tune
- Radius sets how broad the sharpening is. Small values sharpen fine texture such as hair and fabric. Larger values sharpen bigger shapes.
- Masking makes a smooth transition between sharpened and unsharpened areas. At 0, every area is sharpened. Raise it to protect skin, skies and other smooth areas.
See what the sliders do
Hold ⌥ (Alt on Windows) while you drag:
| Slider | What you see |
|---|---|
| Sharpening | The photo in black and white, so you can judge the sharpening without color |
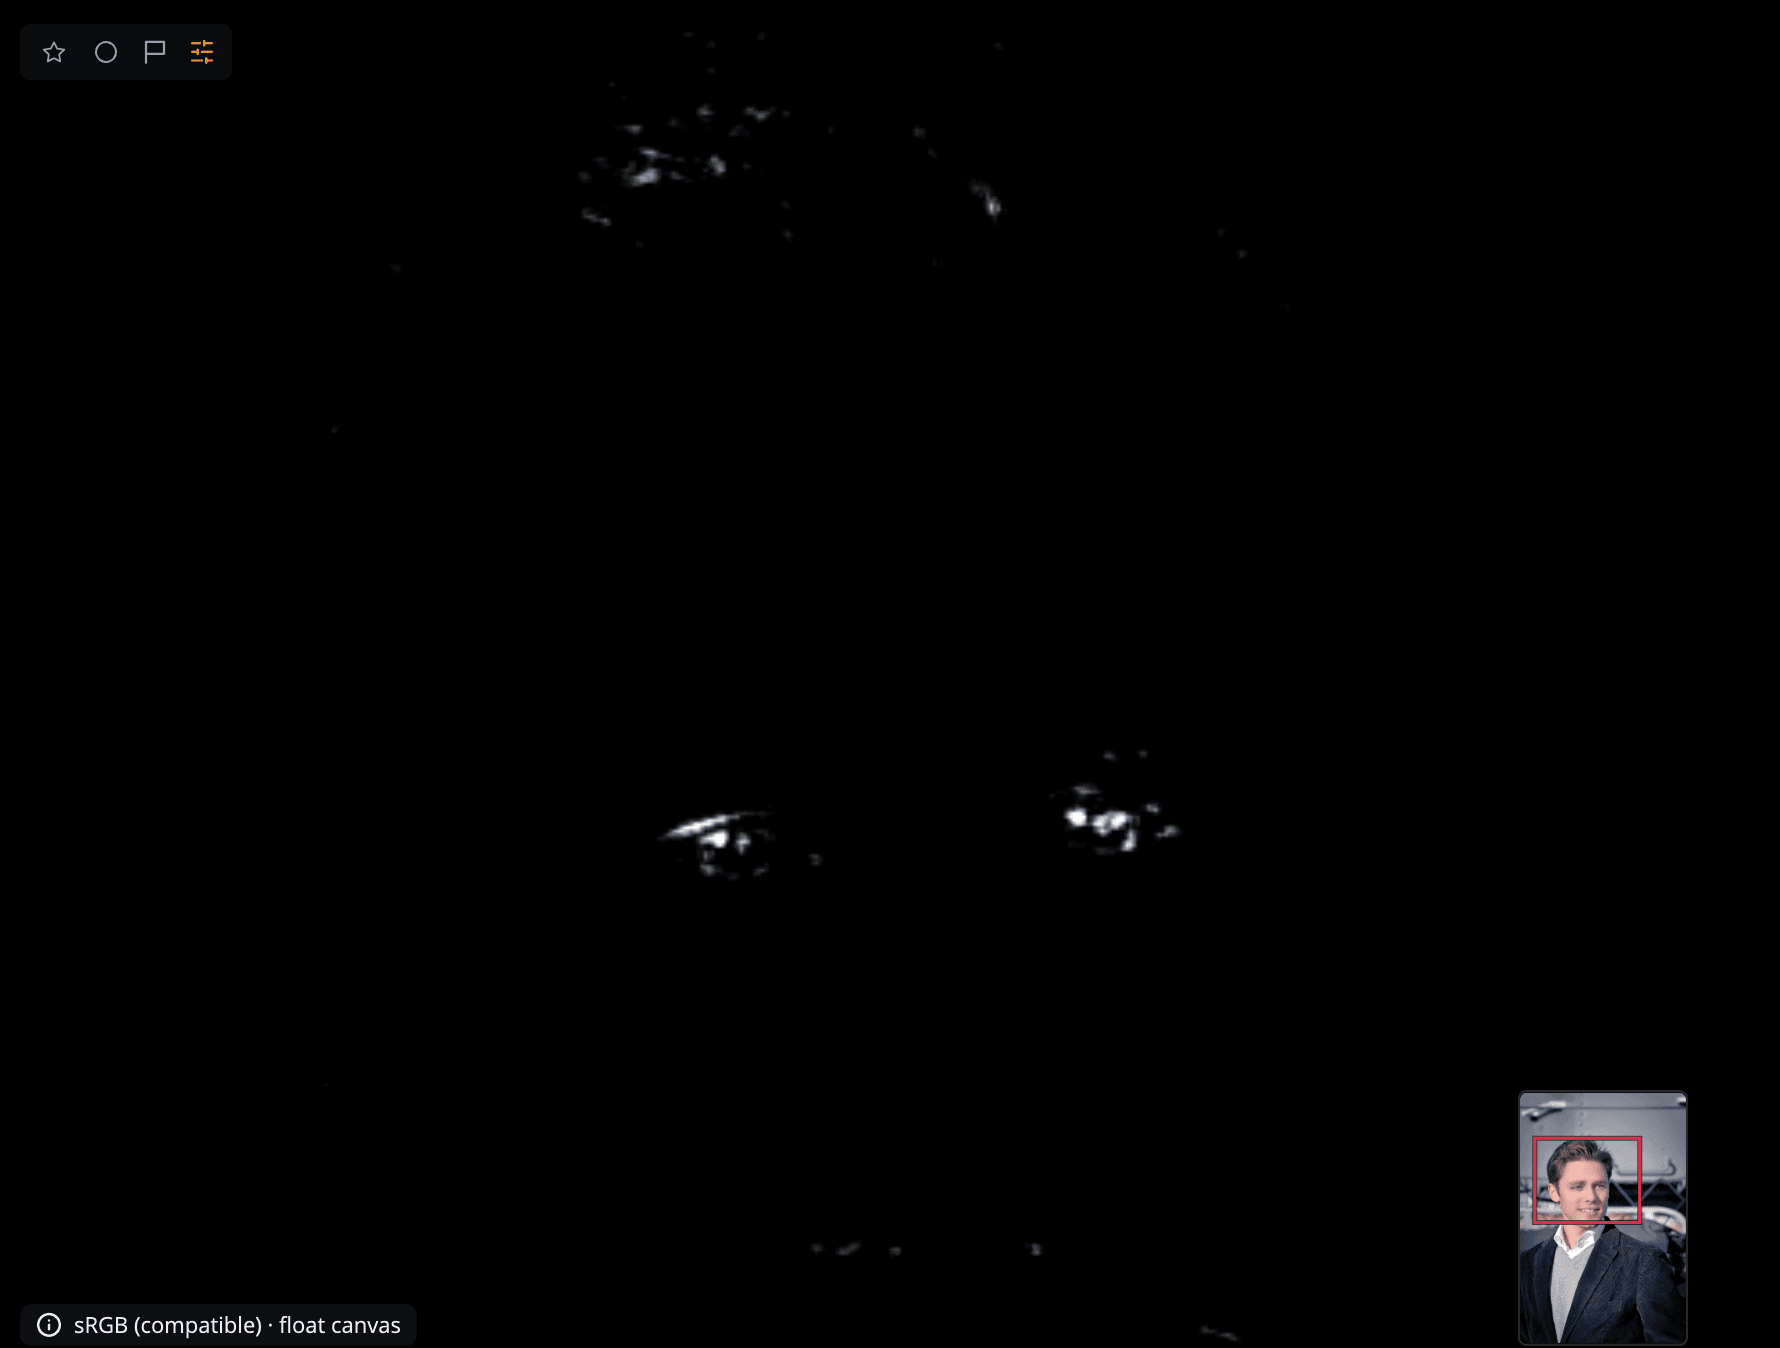
| Masking | The mask itself. White areas are sharpened, black areas are protected. |
Release the mouse button to return to the normal view. While you drag Sharpening, let go of ⌥ (Alt) to see color, and press it again to bring the preview back. Radius has no preview.
Tip
Judge sharpening at 100%. Press ⌘1 (Ctrl+1 on Windows) to zoom in, then press Space and hold to see the original.
Sharpen on the Focus page
The same Sharpening controls also appear on the Focus page of the right panel, under the Magnifier. Both places share one set of values, so a change in one shows in the other.
While you drag a sharpening or noise slider, the Magnifier names it, for example Showing: followed by the slider. Zoom the Magnifier with ⌥= and ⌥− (Alt+= and Alt+− on Windows). See The Focus page.
To copy only your sharpening to other photos, right-click Copy in the bottom bar and choose it in the chooser. See Copying and syncing settings.
Start over
Point at the panel header and click the reset button (Reset Details) to return Sharpening and Noise Reduction to their defaults.