
Graduated Filter
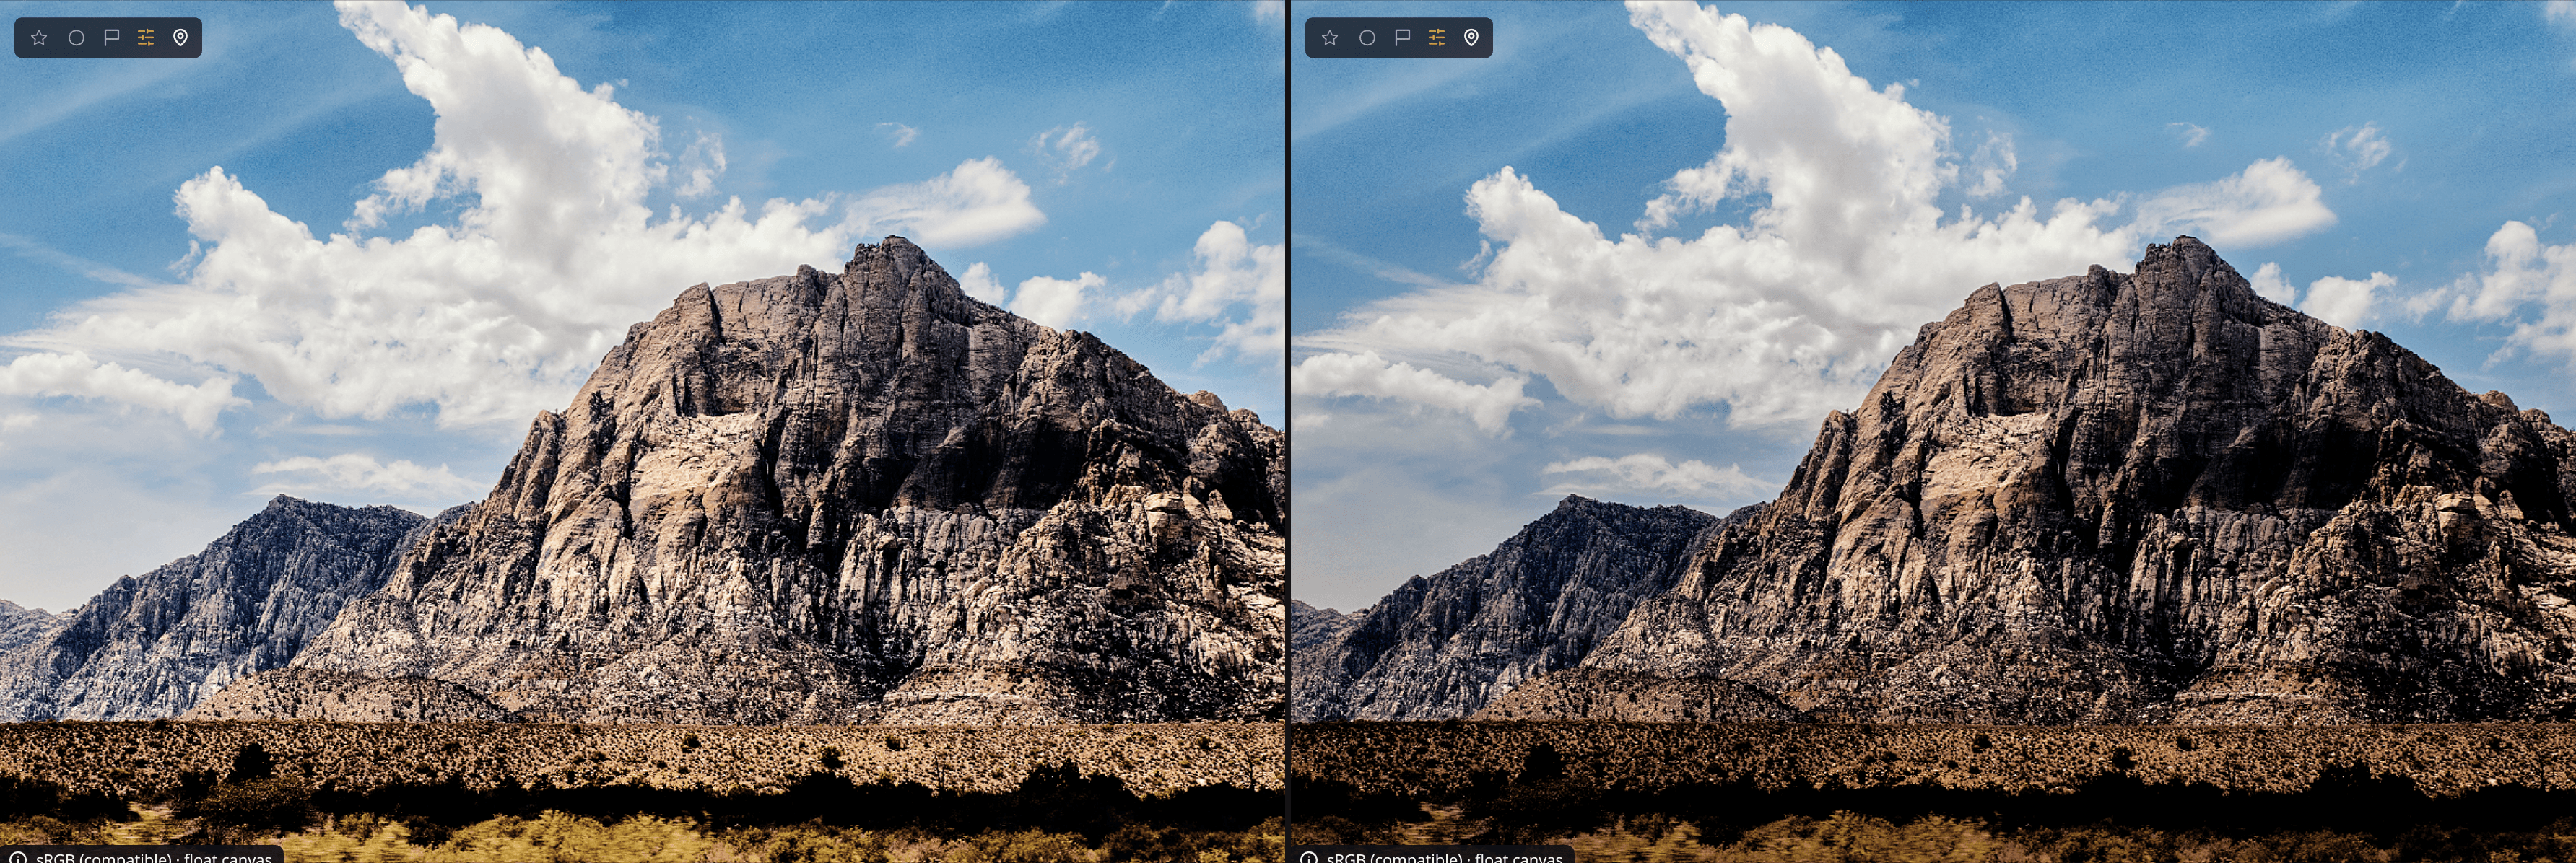
The Graduated Filter applies one set of adjustments to part of the photo and another set to the rest, with a soft blend between them. Use a radial gradient to light a subject or add a vignette, or a linear gradient to balance a bright sky against a darker foreground. You'll find it in the Graduated Filter panel (press G).
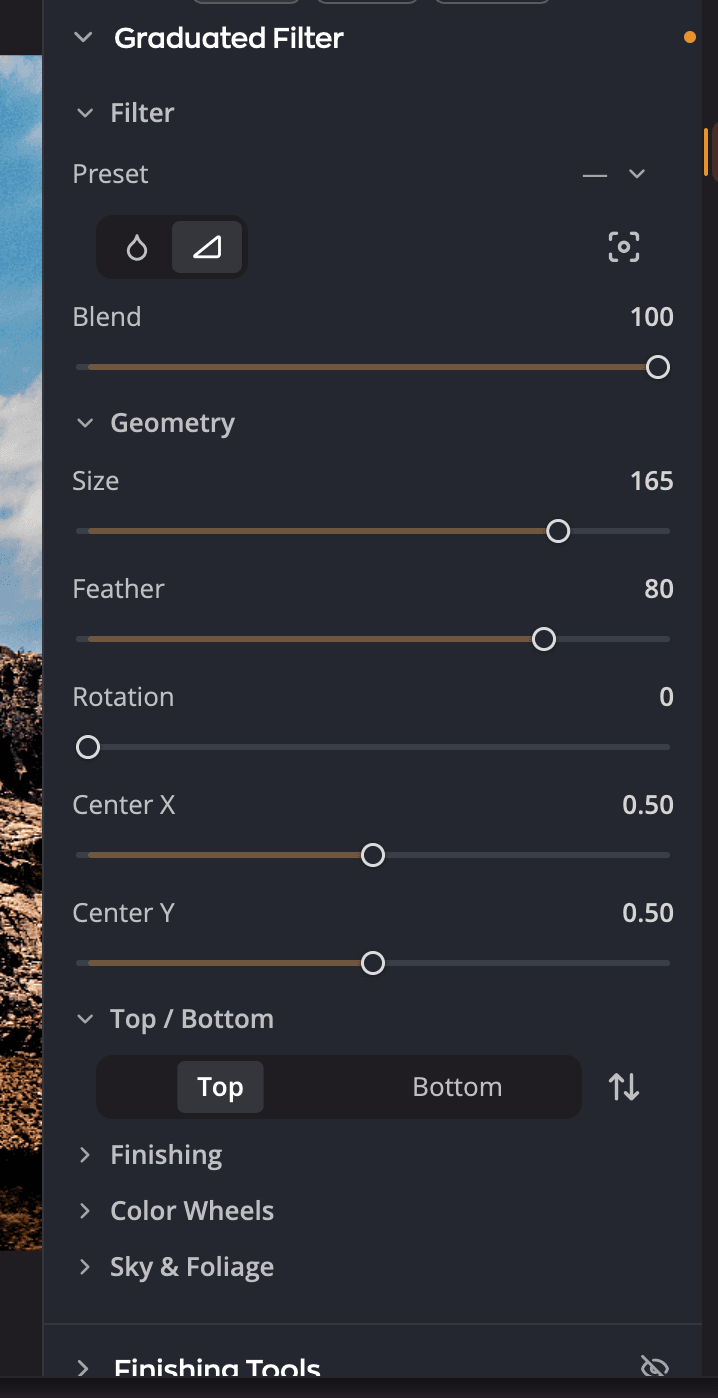
| # | Control | What it does |
|---|---|---|
| 1 | Preset | Starting points for vignettes and gradients, plus your own saved presets. |
| 2 | Radial gradient / Linear gradient | Chooses the shape of the filter. |
| 3 | Set center on the image | Click it, then click the photo to place the center. |
| 4 | Blend | How strongly the whole filter mixes into the photo. |
| 5 | Geometry | The size, softness, angle and position of the shape. |
| 6 | Inside / Outside or Top / Bottom, and Invert | Which side the adjustments below apply to. Invert swaps the two sides. |
| 7 | Finishing | The adjustments for the side you selected. |
Make a graduated filter
- Open the Graduated Filter panel.
- Choose Radial gradient or Linear gradient, or pick a starting point from Preset.
- Place the center: click Set center on the image, then click the photo. You can also drag the Center X and Center Y sliders.
- Shape the filter in Geometry.
- Select Inside or Outside (Top or Bottom for a linear gradient), then adjust Finishing.
- Select the other side and give it its own adjustments if you like.
Each side keeps its own settings. Adjust a radial gradient's Inside to lift a face, then darken the Outside to draw the eye in.
Shape the filter
| Control | Range (default) | What it does |
|---|---|---|
| Blend | 0 to 100 (100) | Fades the whole filter. Lower it to make the effect more subtle. |
| Shape | −100 to +100 (0) | Radial only. Stretches the circle into an oval. |
| Size | 0 to 200 (100) | The size of a radial gradient. For a linear gradient, the gap between top and bottom. |
| Feather | 0 to 100 (50) | How gradually one side blends into the other. |
| Rotation | 0 to 359 (0) | The angle of the shape. |
| Center X, Center Y | 0 to 1 (0.5) | The position of the center, across and up the photo. |
Tip
Place a radial gradient's center on the subject's face, then raise Feather until you can't see where the filter ends.
Adjust each side
Finishing has the same ten sliders as Finishing Tools, each from −100 to +100 (default 0). They are Exposure, Contrast, Blacks, Whites, Shadows, Highlights, Color Temperature, Tint, Saturation and Color Vibrance. See Finishing Tools for what each one does.
Three more sections give the selected side more tools:
- Color Wheels tints the shadows, midtones and highlights of that side only. See Color Wheels.
- Presence has Texture, Clarity and Atmosphere, each from −100 to +100 (default 0). They work like the same sliders in Presence, but only on this side.
- Sky & Foliage has Sky Enhance, with a Recipe and a Strength from 0 to 200 (default 0). It also has Foliage Enhance, with Greens and Browns recipes and an amount for each, 0 to 200 (default 10).
Finishing, Color Wheels, Presence and Sky & Foliage start folded. Click a section's name to open it.
To swap the two sides, click Invert (Invert (swap inside/outside edits)) beside the two side buttons.
Presets
The Preset menu lists the built-in vignettes and gradients, then your own. It shows the preset's name while your settings still match it, and — after you change something.
- Save preset… keeps the current filter, both sides and their adjustments, as a preset of your own. It's offered while no preset matches.
- Rename… and Delete… are available while one of your own presets is selected.
Turn it off or start over
Click the eye in the panel header to turn the whole filter off and on. To clear it, click Reset Graduated Filter (the arrow in the header).